Is it possible to create a watercolor greeting card without using any watercolor techniques?? Guess we'll have to find out in this Mother's Day special! Thanks for sharing your watercolor painting idea, Shayda!
Materials used:
- Strathmore 300 Series cold press watercolor paper or any cold press watercolor paper (140lb, size 4" x 5")
- Any no. 4 round brush
- Watercolor paints of your choice
- Mixing palette
- 2 containers with clean water (one for cool colors, the other for warm colors)
- Old rag or paper towel
- HB Pencil
- Ruler
- Staedtler Triplus Fineliner (Black or Dark Gray)
- Sharpie Ultra Fine Point (Black)
Step 1: Sketching Guidelines for a Mother's Day Greeting Card
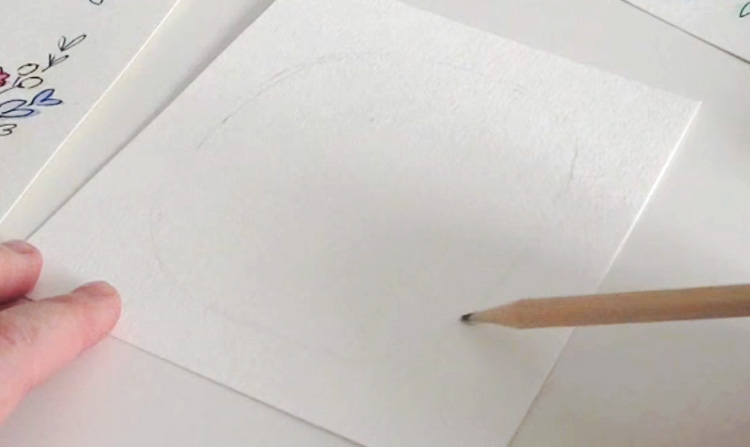
 Since Mother's Day is right around the corner, we'll be making art prints that you can give to your mom to make her feel extra special! For this handmade greeting card, we'll be framing a Mother's Day greeting in a border of watercolor flowers. To start, take out a piece of watercolor paper cut down to 4" x 5", then use a pencil to lightly sketch a rounded rectangle in the middle. This rounded rectangle will act as your guide for where to put down the flowers in the next step.
Step 2: Watercolor Techniques for Splotches of Paint
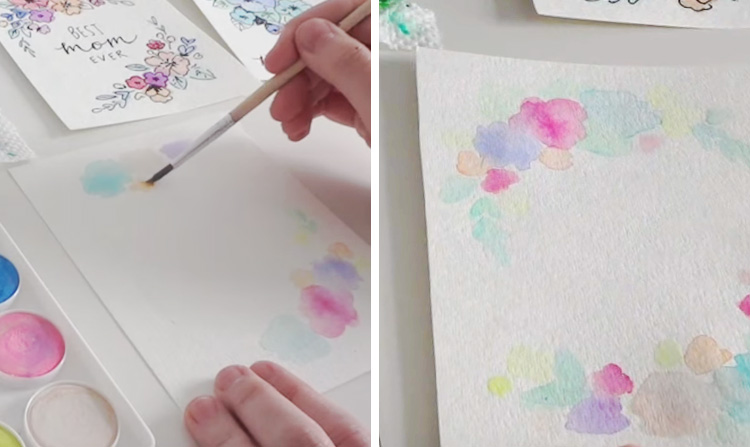
Before you begin adding paint to paper, try to decide what colors to use first. The objective is to create a frame of watercolor flowers, so consider interesting color combinations you can use for the flowers, like using warm colors or analogous colors (i.e. colors that are next to each other on the color wheel). Once you've decided on your color palette, take your no. 4 round brush and wet your paints with water to activate them. Load your paint with color and proceed to drop them onto your watercolor paper. Since you're adding wet paint to a dry surface, you're actually using one of the most basic watercolor techniques, the wet-on-dry technique! Concentrate your biggest splotches of color around the corners of your rectangular guideline, then add smaller splotches radiating out. When you're done with your flowers, drop in hints of green for the leaves around the edges of the border. If you happen to add too much water to the page, you can use another of your basic watercolor techniques to lift the extra paint off the page. To do this, use either a dry brush or the corner of a paper towel or old rag to soak up the excess paint. Remember to keep your colors light and transparent, and give yourself the freedom to paint loosely! The shapes of the splotches don't matter, but try to keep each color contained in its own little space on the page.
Step 3: Drawing Out Flowers
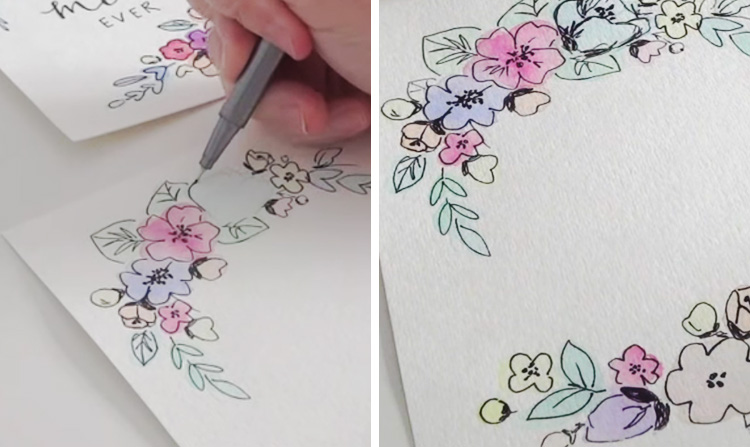
When the paint has dried completely, bust out that fineliner and start drawing some flowers! You can use a Black or Dark Gray color, depending on your preference. Use the colored splotches as your guide and draw around them. Don't feel the need to trace around each splotch exactly - in fact, go crazy and scribble inside those boundaries to give your drawing a cute, D.I.Y. look!
Step 4: Leaving a Thoughtful Greeting
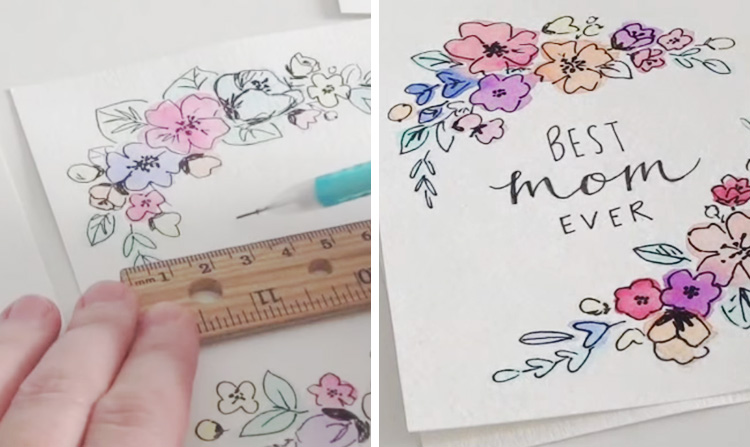
For the last step, use a ruler and a pencil to write a thoughtful greeting in the middle of the card. You can make sure that it's centered by checking it out on a mirror or flipping it upside-down. Go over the greeting with a Sharpie - or if you're feeling adventurous, try doing some fun calligraphy watercolor techniques!
Wait for the ink to dry completely before erasing any stray pencil marks - and you're done!
This wasn't a completely watercolor techniques-free lesson, but hey, wasn't it fun to practice your basics?
We hope your mothers enjoy what you've made!
If you want to watch Shayda working on her own art prints, here's her video:


