Follow along in this vibrant watercolor still-life tutorial where you get to paint some real beets! Instructor William "Bill" Dunn takes you through step-by-step, and shows how to layer some unconventional colors to create a more compelling painting. Want to watch the video version? The full tutorial is available to members of our Beeblys WatercolorPainting.com.
Materials Used In This Watercolor Class:
- Reference picture of 4 different colored beets (or ideally, a still-life arrangement of real beets)
- A block of Arches hot press watercolor paper (140lb, size 12″ x 16″)
- Sketching paper
- Pentel Graphgear 1000 automatic drafting pencil, 0.7mm lead size with 2B lead
- Woodless graphite pencil, HB lead
- ½ " Artist's or masking tape
- Painting palette for watercolor paints
- Auxiliary palette
- A container of water
- Paper towels or a rag
- A tabletop easel or a box to prop your painting on
- A spray bottle with clean water
Paints (Holbein Artists' Watercolors)
- Lemon Yellow
- Cadmium Yellow Deep
- Brilliant Orange
- Cadmium Red Purple
- Permanent Alizarin Crimson
- Cobalt Violet Light (a.k.a. "Lavender")
- Mineral Violet
- Olive Green
- Viridian
- Cobalt Green
- Leaf Green
- Cerulean Blue
- Cobalt Blue Hue
- Quinacridone Gold
- Burnt Umber
- Indigo
Winsor & Newton's Professional Watercolors
- Permanent Carmine
- Permanent Mauve (or Sennelier's Cobalt Violet Deep Hue watercolor paint)
- Oxide of Chromium
- French Ultramarine
Daniel Smith's Extra Fine Watercolors
- Buff Titanium
Brushes
- Neef Rigger Supreme Taklon Series: Long handle rigger brush (no. 6)
- Neef Rigger Supreme Taklon Series: Long handle rigger brush (no. 8)
- Neef Rigger Supreme Taklon Series: Long handle rigger brush (no. 10)
- Neef Rigger Supreme Taklon Series: Long handle rigger brush (no. 12)
- Escoda Perla Joseph Zbukvic Series: Round brush (no. 20)
- Loew-Cornell: Chinese bamboo brush (size 2)
Step 1: Setting Up And Thumbnail Compositions
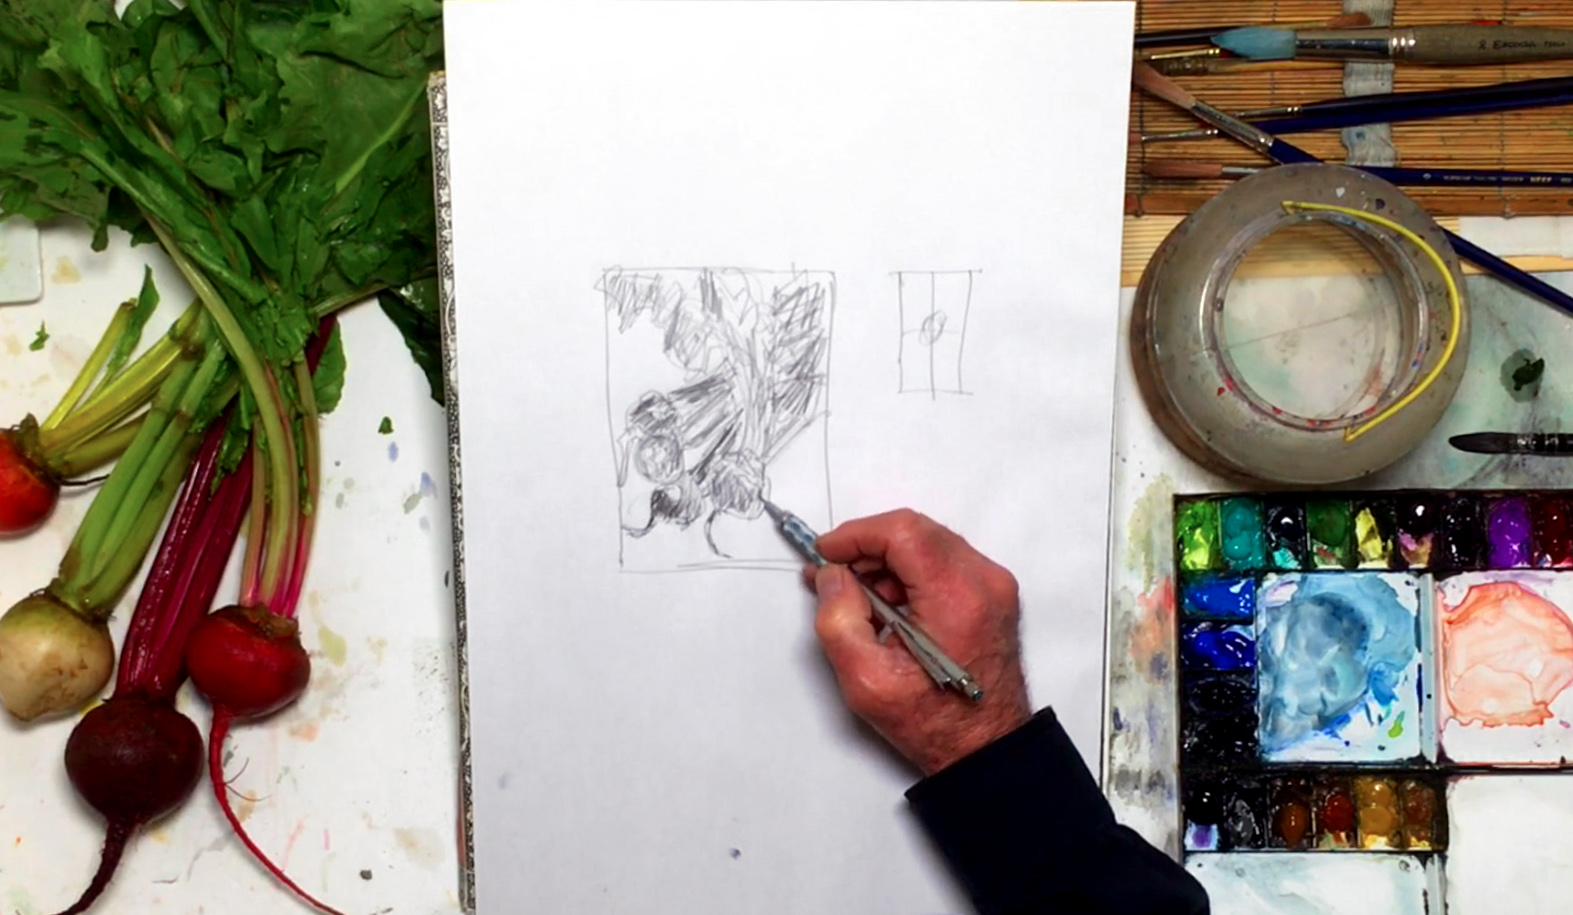 Before jumping in to this tutorial, make sure to buy some colorful beets the next time you're buying groceries! It will make your watercolor still-life painting much more interesting, while providing the best source of information in order to get a good painting. Once you have your beets, arrange them in a compositionally sound fashion. You can look at Bill's arrangement for inspiration. When you have a good setup, start doing some thumbnail sketches on a piece of scrap or sketch paper to fine-tune your composition. Feel free to do as many as necessary, until you have something you like. Bill decides to go for a portrait layout, and keeps the focal point in the bottom left corner rather than in the center. He also sweeps the stems and leaves towards the top right corner, and notes that you don't have to place everything inside the frame of your sketch. Throughout the process, occasionally spray your beets with clean water, and when you're done, you can block in the main values (i.e. light vs dark areas) in your thumbnail sketch. Below is a close-up of Bill's thumbnail sketch:
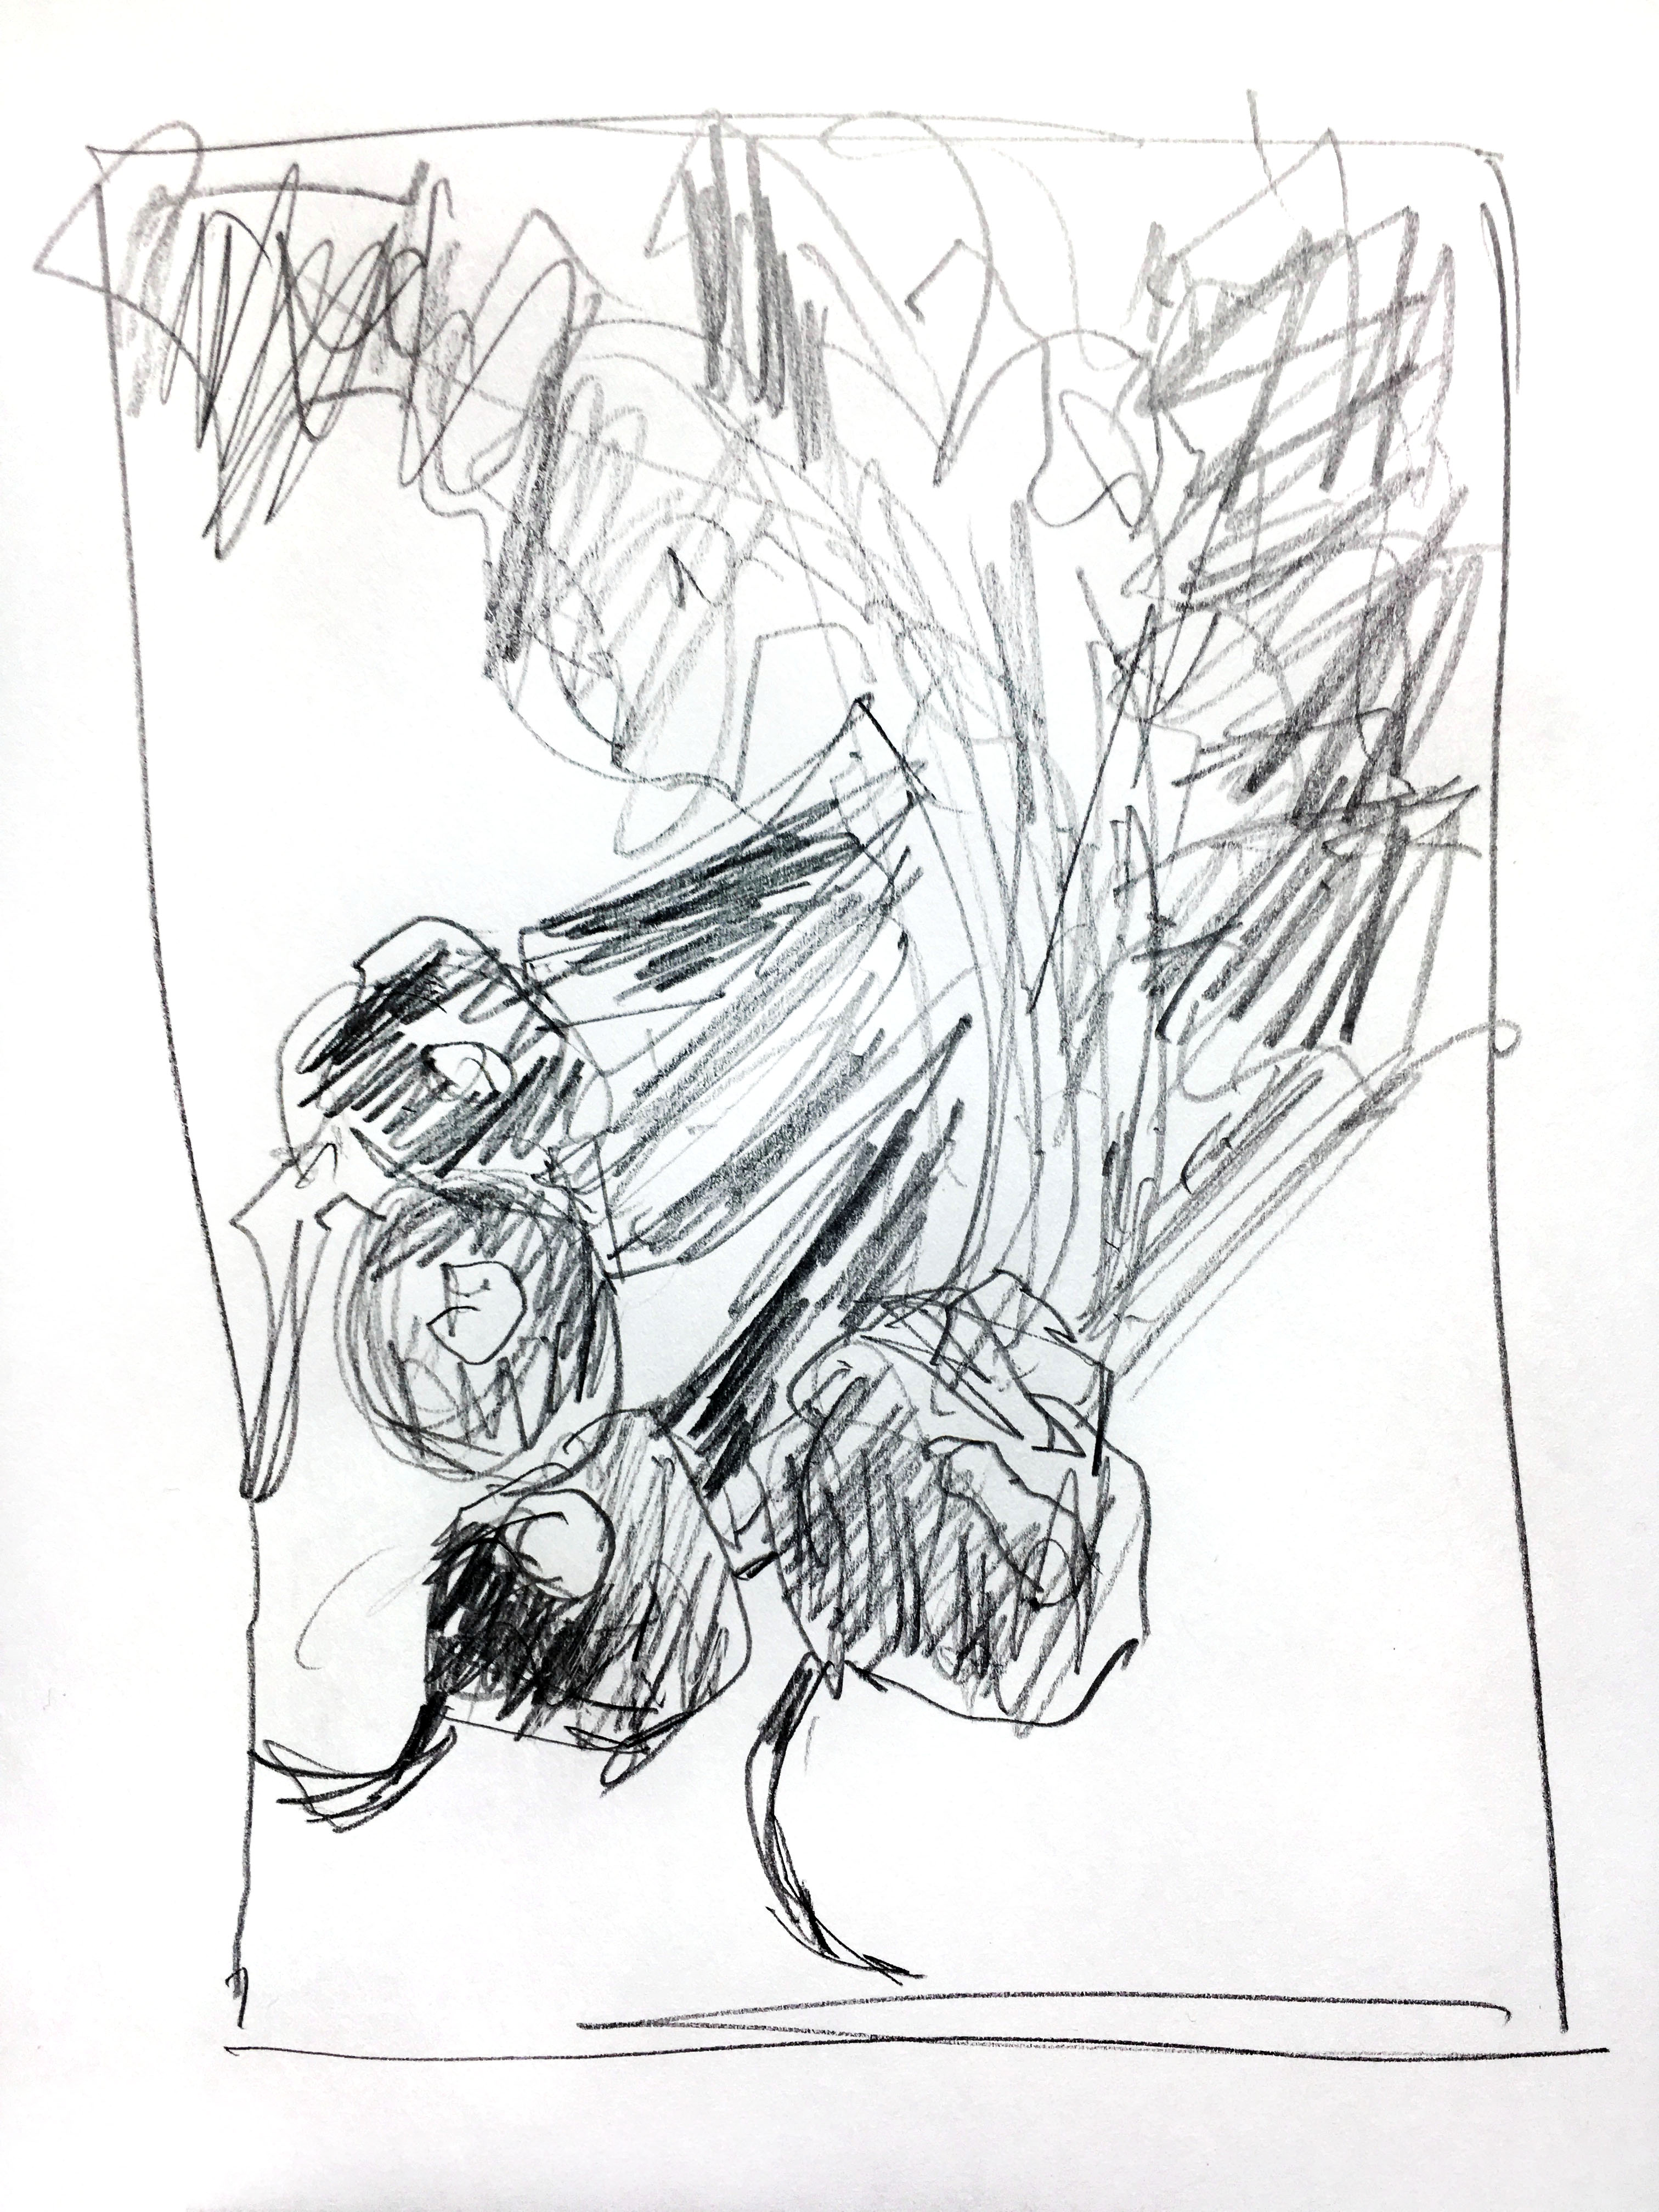
Step 2: Sketching A Veggie Still-Life
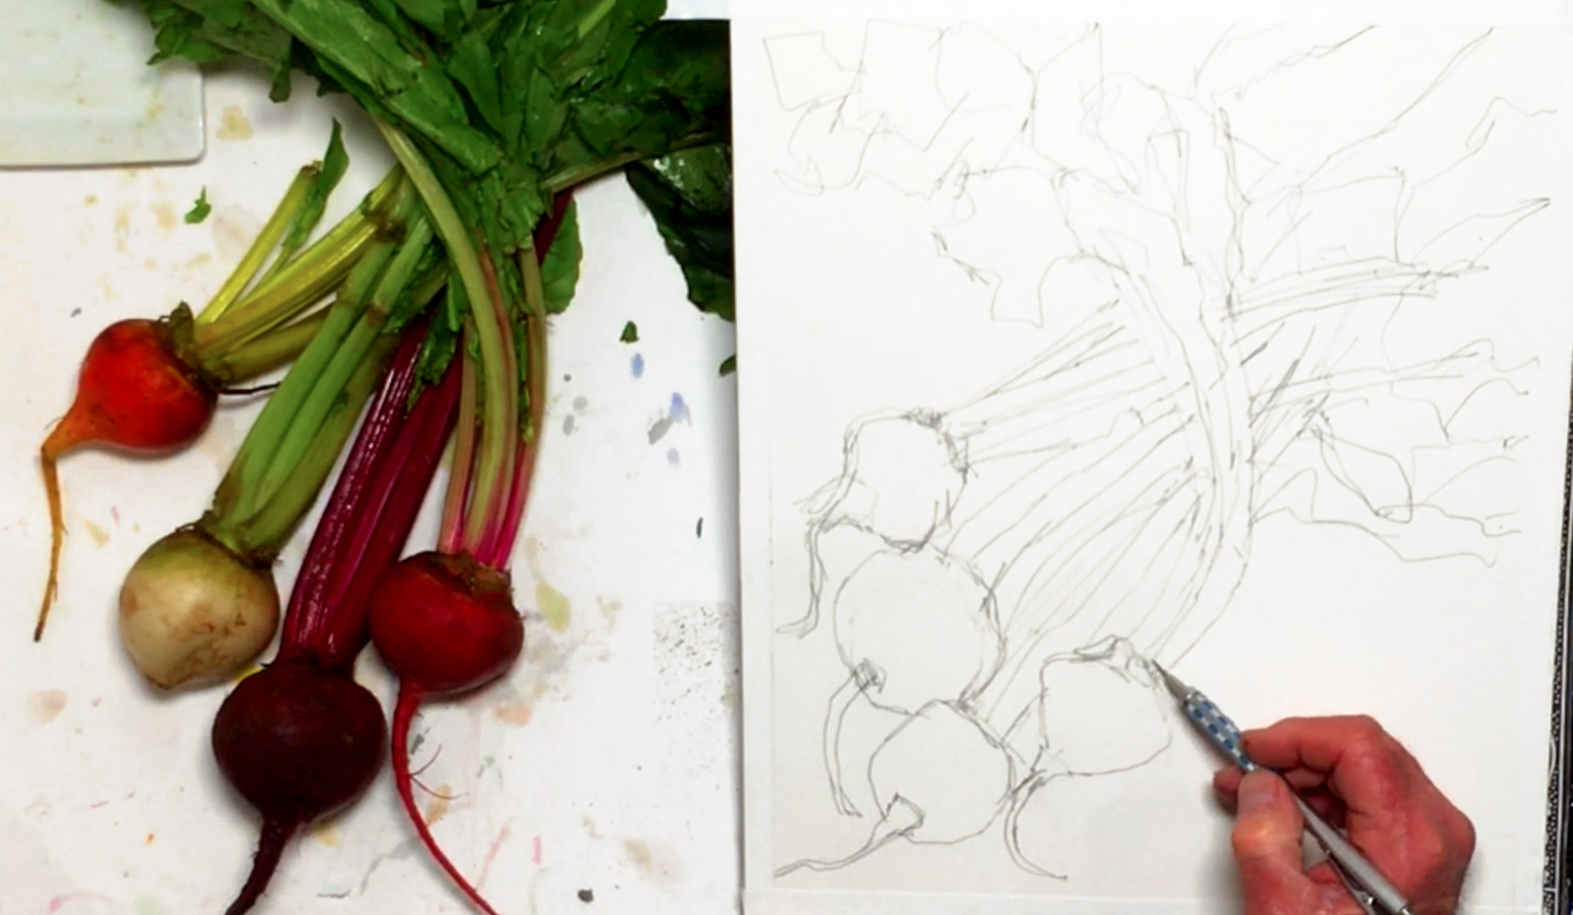 Tape the edges of your watercolor block, and while doing so, feel free to adjust the size of your painting by marking the borders with your tape. Any extra space can be used to test colors on. Next, transfer your composition to your watercolor block, taking more care this time to get the proportions and drawing right. Start with the big shapes before moving to smaller shapes and details. You don't have to make it super realistic, and try not to erase too much as this may affect the paper's surface. Below is a close-up of Bill's final sketch:
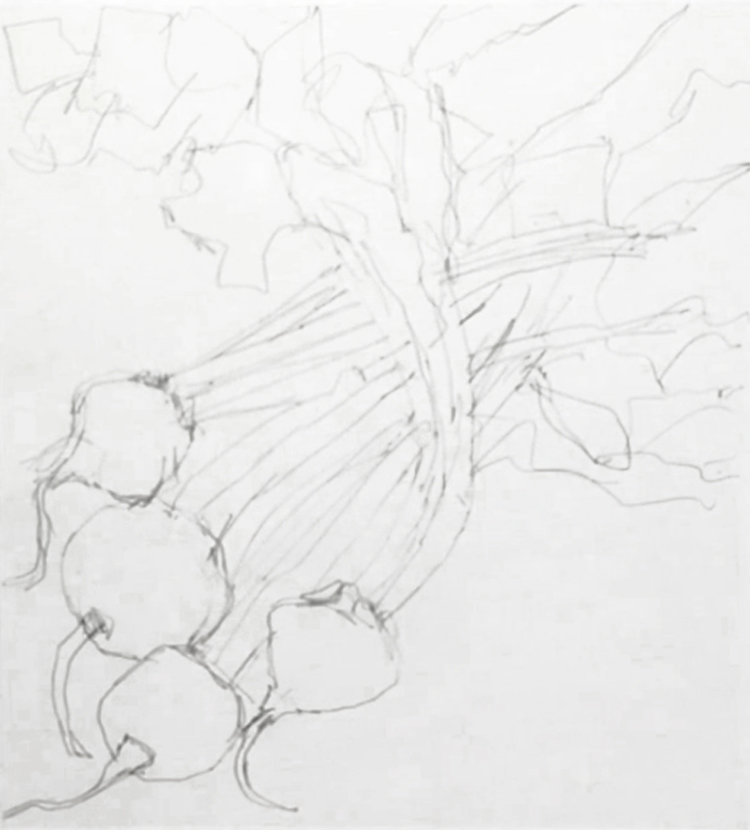
Step 3: Layering Colors For Colorful Beets
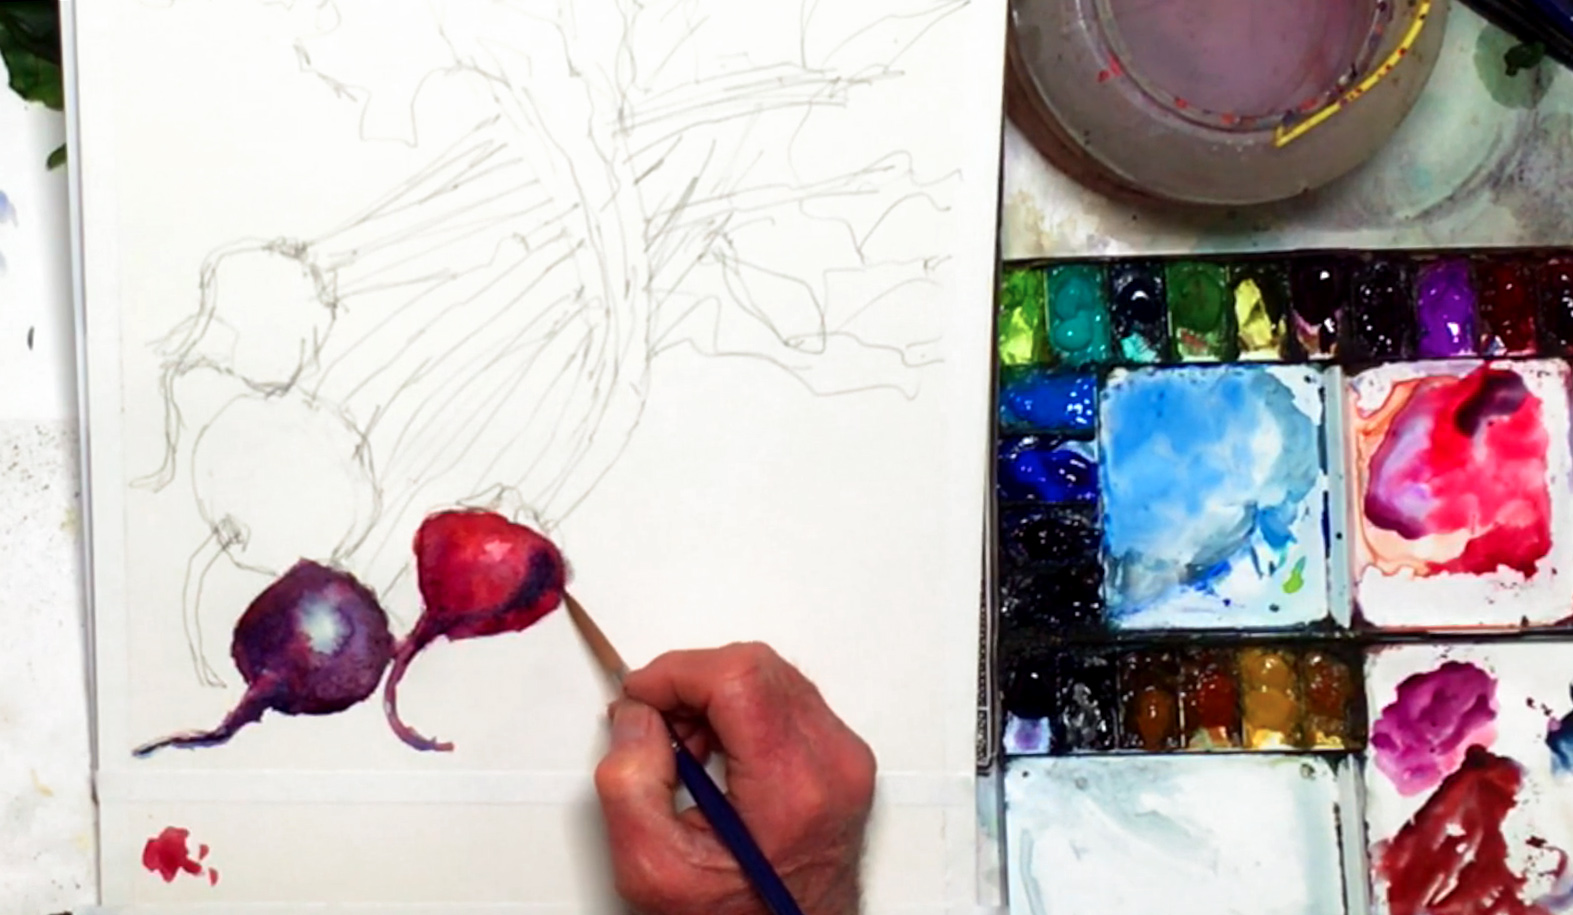 About 10 minutes before painting, spray your paints with the same spray bottle to prepare them for use. You can also refer to your thumbnail sketch for determining values while mixing your colors for this watercolor still-life. Once the paints have softened, start with the no. 12 rigger brush, and wet the purple and red beets with clean water. This is in preparation for the "wet-on-wet" technique. Next, switch to a smaller no. 10 rigger, and drop in Cerulean Blue as an undertone for both these beets. Make sure to paint around the highlights! Add a mixture of Permanent Mauve and Cobalt Violet Light to the purple beet, and lift out puddles with a wiped-off brush. Add Permanent Carmine for the red beet, and work while the paper is wet to get softer blends. Layer some Mineral Violet for the purple beet again, and paint in a little ridging along the tail of the root. For shadows, drop in Indigo. Be careful not to make the colors too muddy while layering! Mix Cobalt Blue Hue and Permanent Carmine, and use this for the red beet's shadows. Add Cadmium Red Purple on top of the lighter areas, and soften the edges around the highlights. Go back to the Indigo and add a touch of Cadmium Red Purple for stronger shadows on the red beet. Watercolor is a transparent medium, which is why you need to build up several layers for it to have more depth. It will also help create a glowing effect, especially when done right.
Step 4: Layering Lighter Colors And Rounding Them Out
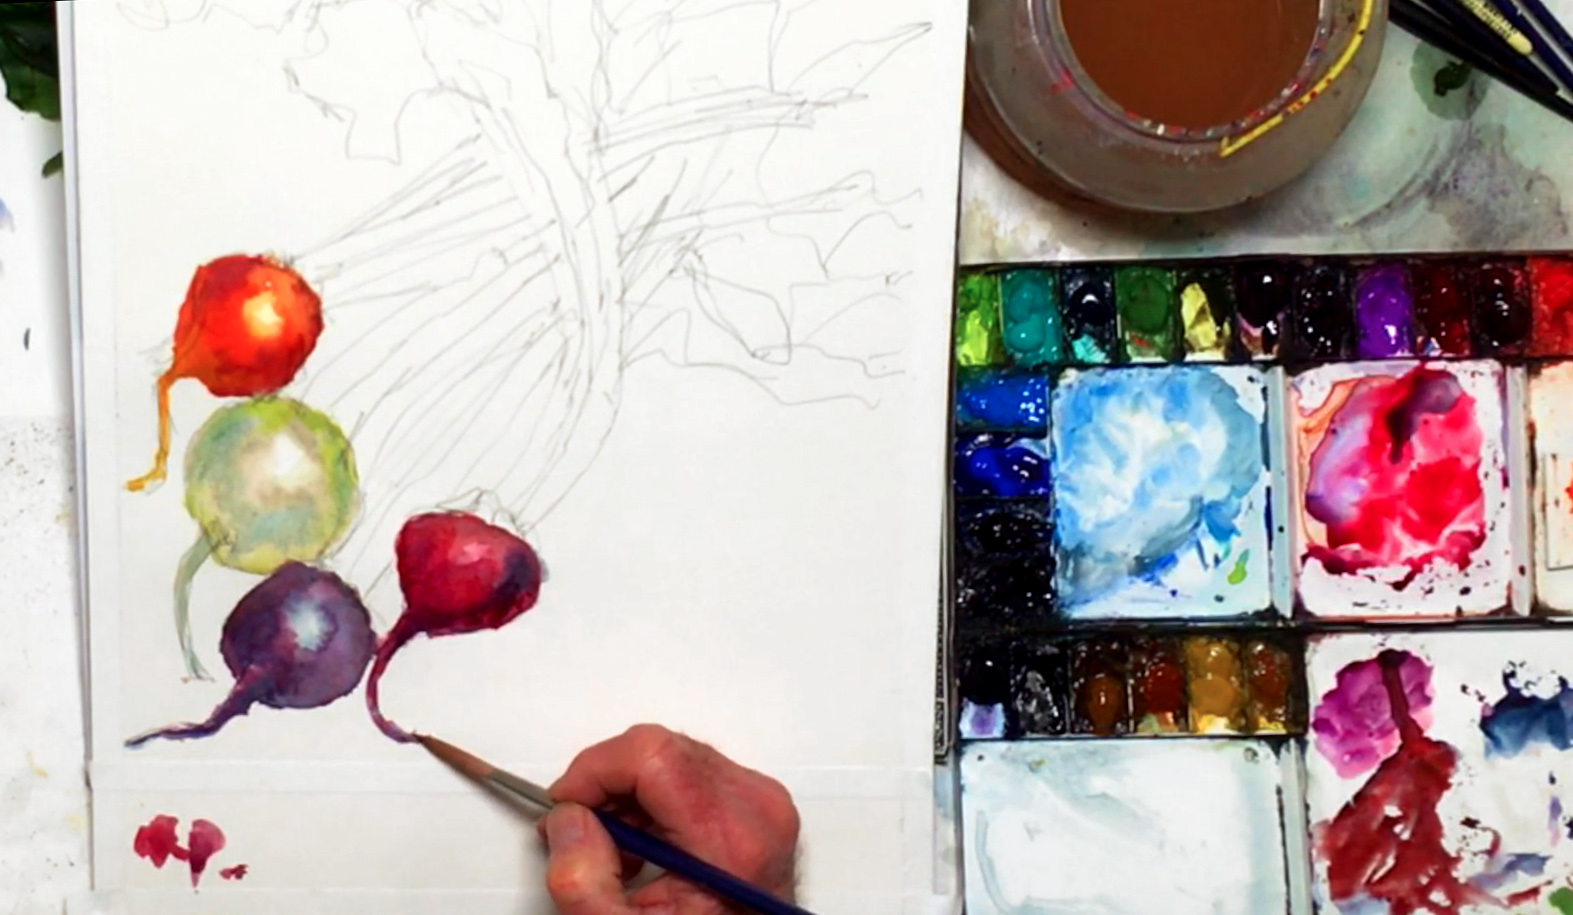 For the other two beets, let's switch it up and use the "wet-on-dry" technique for stronger colors and more control over the paint. Mix Lemon and Cadmium Yellow Deep, and use this as the base layer for the orange beet. Once again, leave highlights white. Add Brilliant Orange on top for the main color, and keep checking your values to see where to paint reflected light, shadows, etc while you progress. Use Permanent Carmine and Permanent Alizarin Crimson for shadows, and smooth out your value transitions with more Brilliant Orange and Lemon Yellow. Make sure the beet still looks round while you do this! For the white beet, use Buff Titanium as a base color for some color contrast. Next, add Oxide of Chromium, then use Leaf Green for a brighter feeling in the lighter areas. For shadows, drop in Cerulean Blue, but not too much as the background will be the same color. While you paint, you can fix the other beets as necessary. You can even add a glaze over the dried colors, which will add a subtle tone to the beets and improve the overall painting.
Step 5: Stalks And Stems
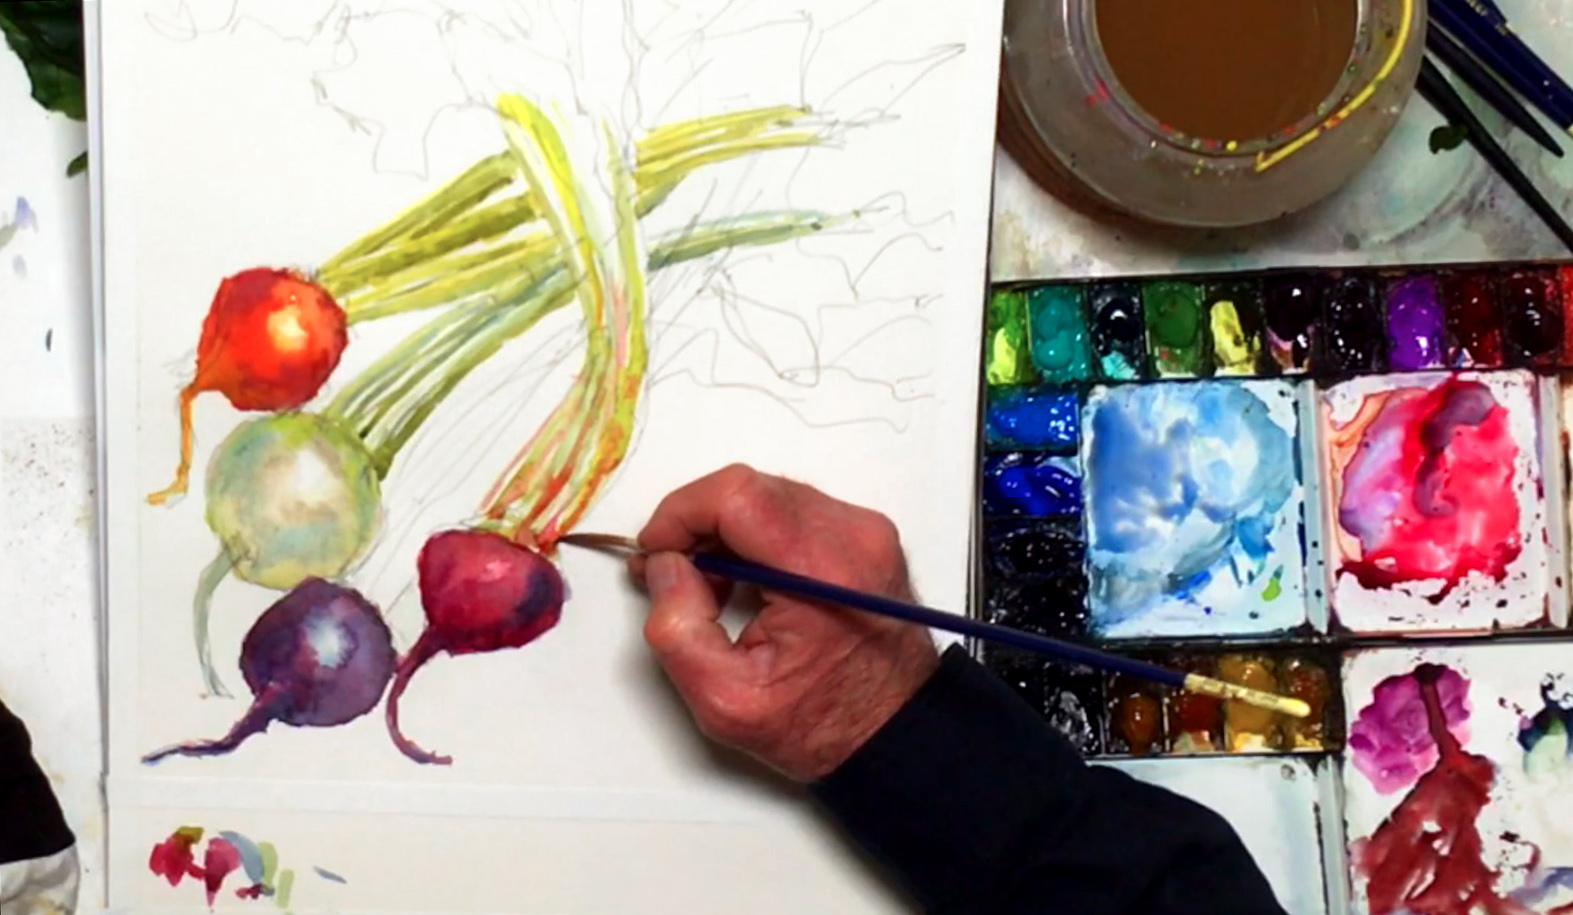 To paint the beets' stalks, mix Leaf Green with the yellows for a base color. Start from the top (the orange beet's stems) and streak in the paint, leaving slivers of white for highlights. Drop in Oxide of Chromium while the paint is still wet. For the next set of stems below, mix Oxide of Chromium with the yellows for a different green base. Once you're done, drop in Cerulean Blue for shadowed edges. Add variety with Olive Green, and switch to the no. 8 rigger brush whenever you need to paint some thinner stalks. You can also paint the next set of stalks using the same method. Wet the red beet's stems with the no. 8 rigger and clean water, then streak in Permanent Carmine and Alizarin Crimson, starting from the bottom and tapering off toward the middle of the stalks.
Step 6: Refining Details In A Watercolor Still-Life
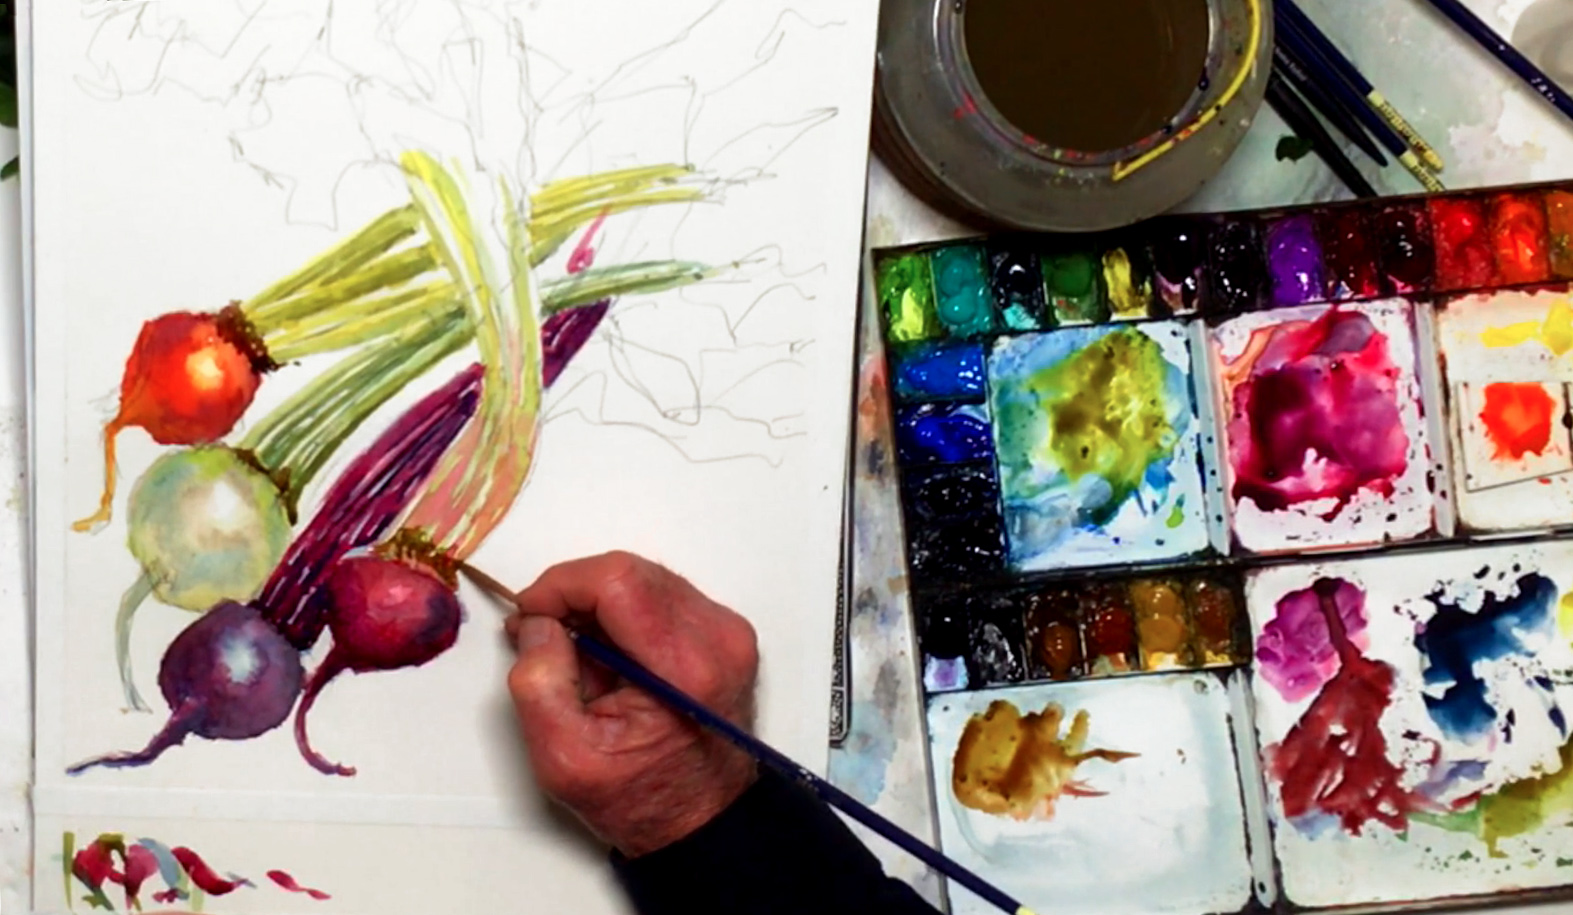 For the purple beet's stalks, mix Cerulean, Cobalt, and Ultramarine Blue with the no. 12 rigger brush, and streak it in as a base color. Lift out any puddles, and feel free to pull some blue into the surrounding objects to tie them together. While you wait for these stalks to dry, add more Olive Green to the darker edges of the other stalks. With the red mixture, paint wisps where the orange beet connects to its stems. Alter the color a little with Burnt Umber. For the white beet's wisps, mix Olive Green and Burnt Umber and paint them in. Going back to the no. 12 rigger brush and purple stems, mix Permanent Alizarin Crimson with Cobalt Blue Hue, then glaze this mixture on top of the blue layer. Like before, leave some of the undertones showing for a better effect. Also, use a saturated version of this purple mixture for the wisps on the same beet. When you're done with the details and tweaking things, leave this whole area of your watercolor still-life to dry.
Step 7: Painting A Leafy Effect
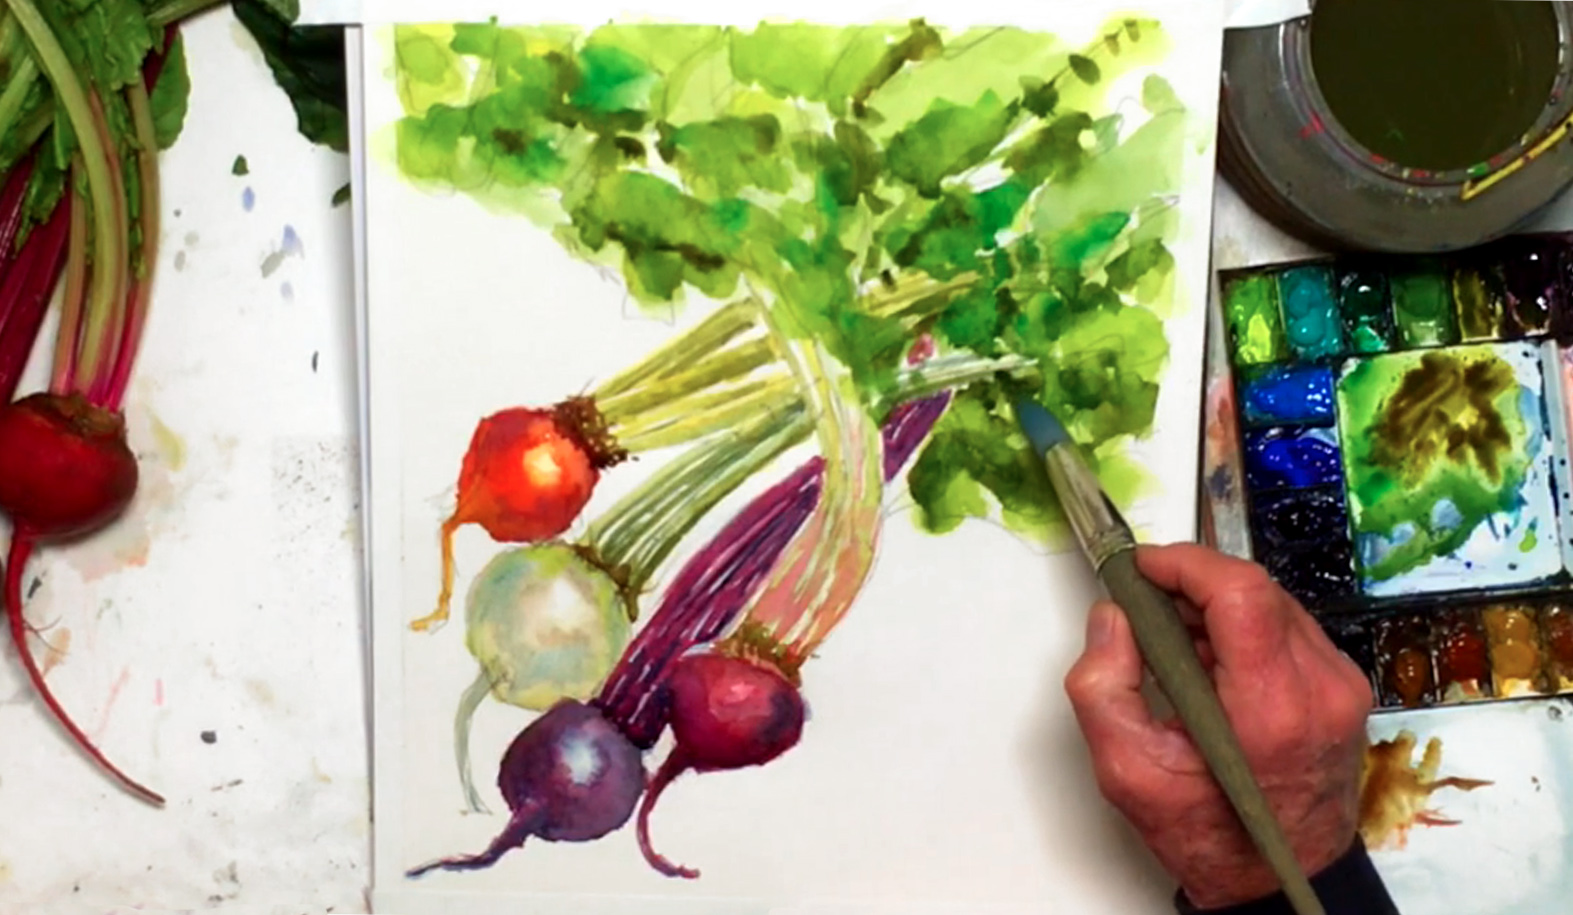 With the largest round brush (no. 20), add Leaf Green to the blue mixture on your palette. Make some dabbing marks with your paintbrush for the leaves on top, and randomize the size and shape of your brushstrokes. While the paint is still wet, drop in other colors like Lemon Yellow, Oxide of Chromium, Viridian, and Olive Green for a variety of green shades. Vary the saturation level of each color as well to create different values, and avoid painting regular patterns. You can also leave some white areas here as well. For the darkest greens, mix Olive Green and a touch of Mineral Violet. When you're done, leave the whole watercolor still-life painting to dry.
Step 8: A Quick And Easy Background
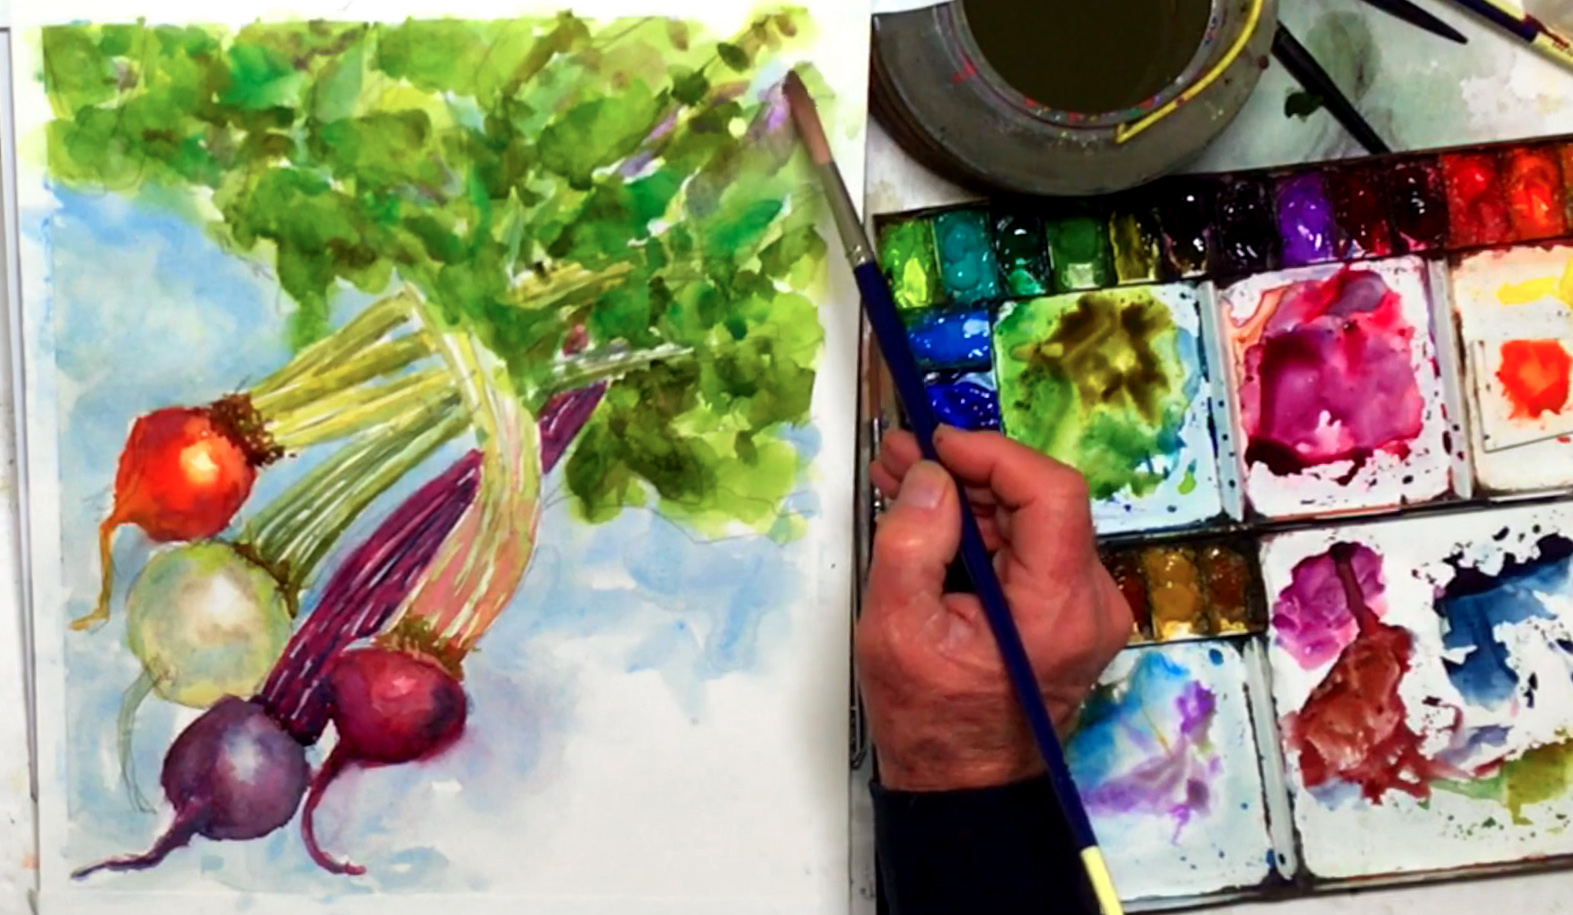 Touch up the beets if needed, and soften the gradients of the colors. For the background, use the no. 12 rigger brush and an extremely diluted Cerulean Blue, and paint around the beets. Feel free to get a little messy here, scrubbing in between stems and leaves when necessary, and adding contrast to the still-life foreground. Add a little of the same blue to the leaves as well, and change it up by using Cobalt Green and Violet Light for more variety in the leaves.
Step 9: Finishing Off A Watercolor Still-Life
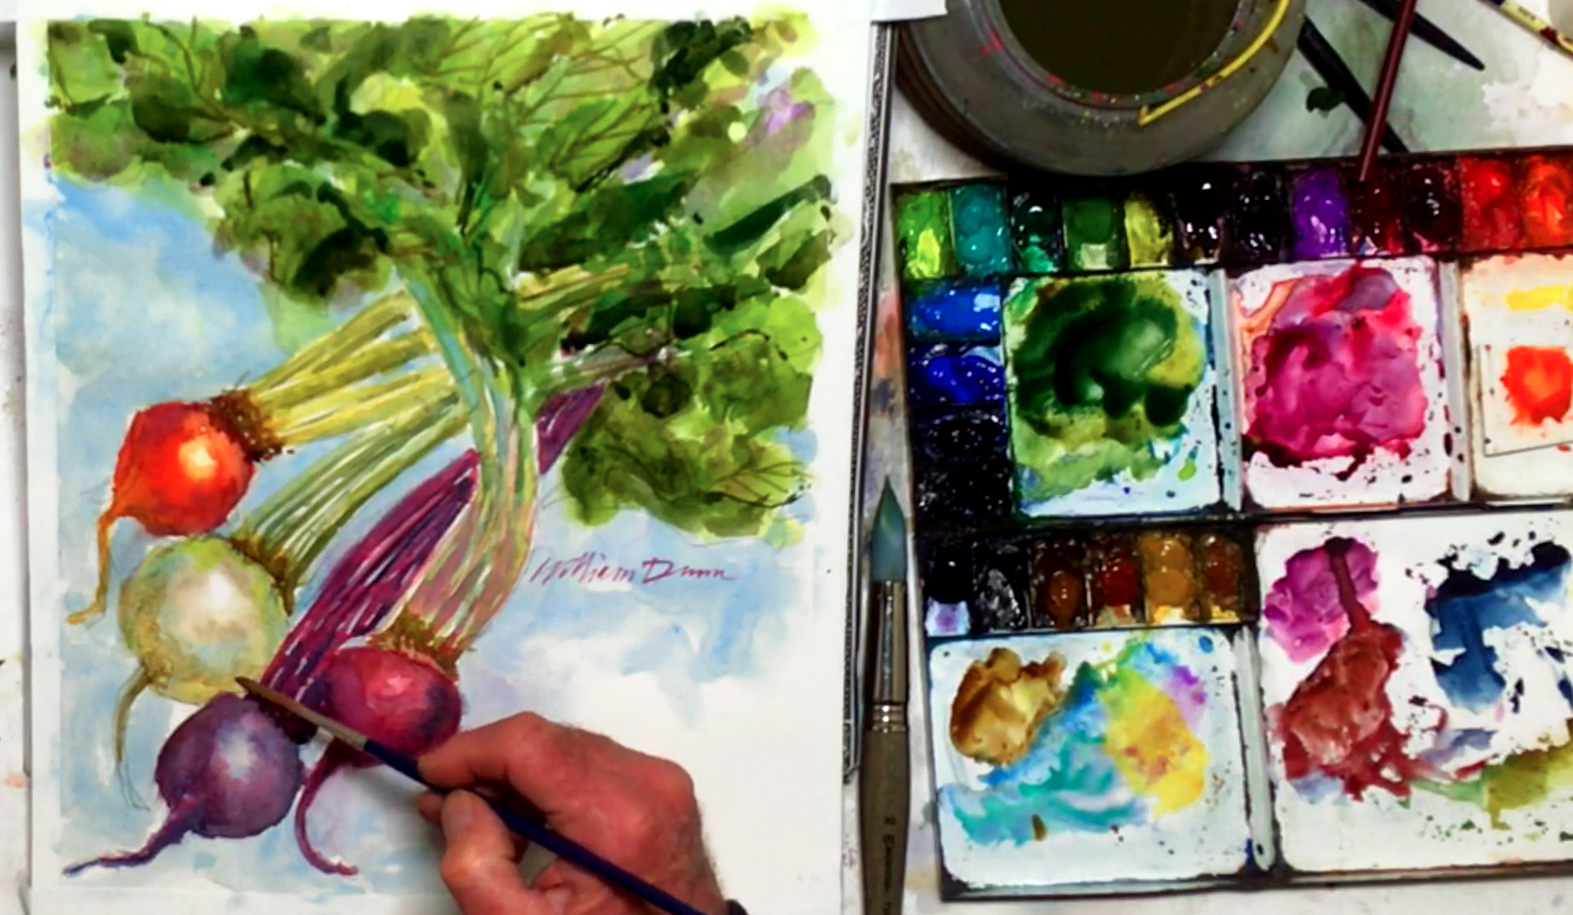 For touchups, switch to the no. 6 rigger, then add Quinacridone Gold into the wispy bits. Use the dark green mix to add edges to the leaves, and to paint in some of the leaves' veiny details. You can also use the large no. 20 brush to add a mixture of Olive Green and Indigo for the edges of the darkest shadows on the leaves, or more Burnt Umber for the white beet's tail. Once you're satisfied with the results, mix up Permanent Mauve mixed with Alizarin Crimson, then use a bamboo brush to sign your painting. With that, you're done with this watercolor still-life! Hope you had fun.


