Follow Isabella Kung and learn how to dissect and paint a dramatic sky and landscape using several watercolor painting techniques, with emphasis on the variegated wash, a specific wet-on-wet watercolor technique. Want to watch the video version? This watercolor technique is also taught at our Beeblys WatercolorPainting.com.
Materials used:
- Reference picture of a barn under stormy skies
- A book of Arches rough grain watercolor paper (140lb, size 9" x 12")
- Masking tape (width 1") or a wooden board (at least 9" x 12")
- HB pencil
- Painting palette for watercolor paints
- Two cups of water
- A towel or rag to dry off the brushes
- Tissue
Paints
- Winsor & Newton's Professional Watercolors: French Ultramarine Blue
- Indigo
- Ivory Black
- Winsor Violet (Dioxazine Purple)
- Burnt Umber
- Naples Yellow
- Cadmium Yellow
- Permanent Sap Green
- Perylene Green
- Burnt Sienna
- Viridian
- Brown Madder
- Cerulean Blue
- Raw Sienna
Brushes
- Mop brush (½" round)
- Rosemary and Co.: Pure squirrel hair mop brush (1" cat's tongue/oval wash)
- Rosemary and Co.: Pure squirrel hair mop brush (½" cat's tongue/oval wash)
- Escoda: Angular brush (size 10)
- Escoda: Reserva Kolinsky Tajmyr 1212 brush (size 6, round)
- Raphael: Synthetic flat brush (½", size 12)
- Stanislaus Imports Inc.: Dagger brush (½")
Step 1: A Simple Sketch
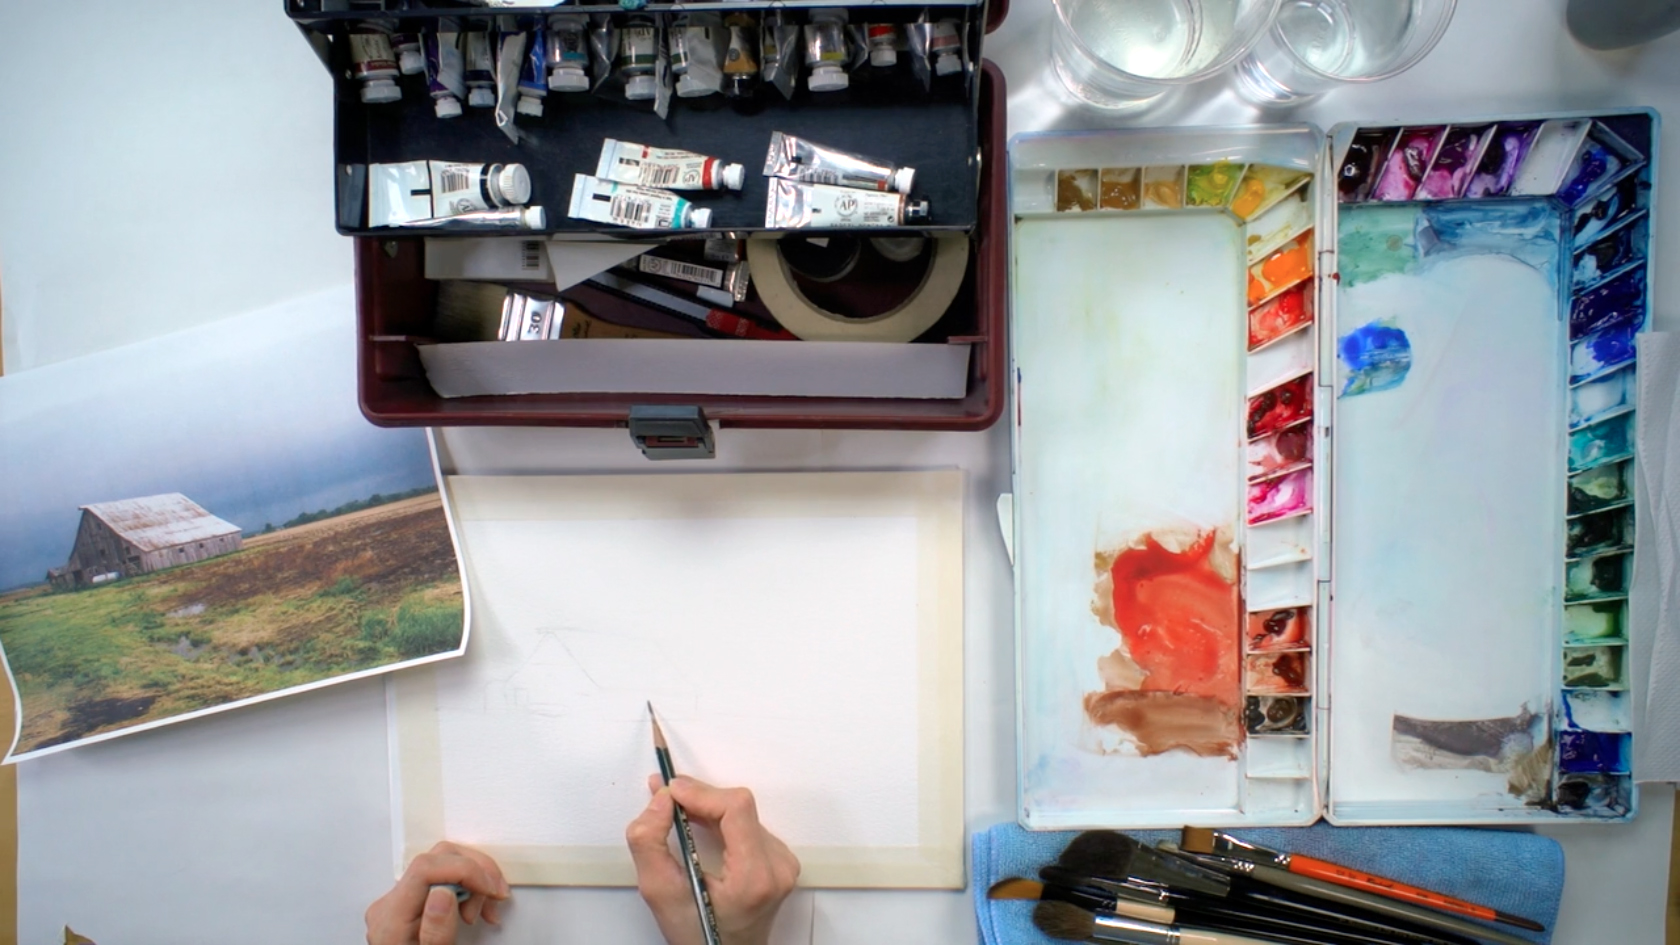 Tape all four sides of your paper to the wooden board, leaving about a 1" border of tape that overlaps your paper. If you do not have a wooden block, tape the paper together so the cardboard at the back of the book of watercolor paper acts as a board to prop your paper. Consulting your reference image, lightly sketch out the basic shapes and outline of your landscape using the HB pencil. Pay close attention to the angle and placement of the horizon line. Below is a close-up of Isabella's sketch:
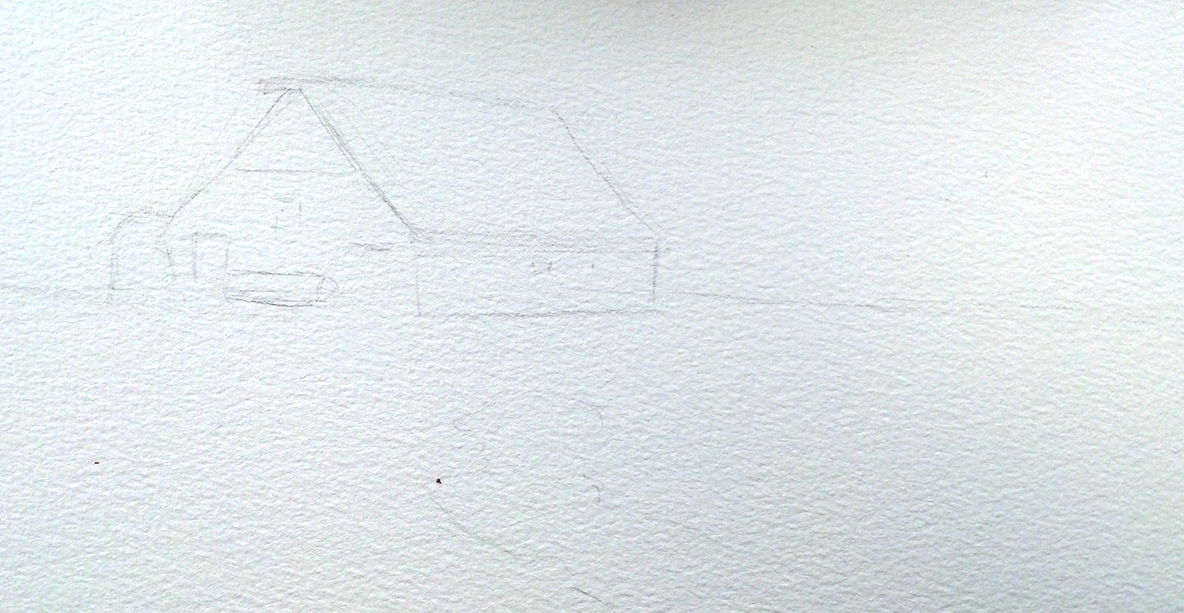
Step 2: Stormy Skies With The "Wet-On-Wet" Technique
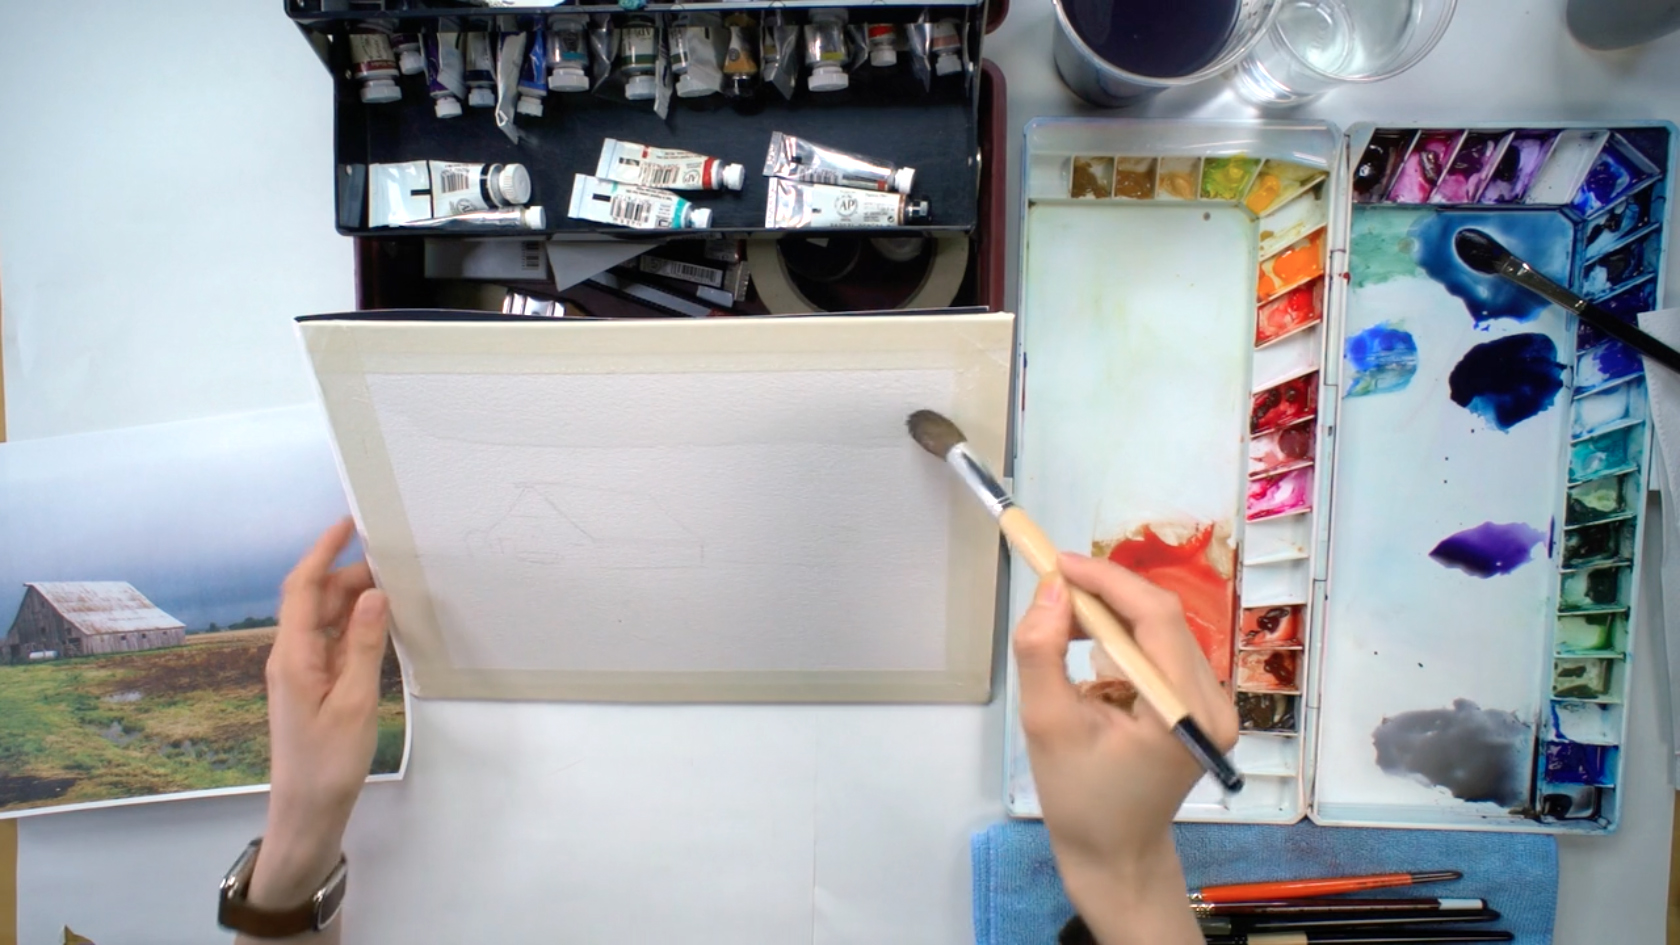 Before adding the first wash, mix the colors you will be using for the sky. For the first few layers, separately mix and prep a dab of each with some water: French Ultramarine Blue with some Ivory Black to darken it, Indigo, Winsor Violet (Dioxazine purple), Ivory Black, and Burnt Umber. Tilt the paper at a 45° angle, then using the ½" round mop brush, wet the the sky portion of the drawing with clean water, making sure to make sharp, clean edges along the barn and horizon line. You can move the paper around to paint different areas or check where the paper is already wet. You can also change to a smaller brush when wetting smaller areas.
Step 3: Dropping In Paint With A "Cat's Tongue"
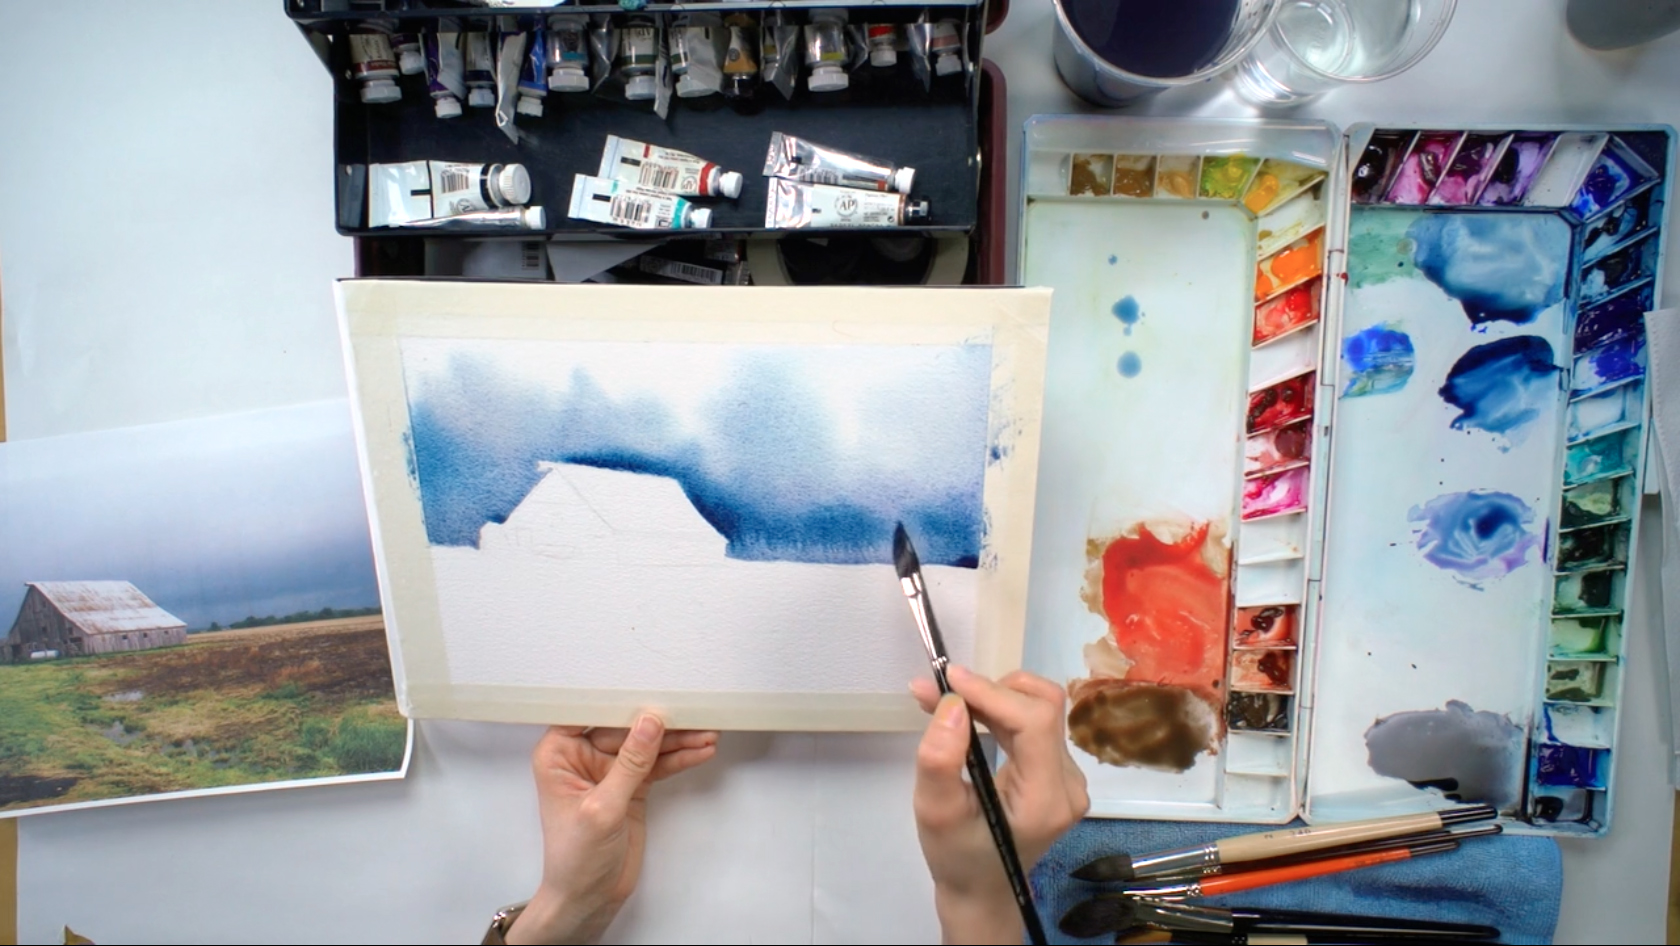
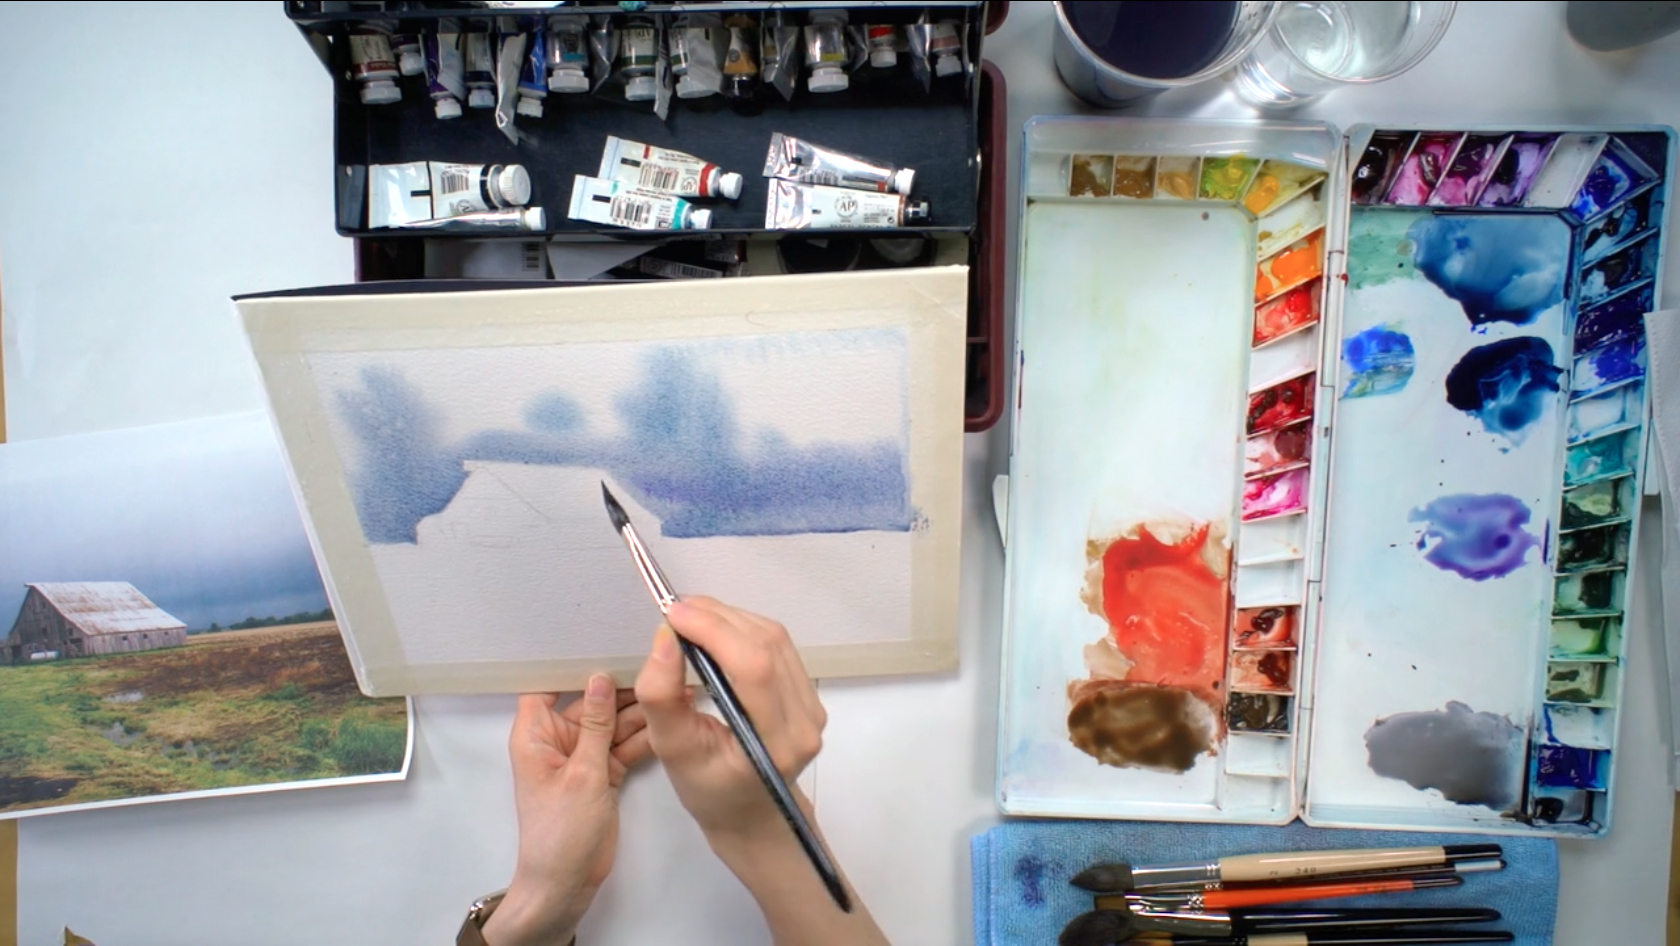 When you're done wetting the paper, remove any excess water with a dry brush, and tilt the paper around to even out the wash. With the ½" cat's tongue brush, drop in the Ultramarine Blue and Ivory Black mix in the lower section of the sky. Tilt the paper around and allow the color to bleed and move toward the top of the painting, adding touches of Violet and Indigo near the horizon line and around the barn.
Step 4: Painting With Gravity
 Add a few layers of Indigo and then a touch of Black to create a cloudy effect. Continue to tilt the paper to allow the color to travel where you want it to go. Since the barn is the main subject of this painting, try to control the paint so that the darkest area of the sky is right behind the barn to bring the focus to the barn. Add more paint if the sky isn't dark enough.
Step 5: Painting The Barn
 While the sky is still wet, take the opportunity to tie the shape of the barn's darker side with the sky. Mix some Burnt Umber with Violet to make a warmer purple tone, then paint the shadowed side of the barn, wet paint on dry paper (i.e. the "wet-on-dry" technique). It's fine if a bit of the sky's blue starts seeping into the barn's purple. Pay close attention to simplifying the shadow shapes. For the bottom of the barn where the barn meets the ground, paint a rougher edge to show the foliage and grass around the barn. Add more Burnt Umber where you want warmer and darker shadows, then paint a clean shadow line under the roof of the barn. When you're satisfied with how the sky and shadows look, double-check that there are no excess puddles of color before leaving it to dry.
Step 6: Adding A Creek And Reflections
 While waiting for the top portion to dry, work on the bodies of water in the painting. With the same ½" cat's tongue brush, mix some of the Ultramarine/Black with a little more water and loosely paint the shape of the creek and puddles, moving the brush from side to side. Tilt the paper so the paint moves towards the bottom. Change back to the warm purple used for the barn's shadowed side, mix a little more water in, then paint the side of the barn underneath the roof. Clean all the used brushes and leave the whole painting to dry.
Step 7: Fields Of Neutral Colors
 Use your reference picture to determine the colors that you will need in the next layer of the painting. With different brushes, separately mix and prep a dab of each with some water: Naples Yellow, Lemon Yellow and Cadmium Yellow, Permanent Sap Green, Perylene Green, Burnt Sienna, Burnt Umber, Brown Madder, and Cerulean Blue. With the 1" cat’s tongue hair brush, begin lightly painting ("wet-on-dry") some Naples Yellow just below the horizon line and continue downward, using horizontal brushstrokes. This is the preliminary color for the field. Next, blend in some of the Lemon Yellow/Cadmium Yellow mix with the Naples Yellow paint that is already on the paper ("wet-on-wet"), intensifying and darkening some areas of the ground.
Step 8: Growing Green Grass
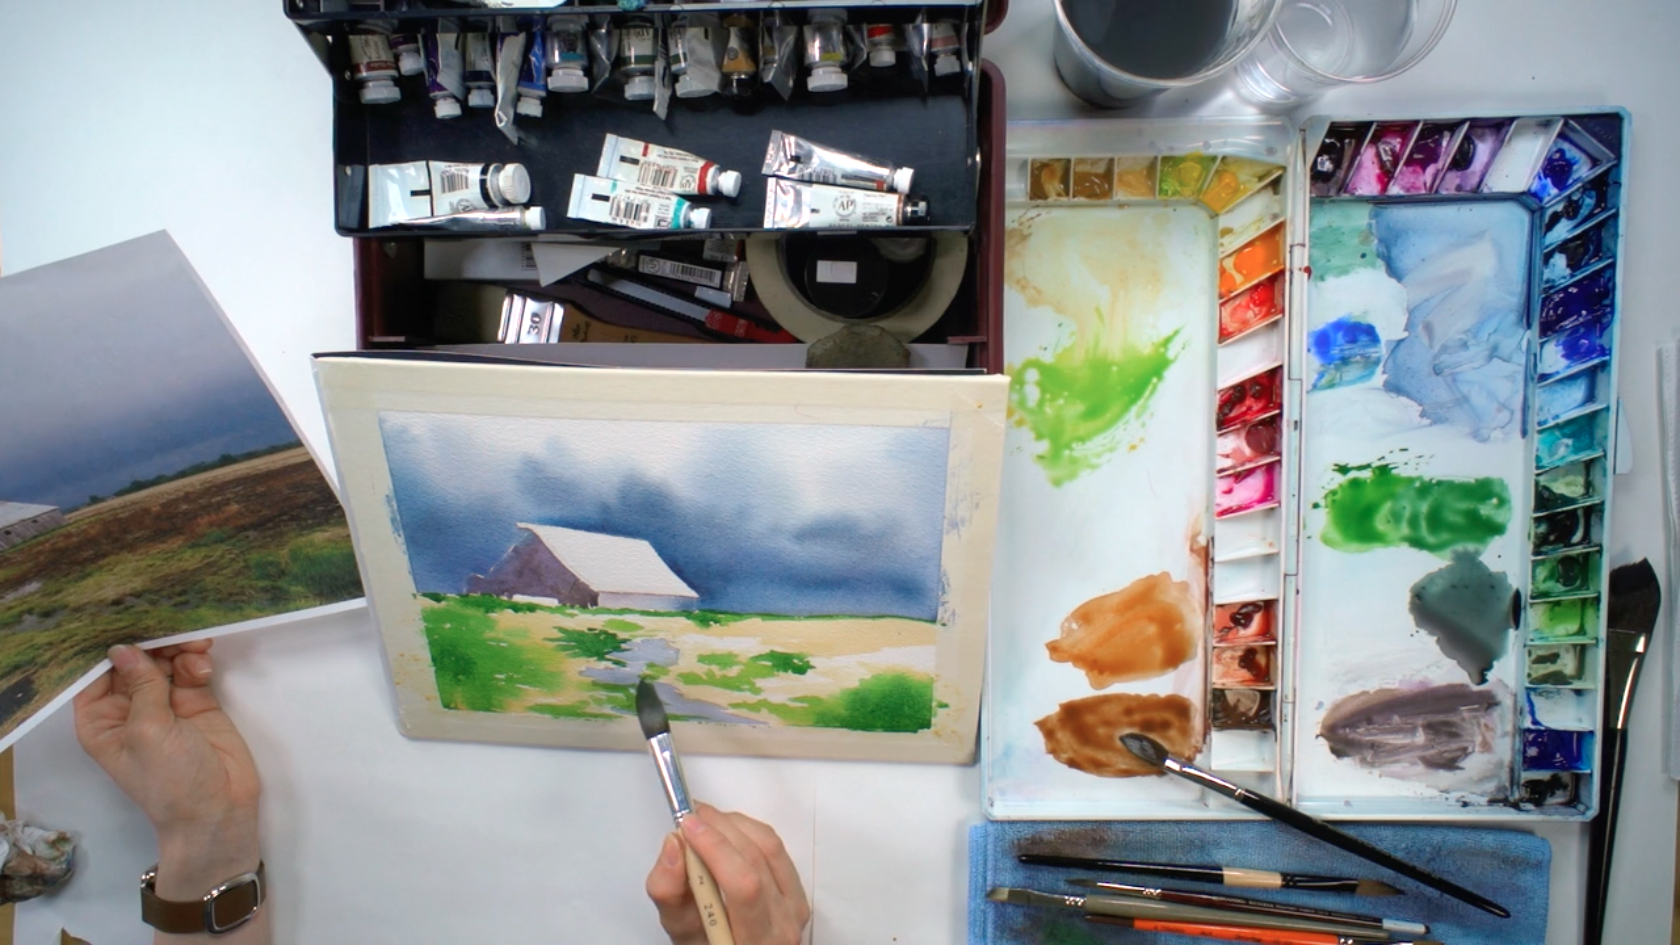 Switching to the ½" round mop brush, take the Sap Green and paint some patches of green grass, starting with the darker areas first. Remember to keep using your reference picture as a guide. Mix a little bit of the Lemon Yellow/Cadmium Yellow to the Sap Green, and add it to the areas where there is a lighter green. Don't paint too much detail; just paint enough to indicate where the grass is without having to paint every single blade of grass. Add a little Viridian to the Sap Green to create a cooler green, then continue to add some variation to the grass's color.
Step 9: Dirt And Mud
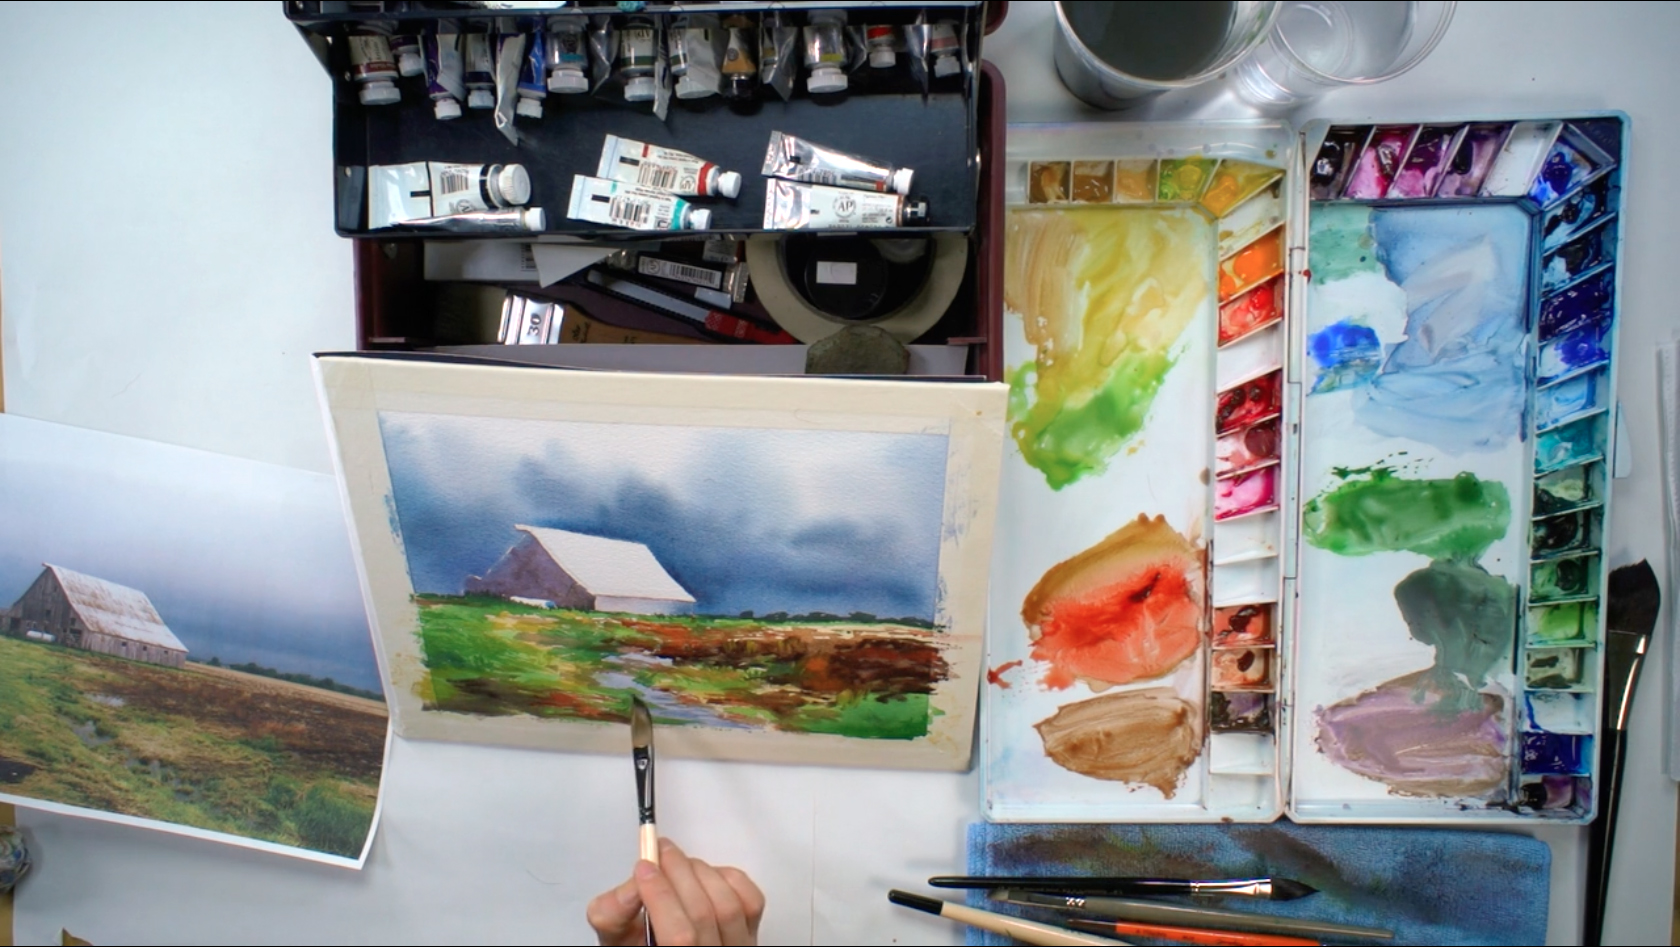
 Once the yellow portions start to dry, sharper edges can be created. With the ½" cat's tongue brush and Burnt Sienna paint, use bold brush strokes to paint the dirt patches on the field. With the dagger brush, blend in a little Cadmium Yellow and Naples Yellow with the Burnt Sienna on the paper, switching between the two brushes to create the texture of dirt. Mix some Burnt Umber and Violet to paint the darker areas of dirt. For the darkest areas in the field, use a blend of Violet and Ivory Black to echo the color used for the sky. Then, use the dagger brush and the Perylene Green to paint the silhouette of distant trees along the horizon and in front of the barn to create a sense of perspective and depth in your painting.
Step 10: Details In The Foreground
 Continuing with the dagger brush and Perylene Green, add more detail and texture to the field, using light and loose brushstrokes to paint a few blades of grass in the foreground. Squinting your eyes every once in a while will help you determine where the darker and lighter areas are, and help you see what's missing from your painting. Use the dagger brush and the lighter Sap Green to add in the shape of more distant grass, then switch with the ½" cat's tongue brush and mix the Violent, Burnt Umber, and Ivory Black to paint even darker areas of dirt. You can use Cadmium Yellow to fill in any gaps of color while adding blades of dry grass, Burnt Sienna and Brown Madder for middle tone accents for the dirt, and a toned-down Cerulean Blue to create the reflective surfaces of the creek. NOTE: Whenever you use a new color, try to paint all the areas that has that color rather than painting a small area and constantly switching colors. This will help conserve your paint and brushes, and prevent you from having to change your water too often.
Step 11: Roof Rust And Barn Details
 While waiting for the lower part of the painting to dry, you can work on the detailing of the barn. With the clean ½" cat's tongue brush, mix Raw Sienna and a touch of Sap Green and Violet to create a muted, muddy color. Paint light strokes of rust across the roof, and add some Violent and Cerulean Blue as you work your way down the roof and the shadowed side of the barn.
Step 12: Shadows For Contrast
 When you start on the finer details, switch to the synthetic flat brush and the dagger brush. Mix some Violet, Ivory Black, and Burnt Umber using the dagger brush. Being careful not to touch any wet areas of the painting, paint the lines of shadow under the barn's roof, the wood paneling, doorway, windows, and roof edges. Try to leave some parts of the underlying layer so it shows through, using the dry flat brush to soften any edges. Keep most of your lines crisp and clean to emphasize the presence of the barn. NOTE: Any mistakes can be brushed over with a dampened flat brush.
Step 13: More Rust Using The Dry Brush Technique
 With the flat brush, fray the bristles, and take some Brown Madder paint before testing the color on some tissue (it shouldn't be too dark). To create some wear and tear rust lines on the left side of the barn roof, turn the painting sideways to help give you a more comfortable angle to paint, and gently brush the paint to create short, dry brushstrokes that follow the same direction of the roof's panels. Switch to the Burnt Sienna and apply the same texture to the right side of the roof. Check if there are any gaps in color around the barn or horizon and touch up as needed.
Step 14: Refining The Watercolor Landscape Painting
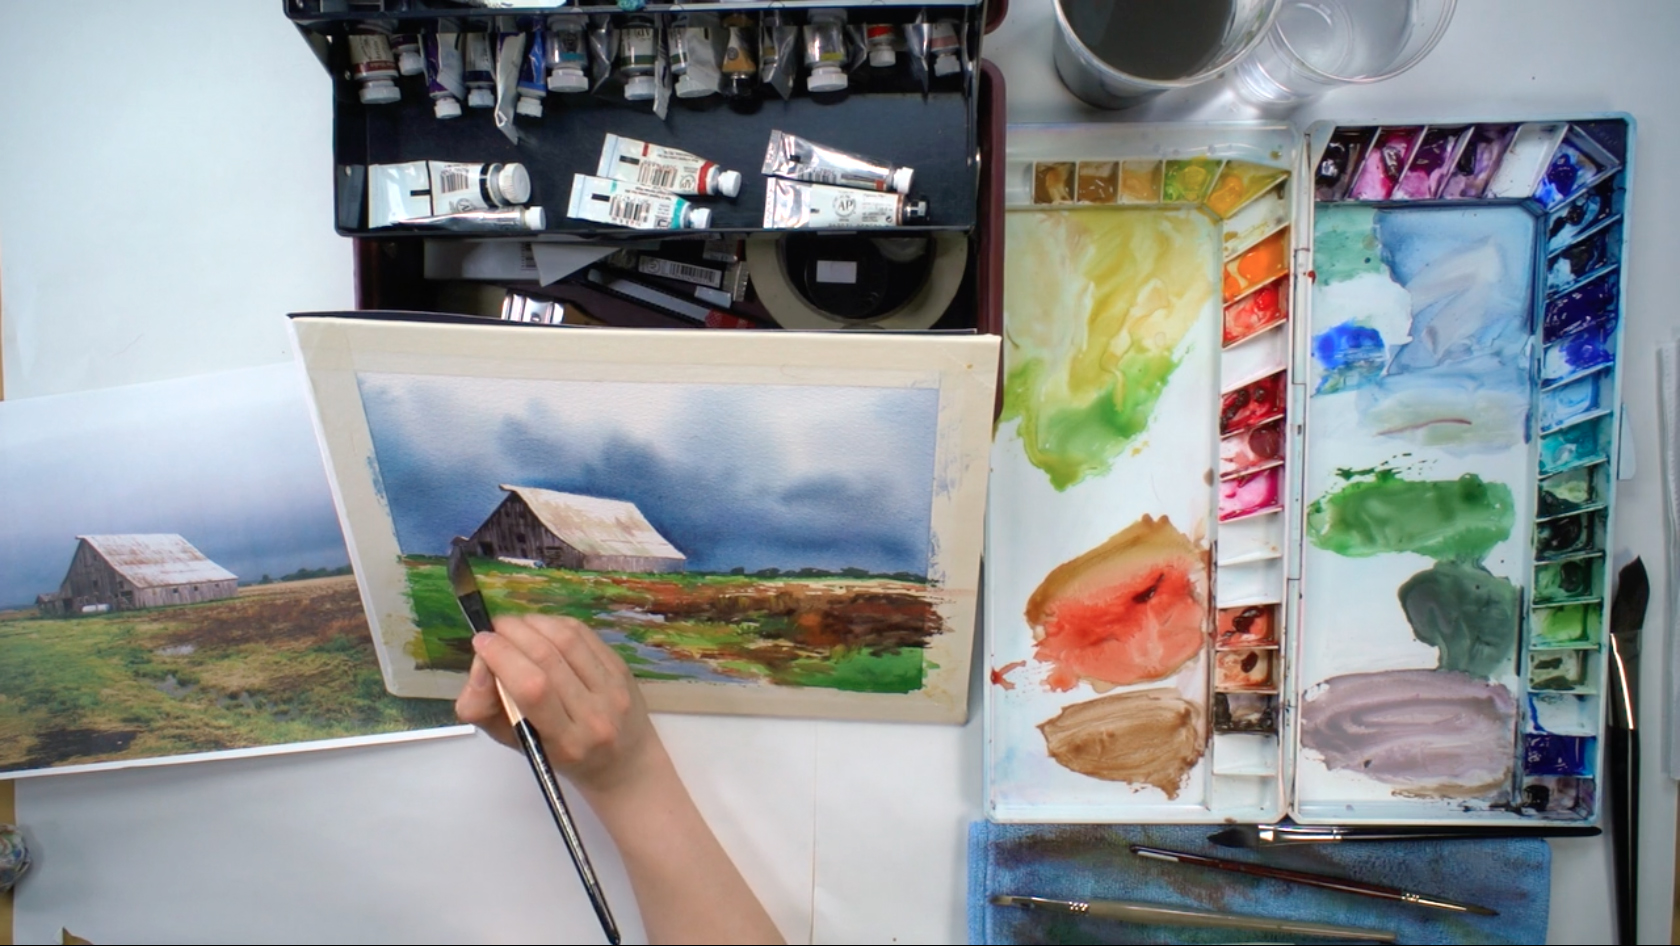
 Take a look at your reference image to give you inspiration for finer details to add to the painting, such as blades of grass towards the front of the field or the blending of tones and different color values. This will add to the sense of depth in your painting. Try not to add too many details though, as this will take the focus away from the barn. When you think you're done, prop up your painting and take a step back to see what else can be added. Make any finishing touches with the smaller brushes. When you're happy with your painting, allow it to dry, then carefully remove the masking tape without tearing the paper to reveal the clean edge. Want to watch the video version? We teach the variegated wash technique at our Beeblys WatercolorPainting.com.


