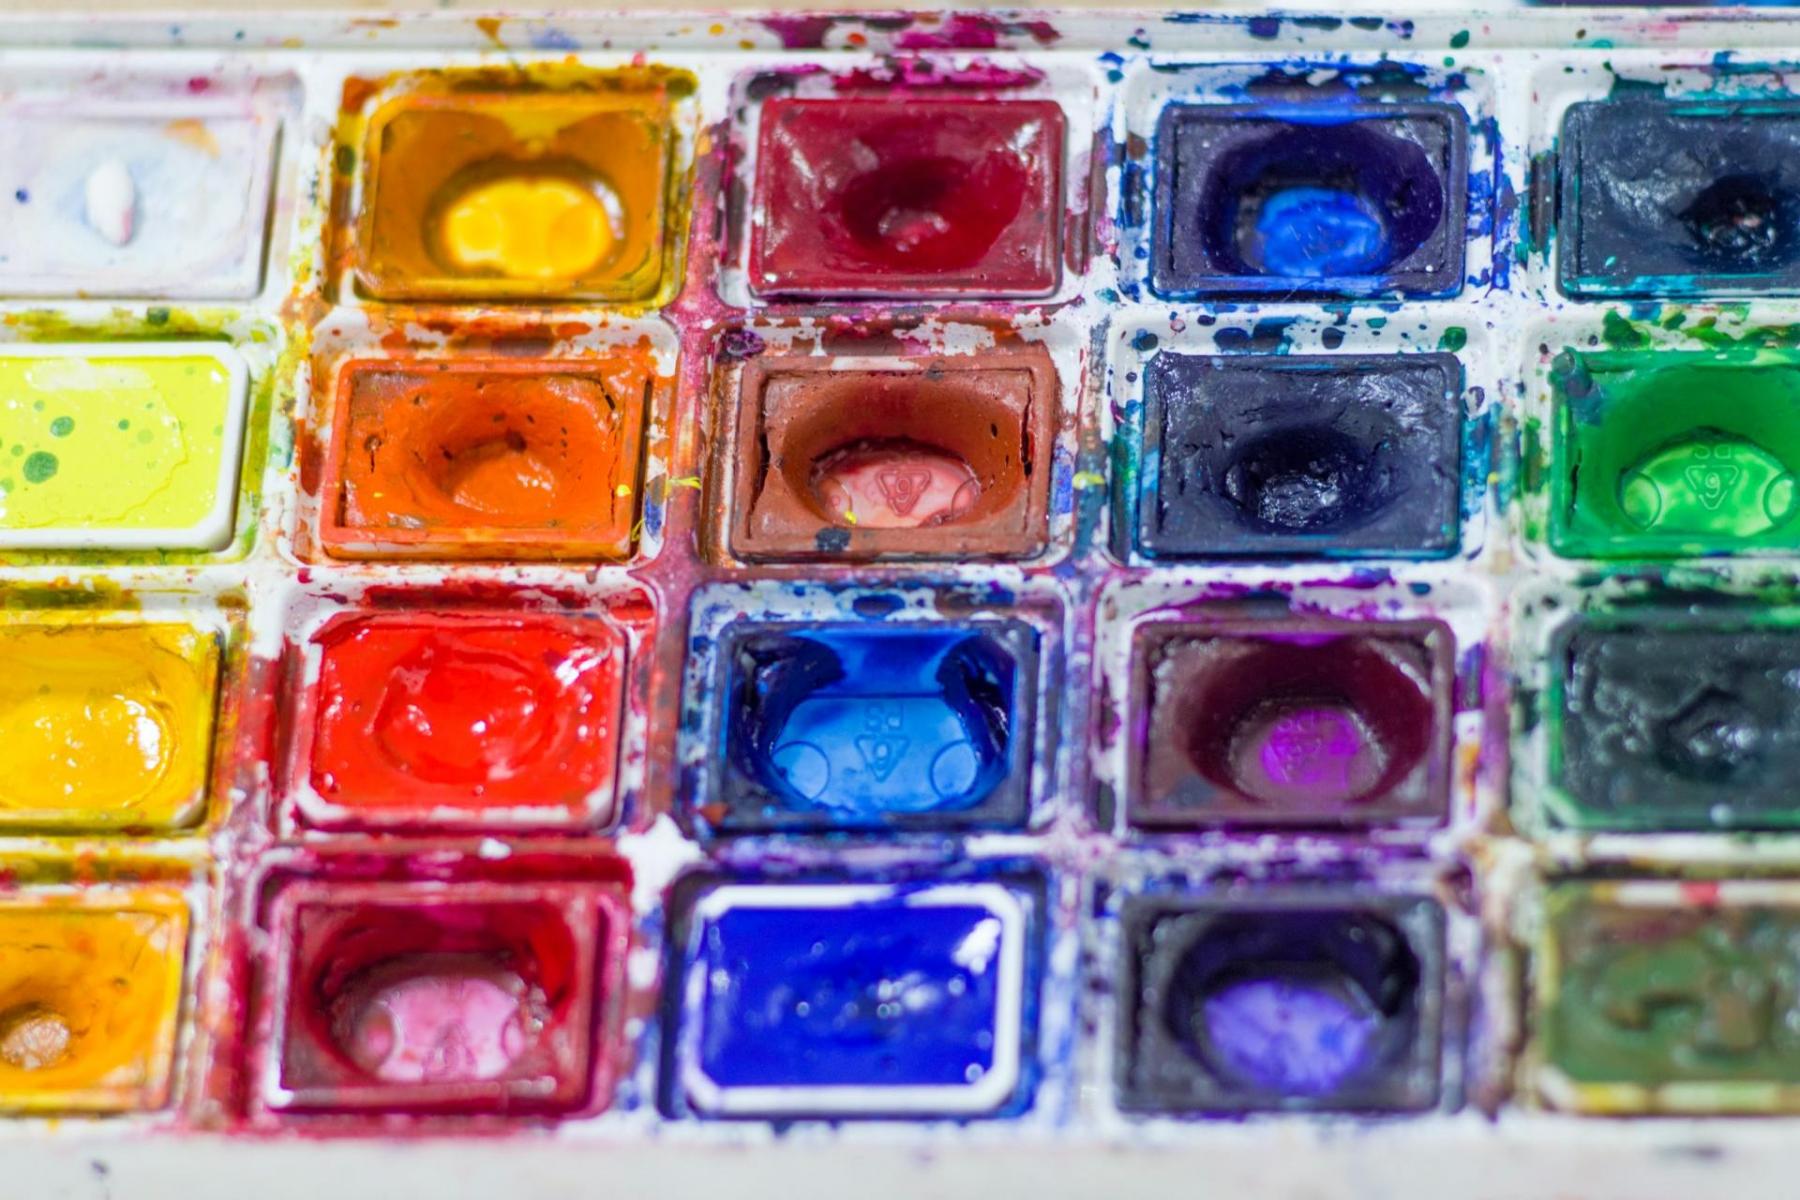
Mixing different types of watercolors provides you with a range of new tones and hues that can improve the versatility and quality of your artwork. You can mix your colors directly on your watercolor paper but a better approach is to use your palette.
Understanding the color theory is important if you want to come up with your own watercolor mixing recipes and create a desired color on the go. Let’s discuss color theory along with different ways to mix water colors.
Mixing Watercolors Using Color Theory
By understanding color works, you can prevent your valuable watercolours from being wasted. Experimenting and exploring are always enjoyable, and you should continue doing so.
But sometimes you just need specific colors for your painting projects and that’s where color theory comes into place. The better you know the basics of color theory and color harmony, the easier it’ll become to mix colors using your watercolor palette.
Primary, Secondary, and Tertiary Colors
There are three types of colors that you must understand if you want to master your skill of mixing different colors.
Primary Colors
Traditional color wheels start with primary colors. These include red, yellow, and blue and you can’t get these colors by mixing any other colors. Combining all the primary colors provides you with a neutral color.
Secondary Colors
Mixing two primary colors provides you with a secondary color. You can mix blue + yellow, yellow + red, and red + blue.
Tertiary Colors
Mixing primary and secondary colors, listed on a color wheel next to each other, provides you with a tertiary color.
You should memorize the following basic rules regarding the wheel color to improve your knowledge and increase your watercolor mixing speed.
-
Mixing primary colors, red, yellow, and blue, generate secondary colors.
-
You get orange when you mix red with yellow.
-
You get violet when you mix blue with red.
-
You get green when you mix blue and yellow.
-
Orange, violet, and green are secondary colors.
-
Mixing primary and secondary colors generate tertiary colors.
Supplies You Need to Mix Watercolors
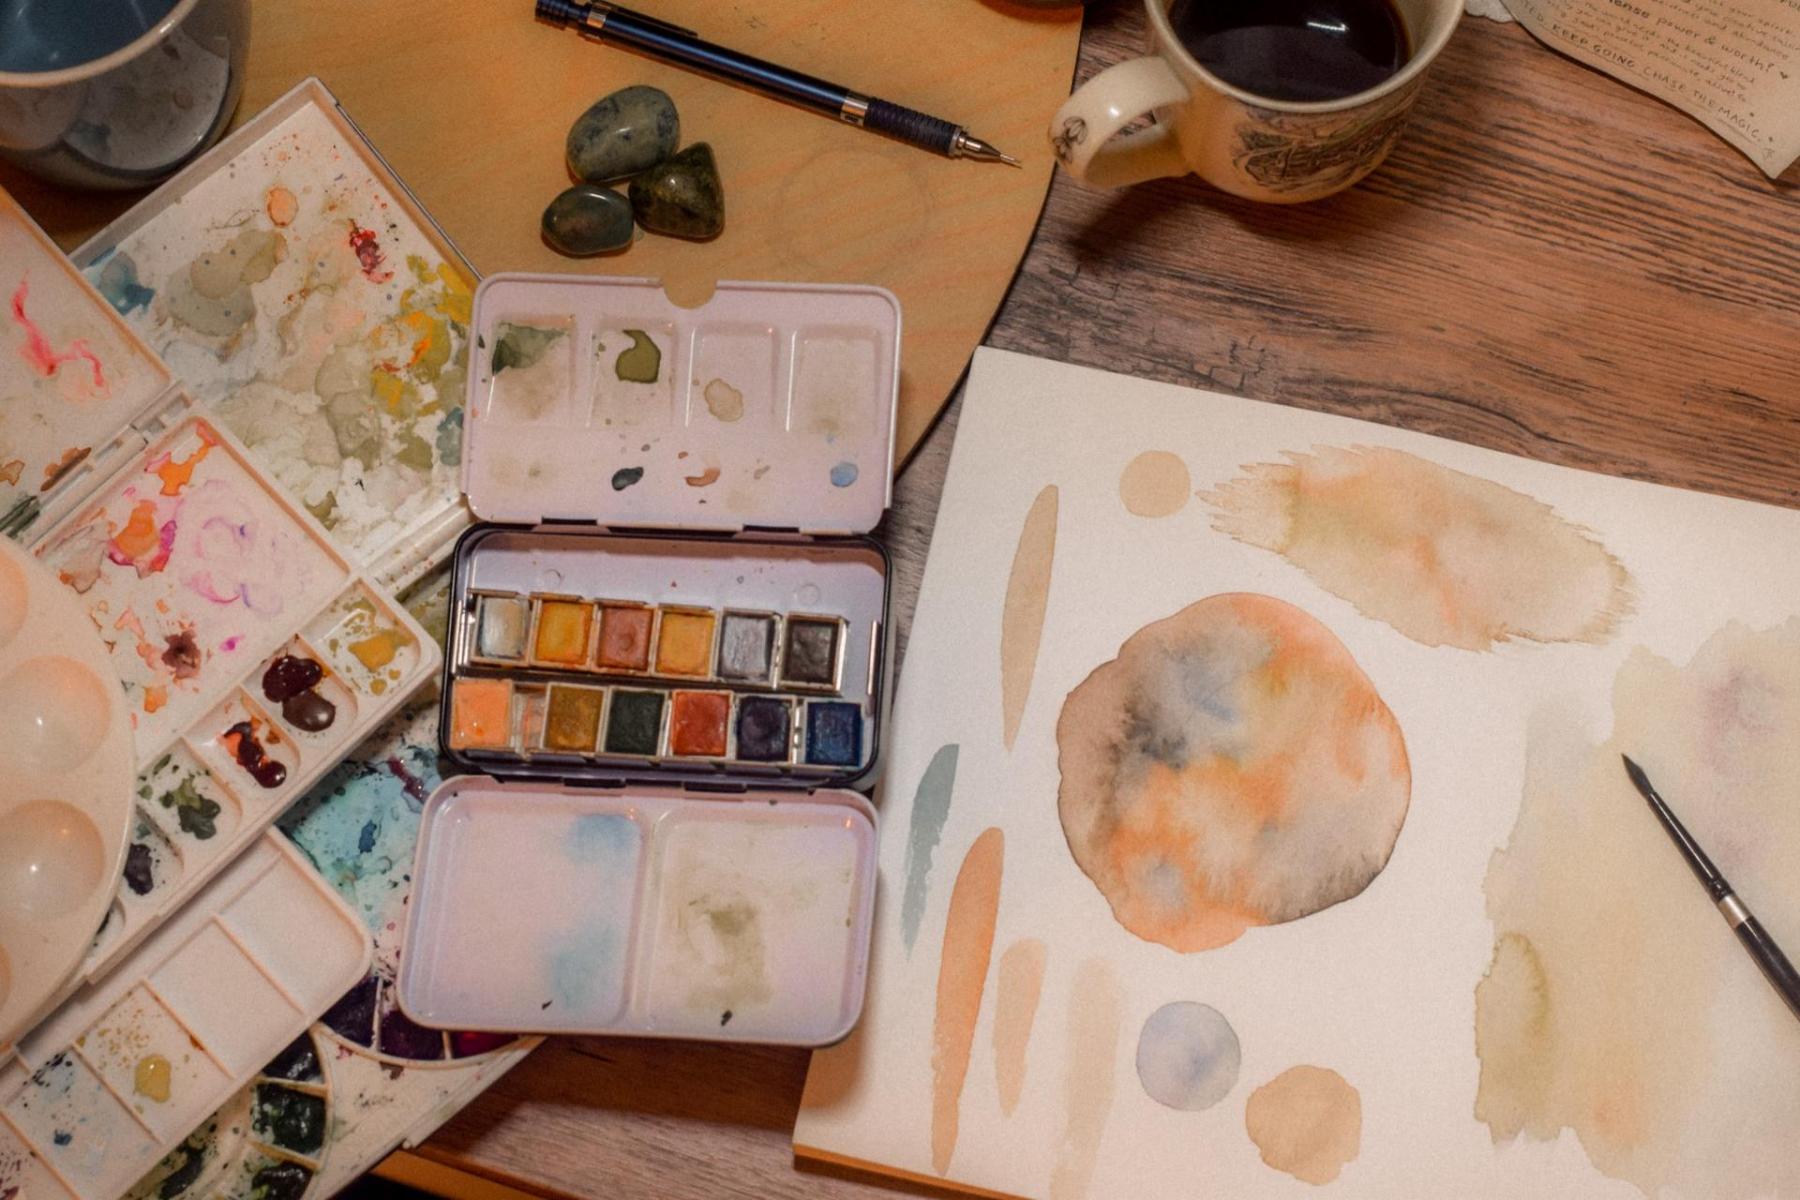
You’ll need the following supplies if you’re planning to mix watercolors.
Watercolors
Water colours come in different forms including tubes and pressed cakes. You can use the following guide for mixing colors regardless of the type.
Palette
You can buy palettes that come with a dedicated place for mixing colors. If you don’t have a palette and are not planning to buy one, you can easily use an old dinner plate for the same purpose.
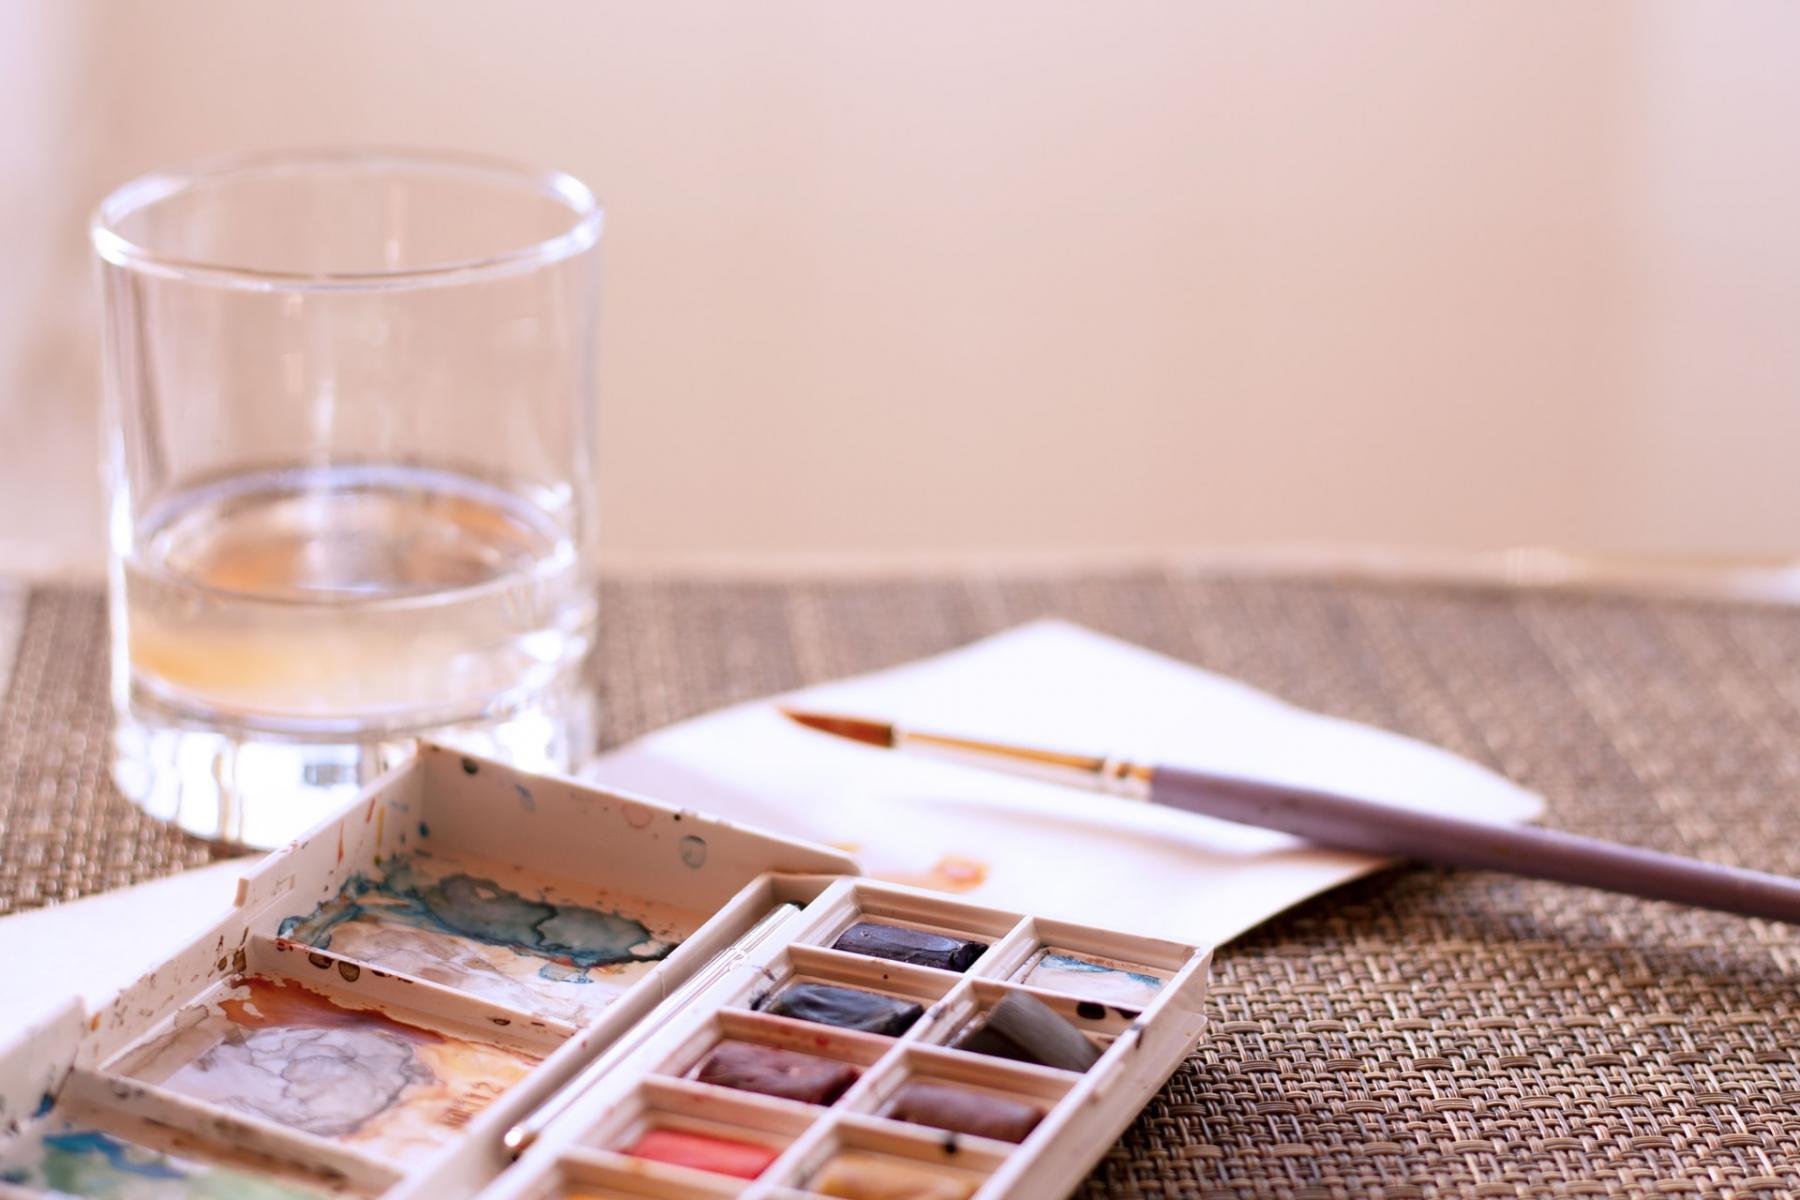
Water
You’ll need a jar of water to activate your watercolors. Don't fill up the jar all the way to the top.
Brush
A basic round brush will do the job but you can use any type of watercolor brush you have.
Scrap Paper
It’s important to have scrap paper where you can test the results of your mixed colors before applying them to your painting. Consider using paper that comes with the same color as your painting surface.
Method One: How to Mix Watercolors
Step One: Fill Your Palette
The first step is to fill your palette with your watercolor paints if you are using tubes. First, you need to take off the cap of a tube and squeeze it to fill one of your palettes well. Don’t fill the well all the way to the top and repeat the same process for the rest of the watercolor paint tubes.
Using a palette, even a limited one, will help you improve your watercolour mixing methods. It streamlines your options and also helps you with color harmony. It will also prevent you from purchasing too many hues that you may never use.
You can skip this step if you’re using dry watercolour paint or a watercolor paint kit.
Step Two: Select and Activate the Colors
Dip your brush into the water jar to saturate it fully and then place it on the desired watercolors added to the palette. You’ll notice water lightening up the paint’s color. Clean and re-wet the brush and repeat the same process for the second color.
You’ll need to use a rag to clean the brush’s bristles thoroughly and re-wet it again if you’re using tube watercolors.
Step Three: Mix the Colors
Now you’ll need to mix the two colors. Pick up the second color that you just activated and place it on the mixing space of your palette. Clean the brush and pick up the first color and smear it into the second one. This process will mix the two selected colors within seconds and you’ll see a new pigment.
You want to make sure that you mix just the right amounts of paints that will be used during your painting session. Mixing colors in large quantities will lead to wastage. That’s because the mix will become lighter once it dries and matching the exact hue will be much more difficult after reactivating it.
Method Two: Mixing Bold Colors
Always Use Color Wheel
It’s important to use a color wheel while mixing different watercolors. As mentioned, a color wheel will inform you about the primary, secondary, and tertiary colors and it’ll allow you to find out about the results before mixing colors together.
For example, you can mix cool blues like turquoise with cool yellows like lemon yellow to get a vibrant green color. If you have a color palette that comes with turquoise and lemon yellow, it’ll also have vibrant green as a resultant color. It means you’ll only need to mix the yellow and blue together if you need to use vibrant green.
Not only will it make you efficient, but it’ll also allow you to save time and your precious colors. Using warm and cool versions of every primary color allows you to increase your mixing possibilities. I recommend you use a color wheel that comes with the following colors.
-
Cool Yellow - Lemon Yellow / Warm Yellow - New Gamboge
-
Cool Red - Quinacridone Rose / Warm Red - Pyrrol Scarlet
-
Cool Blue - Phthalo Blue / Warm Blue - French Ultramarine Blue
Mixing a secondary color with a primary one provides you with a tertiary color. Generally, the tertiary colors include blue/purple, red/purple, red/orange, yellow/orange, yellow/green, blue/green.
This way you can have more hues to work with to create more versatile artwork. You must not mix too many colors together because it’ll make your watercolor painting muddy.
Create Darker Colors
You can simply add black to any other color to make it darker. For example, if you only have a light blue color and you want to work with navy blue, adding a dab of black paint will provide you with the desired color. You can achieve ruby or dark red the same way as well.
Never apply a new watercolor directly to your painting surface without testing it on scrap paper. That’s because you might need to adjust your recipe for mixing watercolors based on your needs.
Understand Glazing
Glazing refers to the practice of adding a top layer to your painting in a way that it appears translucent over the layer beneath it. It’s critically important to let the first layer dry before adding the second one. Otherwise, both the layers will create a new color on your watercolor paper after getting mixed. Additionally, your first layer should also be darker than the layer that needs to be translucent.
Method Three: Create Lighter Tones
Complementary Colors
Other than primary, secondary, and tertiary colors, your color wheel will also have some other colors. They’re listed on the opposite side of the color wheel and known as complementary colors.
Complementary color mixing allows you to generate desaturated and neutralized colors with a wide range of earth and gray tones. For example, if you feel that your watercolor painting appears too yellow, you can use purple color to minimize the yellow tone intensity.
You should remember the complementary color of:
-
Red is green
-
Yellow is purple
-
Blue is orange
Lightening the Watercolors
You can use white watercolor to lighten any dark colors. For example, you can mix red paint with white paint to get the pink color. You can also add water to dark paint to produce a lighter color.
All you need to do is to dip your brush into the water jar to saturate it and swirl it in the dark paint to reduce the intensity of the hue. If you have already used a dark color to your painting, you can use water to lighten it up as well.
Abstract Effect
If you like abstract art, you should mix two different colors directly on your watercolor paper. This way you will not have uniform and precise hues as it creates a bleeding or blending effect.
Tips for Mixing Watercolors
-
Add colors in small amounts and slowly while mixing. It’s possible to add more color to achieve the desired hue but you can’t remove what’s already mixed.
-
Start with the lighter colors and then add the darker ones slowly.
-
You don’t always need to mix two colors to create a different shade as it can be don’t by adding water.
-
Avoid using too much water as you can always make a more watered-down solution when needed.
-
Always try the new color on scrap paper before using it for your watercolor painting.
-
Create color mixing charts and keep them handy to save time and make the most out of your painting sessions.
-
Unlike acrylic paint, you don’t need to store your watercolors in an airtight environment. That’s because dried watercolors can be mixed together using water.
-
Avoid using white or black paint if you want to lighten or darken any color or you will end up with dull tones.
-
You might need to add a third color to the mixture to get just what you need. Mixing green tones with different amounts of yellows will differentiate between grass green and forest green. You can add blue to a skin tone to give the mixture undertone it needs.
-
If you want to achieve color mixed with a more dominant tone, consider using paints that contain only one pigment.
-
The best way to learn the right way to mix watercolor is to keep experimenting and practicing.
FAQs
Should You Use the Color Wheel While Mixing Watercolors?
A color wheel is a basic tool for mixing different water colours. It allows you to predict the outcomes of different pigments. Instead of depending on improvisation to combine your watercolors, a color wheel will serve you as a guide to mix different colors quickly to get the desired hue. You’ll find primary, secondary and tertiary colors along with the complementary ones that will accelerate your watercolor mixing process.
How Do You Mix Watercolors?
First, you’ll need to activate the watercolors you want to mix. Then place those colors on the mixing space of your palette to mix the two colors. You’ll see the new shade within seconds. The water to color ratio while mixing the colors depends upon your desired results. If you need a darker color, you’ll need to add less water and vice versa.
What is the Difference Between Warm and Cool Colors?
The warm colors on the color wheels typically include the shades of orange, yellow, and red along with their different combinations. They’re energetic and associated with heat and fire. They draw your eye forward and that’s why they’re also called advancing colors sometimes. On the other hand, cool colors on the color wheel include the shades of violet, green and blue and their combinations. Sometimes they’re also called retreating colors.
Final Words
The primary colors are the backbone of any palette because it’s impossible to create them using any combination of other colors. You can use just a few variations of primary hues to mix almost all the possible combinations of other colors.
If you’re a beginner, consider using a limited watercolor palette that comes with just six different colors. Not only will it allow you to improve your color mixing techniques but it’ll also create color harmony in your artwork.


