Using watercolor pencils is a unique and incredible way to combine painting and drawing to create art. It’s a medium that provides you with the best of both worlds. They look like regular colored pencils but behave like watercolors when mixed with water.
The pigments in watercolor pencils are mixed with a water-soluble binder and you can easily sharpen them as well. They allow you to create delicate and detailed marks that are hard to achieve using a brush.
What are Watercolor Pencils?
Definition: In a nutshell, watercolor pencils are watercolors in pencil form. The binding used in watercolor pencil pigments is water-soluble. It means, a watercolor pencil releases more pigment and offers an intense color when it comes in contact with water.
How Do Water Color Pencils Work?
Traditional colored pencils come with a binder based on wax or oil that allows the pigments to stick to the surface of drawing paper. That’s why they’re suitable for blending and layering.
On the other hand, watercolor pencils can be used in the same way to perform layering and blending. You need to add water to achieve intense colors and interesting effects.
When compared to traditional watercolor paints, watercolor pencils provide many advantages: they are affordable, readily available, and easy to carry. You can also sharpen them to a fine point to create detailed marks, which isn’t possible with a brush and traditional watercolor paints.
Watercolor Pencil Characteristics
-
Allow you to add fine details to your artwork.
-
You can create texture in your art along with a watercolor paint effect to achieve a unique hybrid look.
-
Watercolor pencils can cover a larger paper area than traditional colored pencils.
-
You can achieve more intense color with your watercolor pencils as long as they’re wet.
-
They can be used dry.
-
Portable and more affordable than watercolor paints.
Method to Use Watercolor Pencils
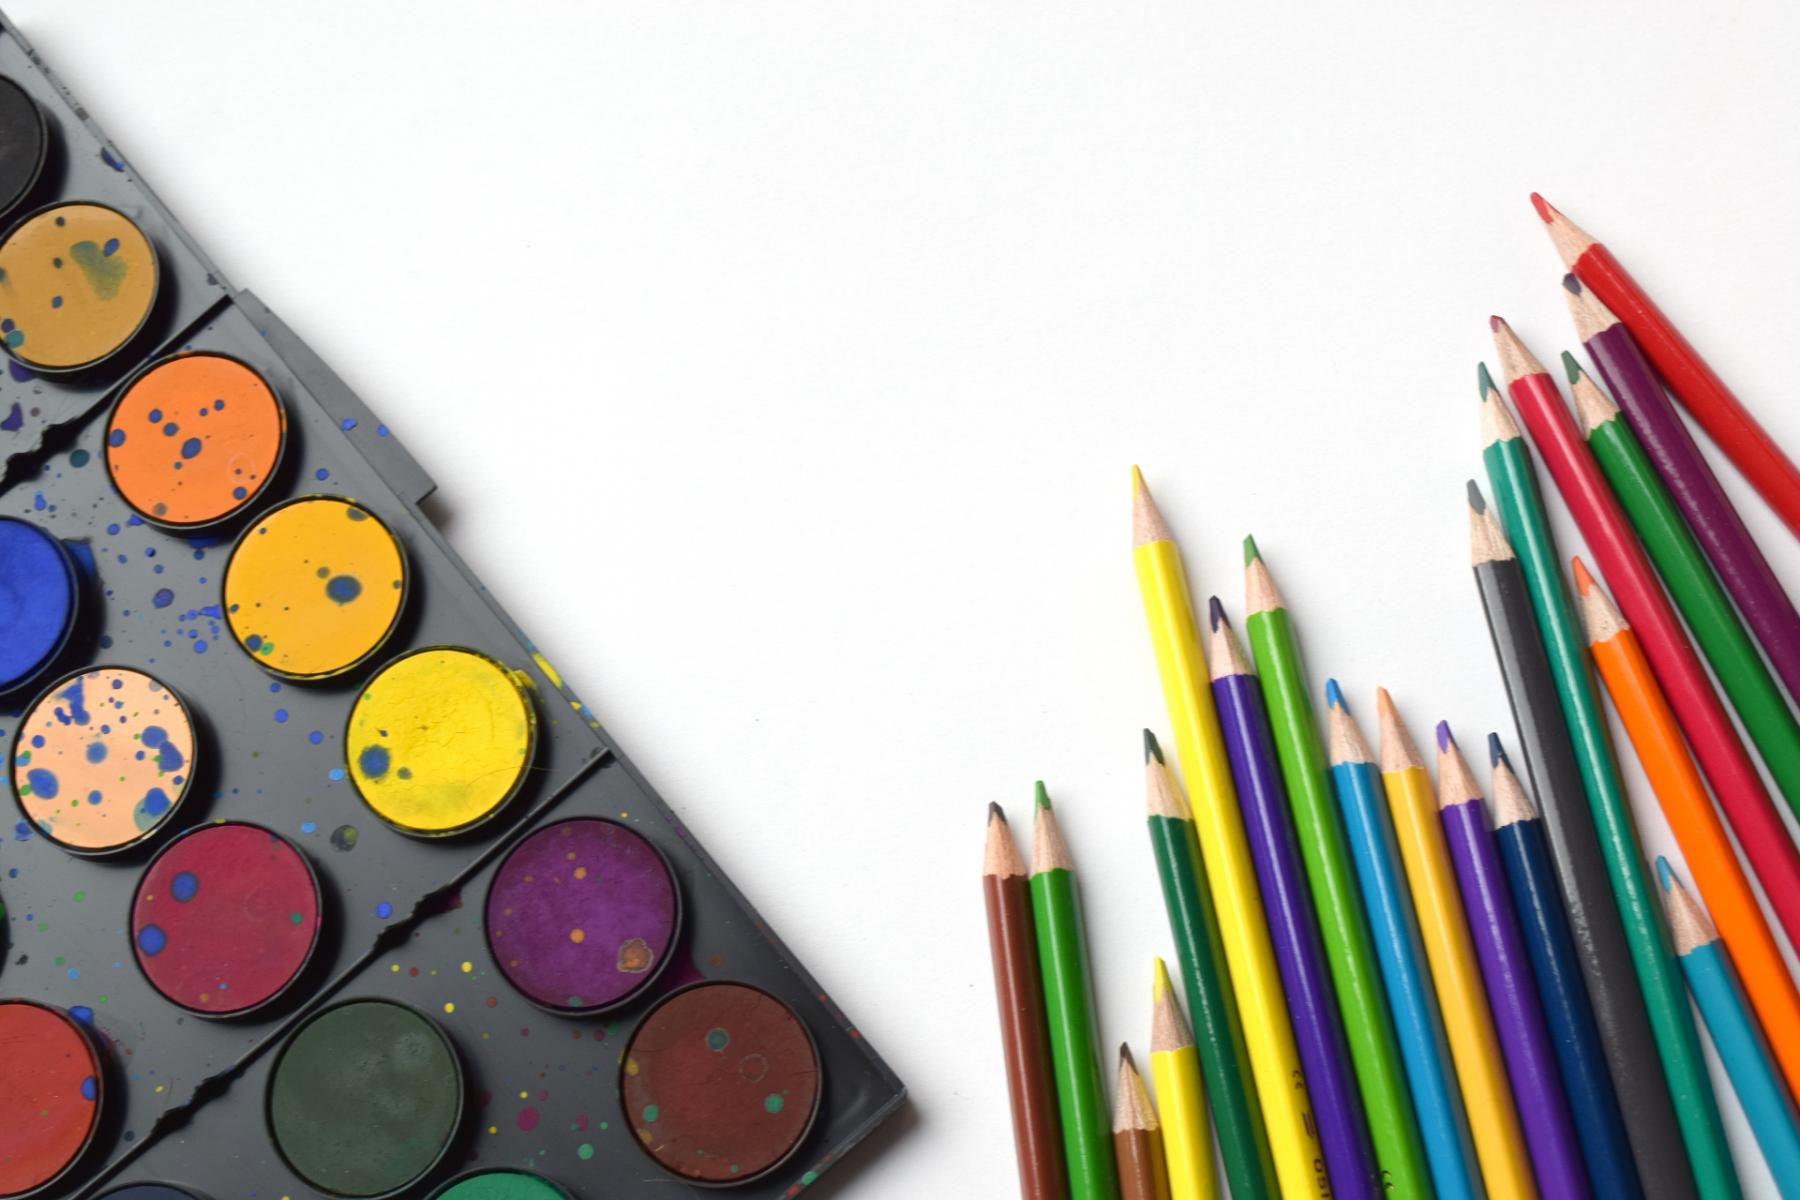
You can use the following supplies and methods to create great art using watercolor pencils.
Supplies You’ll Need
While you can use watercolor pencils alone, using additional supplies will allow you to make the most out of your drawing and painting experience.
Watercolor Paper
I recommend you use sturdy paper, that doesn’t absorb water quickly, with your watercolor pencils. Your best bet is to use watercolor paper because it doesn’t absorb water quickly and is also thicker than regular sketching paper.
Other than watercolor paper, you can also use an illustration board. If you prefer heavier textures, cold press paper will suit you better for watercolor pencil drawing. However, if you prefer a smoother surface, consider using hot-press watercolor paper.
Water Brush
You can use both paint and water brushes. I recommend you buy a medium-size brush because of its multipurpose use. Not only does it allow you to achieve details but it also helps you to spread the color. However, using a large flat brush is the best option if you need to spread colors on large areas.
Paper Towels and Water
Watercolor pencil marks are dry and you need water to activate them. Water will also help you clean your brush, wet your pencil tip, and apply different techniques while painting or drawing on wet paper. In addition, paper towels will help you remove excess water from your brush and paper.
Sharpener
While some artists like to use a sharp knife, I recommend you use a sharpener to shave your pencils to achieve a sharp point if you’re a beginner. It’ll help you avoid breaking the soft leads of pencils. A regular sharpener can be used for most watercolor pencils.
Optional Supplies
Using waterproof pens and graphite pencils will help you trace outlines while creating a sketch. You can use watercolor pencils for this purpose but using these optional supplies will make the process easy. Consider using a soft graphite pencil (B series) for sketching to create smooth lines.
Get Started with Your Drawing Process
Incorporating dark and light colors to blend watercolor pencil drawings can be a little tricky. The following watercolor pencil techniques will help you understand how to use water-colored pencils in the right way to create beautiful art.
Start with a Sample Chart
It’s important to note that watercolor pencil colors look very different when they’re not activated. Creating a sample color chart will allow you to understand how each color looks when it’s wet and when it’s dry to avoid unexpected results.
Prepare Your Watercolor Paper
Wet your watercolor paper from both sides and make sure it’s just damp and not dripping. Then secure the paper on a board or your desired work surface using washi tape.
Create a Rough Sketch
Use a waterproof pen or graphite pencil to create a rough sketch of the object you want to draw. You can select any object for your watercolor painting.
Start Filling in Colors
The next step is to grab your watercolor pencil and start filling in the colors. Use your watercolor pencils just like you use your regular colored pencils. You should not worry about filling in each and every blank space at this stage.
Additionally, you can also leave the areas blank if they’re meant to be as light as possible. Be very mindful of the shape as well as the direction of the bold pencil strokes as they’ll be visible once you're done.
It means, these bold strokes can both detract from or enhance your finished piece's appearance. Consider the contours and texture of the object you selected and make pencil stores by following those lines.
Use Water for Color Activation
Now use water to activate the watercolor pencil colors. Use your water brush and follow the direction and shape of the strokes you made. Use your brush precisely to minimize or enhance the appearance of your pencil strokes as needed to achieve a more cohesive look.
Avoid overworking with your wet brush as much as possible. Otherwise, your paper will fray or pill. Start with lighter colors after applying water and then make your way to the darker ones. It’ll help you make sure that the dark colors don’t overwhelm the light ones.
Add Details and Depth
Let the water dry that you applied in the previous step and after then develop your piece further by layering more color. At this point, you need to add shading by using contrasting colors that will deepen the existing colors. Your marks must be more delicate and precise to define details.
Use water if needed to blend the new colors and repeat the process of adding and fine-tuning colors as needed until your piece is finished. I recommend you not to layer the piece too many times or you’ll end up muddying the colors.
Techniques to Add Shading and Mix Colors
Shading and mixing colors can be tricky while working with watercolor pencils. Use the following techniques to master these skills.
Layering
The layering can be achieved in a couple of different ways while using watercolor pencils. The first way is to start by applying and activating only one color and wait until it’s dry before applying the second one. It’s the same technique that you use to achieve layering while working with watercolor paint.
In this method, the colors don’t get mixed together. In fact, the underlying color creates a new hue as you see it through the color on top. Not many people use this technique as it’s time-consuming and can also leave hard edges.
The second method of layering is to work with multiple colors before activating them with water. Not only does it blend different colors more thoroughly but it also allows you to complete the layering process quickly. It’s a great way to mix different colors but keep in mind that the effect it produces is less nuanced.
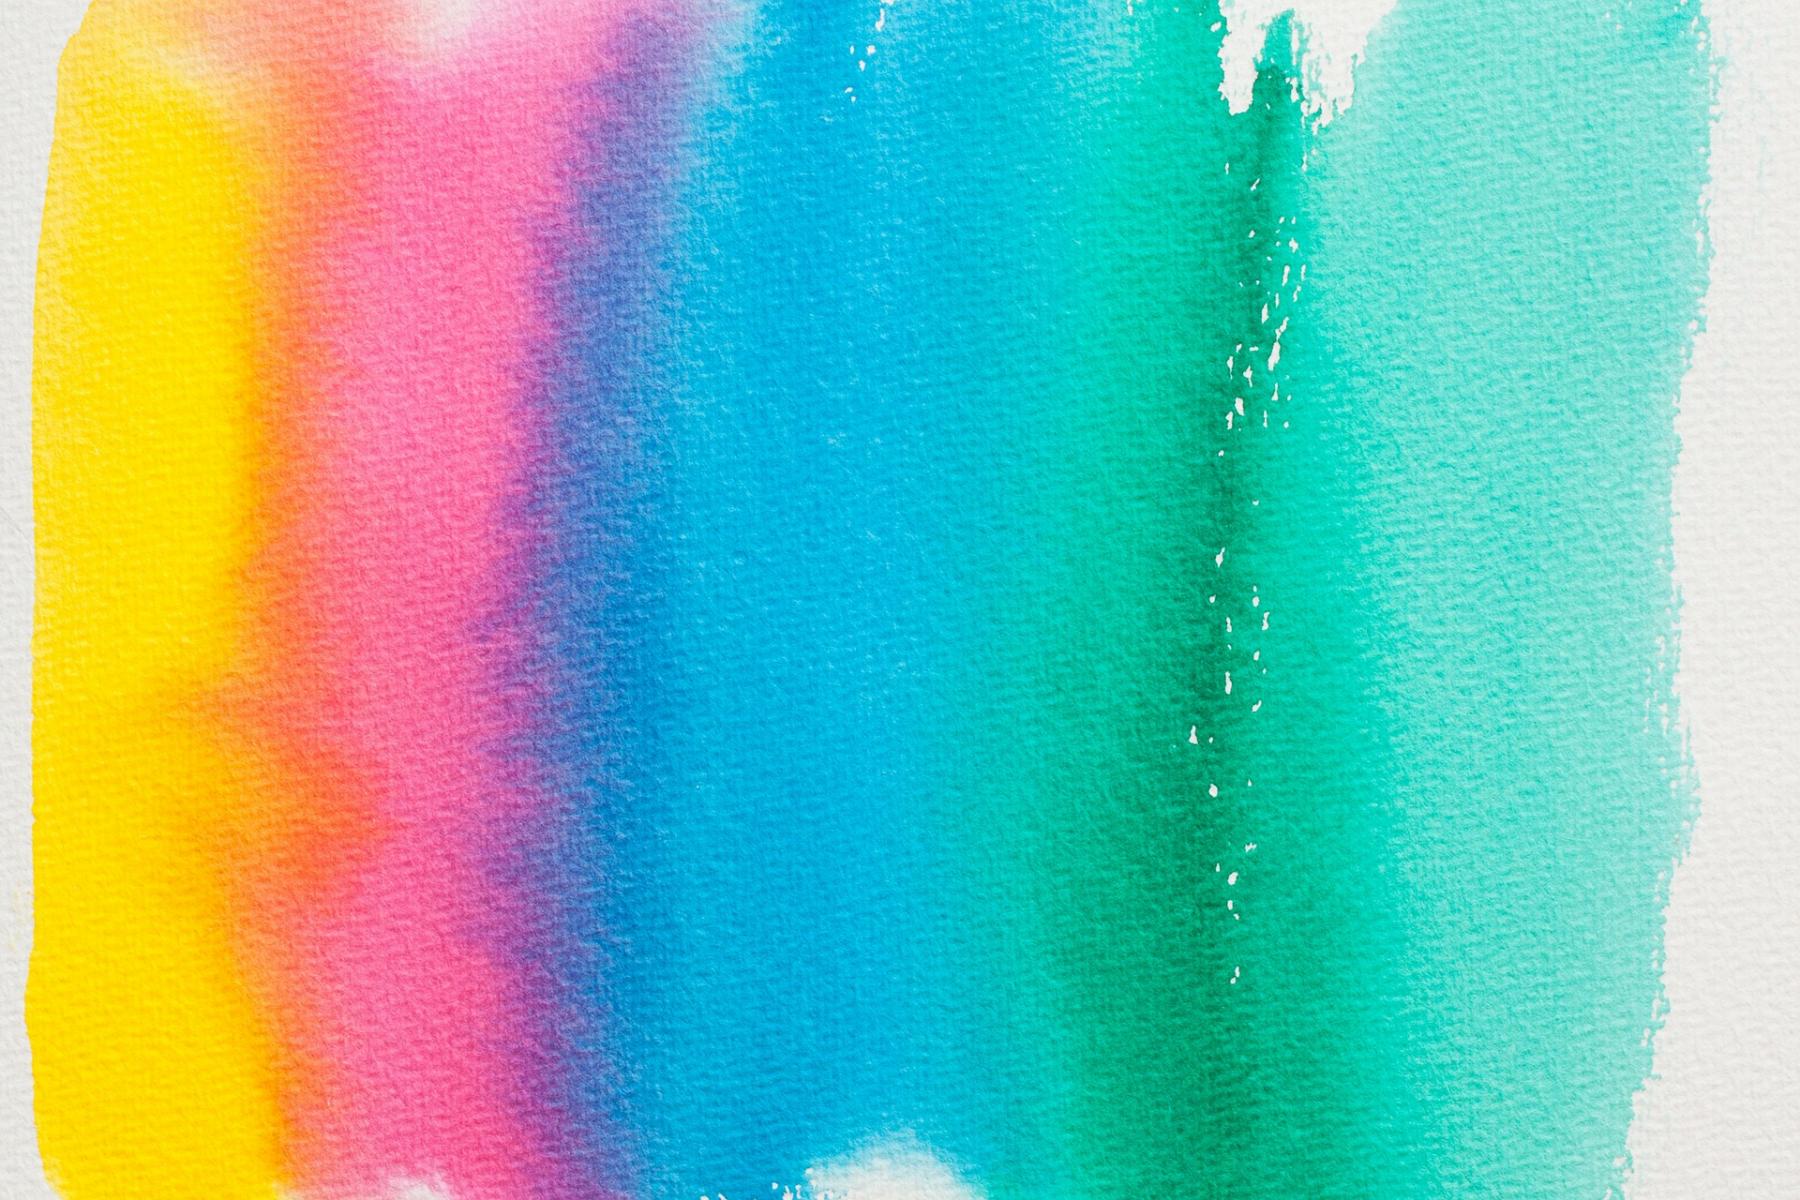
Blending
Blending is a great way to achieve a smooth transition between nearby colors. All you need to do is to use a wet brush to spread the light color into the dark one so that they can make a smooth gradient. Blending from the darkest to lightest colors is not recommended as the dark color will overwhelm the light ones.
Using Watercolor Pencils with Watercolor Paint
You can also combine your watercolor pencils with watercolor paints if you want. The following are the best ways to combine two mediums to create incredible art pieces.
Use Water Color Pencils for Underdrawings
Creating underdrawings is a common practice that many artists use before painting. As mentioned earlier, you can use a graphite pencil for this purpose but they’ll be visible, especially through light areas, if you don’t erase them. Additionally, erasing them can also damage your finished piece if you’re not careful.
Therefore, using watercolor pencils with light colors is a better approach to making underdrawings. You can use colors that will compliment your finished pieces and you also won’t need to deal with the risky erasing process.
Use Dark Watercolor Pencils to Add Detail
Watercolor pencils can be sharpened and allow you to make more detailed strokes which isn’t possible with watercolor paints. You can use a dark-color pencil to add detail to your watercolor paintings to achieve more depth.
How to Control Color Intensity of Water Color Pencils?
The following are some different ways to control the color intensity of your watercolor pencils.
Lifting
If you realize after activating that the color you applied is too dark, use a paper towel or dry brush to blot the area immediately. It’ll lift excess color so that you can have light-colored features.
Pencil Pressure
If you want to achieve more intense color, just press your watercolor pencil harder and vice versa. Keep in mind that the strokes made with light pressure are easy to dissolve and the hard pressure strokes will be more visible. So, you’ll need to apply the right amount of pressure for each individual stroke.
Wet Pencil Tips
You can also apply a little bit of water to your dry pencil tip if you want to achieve more intense colors. The resulting strokes will be bolder and brighter. However, this technique is most suitable for finishing touches as stokes made with wet pencil tips are difficult to blend.
Use Wet Paper/Wet Surface
The most common and easiest way to apply color using a watercolor pencil is to use dry paper. However, you can also use wet paper to achieve bolder and brighter colors. This technique is pretty similar to using a wet pencil as it generates the same results.
Use Wet Brush to Pick up Colors
If you want to make light strokes, consider using a wet brush and picking up colors from the pencil tips the same way you use your traditional watercolors. It’ll allow you to avoid a bold pencil stroke appearance on your finished piece.
Some artists also apply pencil colors heavily on separate paper and use a wet brush to apply them on the paper. It allows them to minimize pencil lines and make their pencil drawing looks like it’s made with watercolor paints.
FAQs
Can You Erase Watercolor Pencils?
Watercolor pencils can be erased or lifted. You only need to apply the water to the color that you want to remove and use a cotton swab or paper towel to pull up the color. Keep in mind that the color may not be removed completely. However, you can use this technique to make specific areas lighter.
How to Apply Water to Watercolor Pencils?
You can use a damp paper towel or wet brush to apply water to activate your watercolor pencils. However, the best way to apply water to a large area is to use a spray bottle. I recommend you place your paper with your drawing on a flat horizontal surface before using the spray bottle to avoid buckling and keep different colors from running into each other.
Conclusion
Just like any art medium, practice and experimentation is the key to mastering your drawing and painting skills using watercolor pencils. Use different techniques mentioned in this list to find out the ways that work best for you.


