Artists used to make their own homemade paint and colors before the introduction of commercially manufactured products. Combining binder and pigment was the most common method that artists used.
Commercially manufactured watercolor paint was not available until 1780 and the first iteration of products that hit the market came in the form of hard cakes. People needed to dip them in warm water before painting the objects.
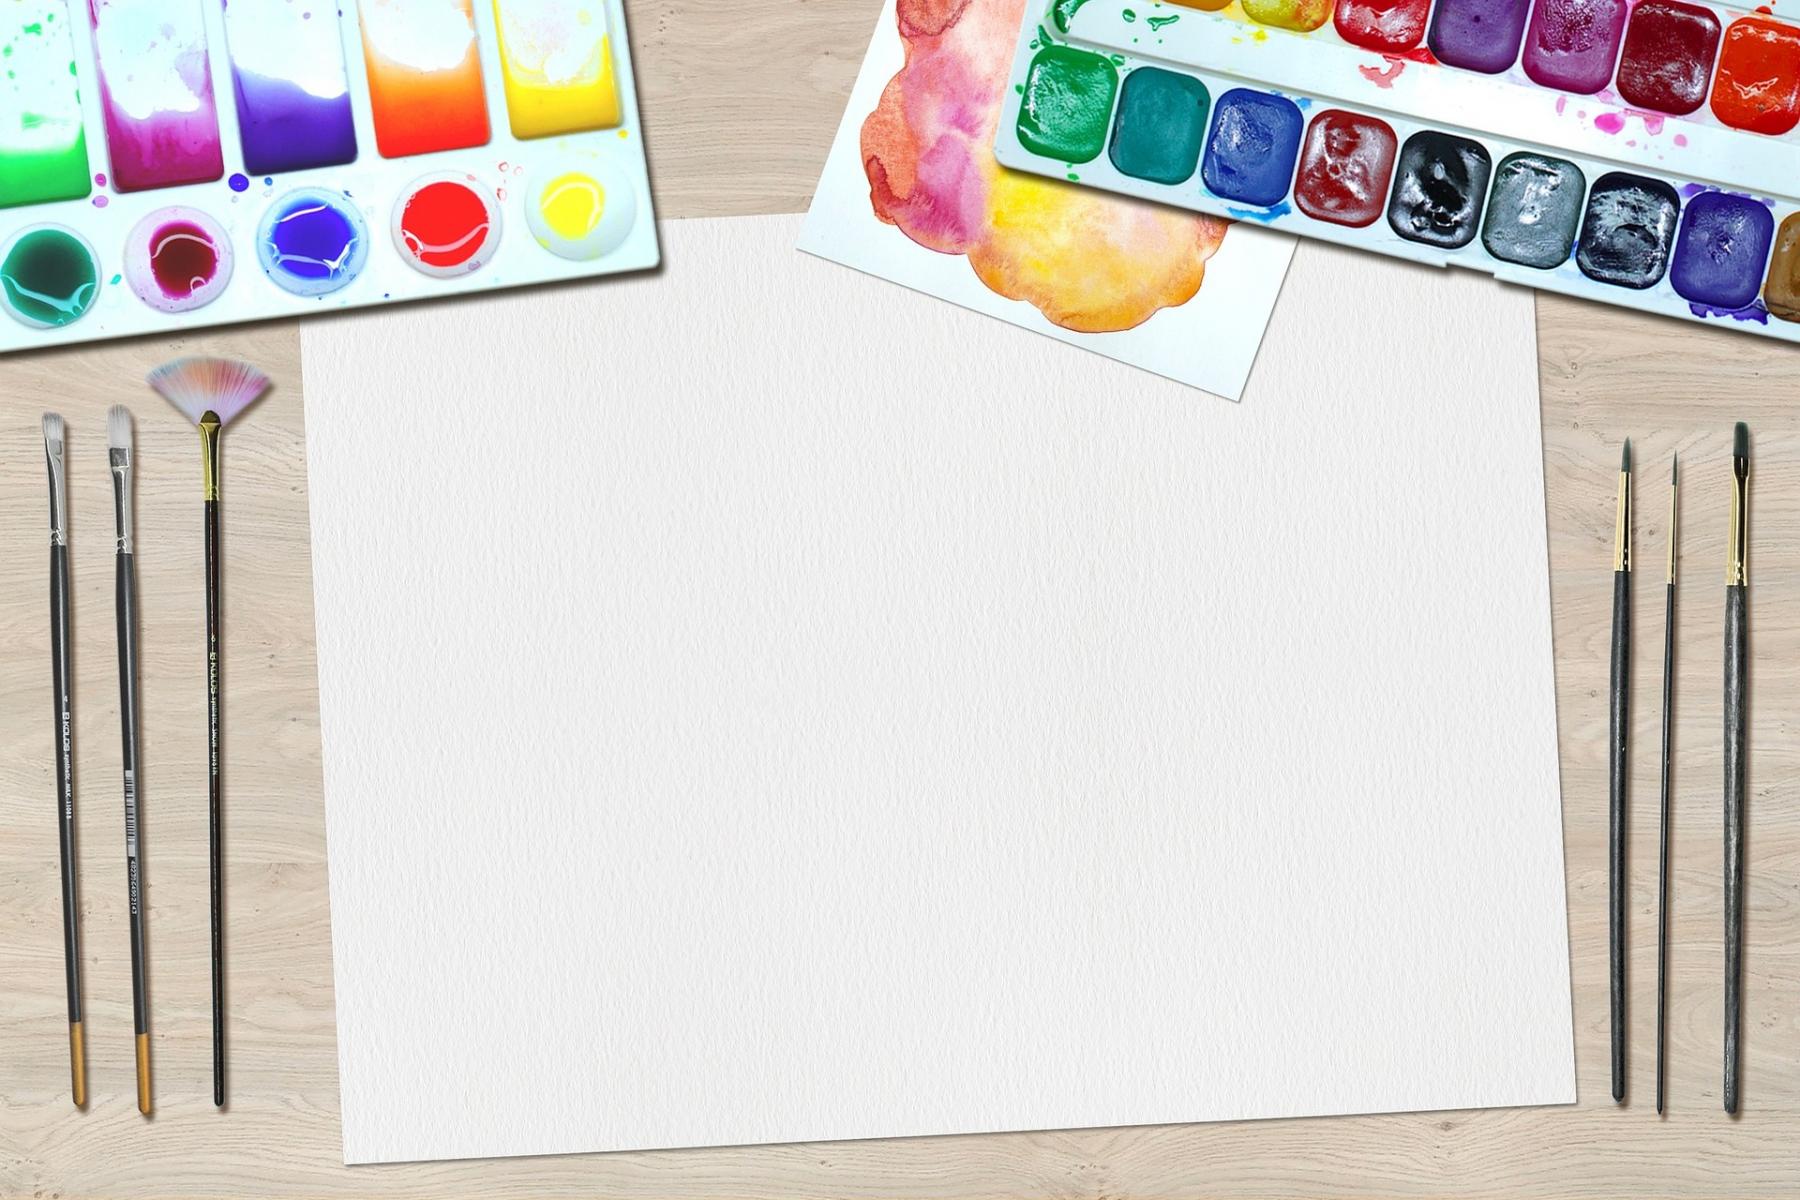
Nowadays all types of watercolors are available in the market and they are also easy to use. However, people still want to make their own paints at home due to several reasons. Let’s discuss those reasons along with an easy watercolor paint recipe.
What is Water Color Paint?
Watercolour paints are made of pigment particles mixed in a water-soluble binder, which is usually made of gum Arabic. Distilled water and some other additives are also added to the mixture. It increases the shelf life and stabilizes and preserves watercolor paints.
Each watercolor paint manufacturer has a unique method and formula. Resultantly, different products come with different handling qualities and consistency.
Why Should You Make Your Own Watercolor Paints?
Most commercial watercolor paints that you can buy from the market come with synthetic pigments. The processes of making these pigments are harmful to our environment because they’re not sustainable.
Each manufacturer uses a unique paint recipe that leads to an inconsistent painting experience. It's something which is not suitable for professional artists.
That’s why coming up with your own paint recipe is important. It allows you to use natural pigments that don't have toxins like heavy metals, preservatives, dispersants, and fillers. In addition, the process of making watercolor paints at home is mindful, enriching, creative, and transforming.
Not only does it allow you to make high-quality paint using the natural pigments of your choice but it also provides you with complete control to change the characteristics of your own paints. Thus, you can enjoy the natural and unique characteristics of each color.
Method to Make Your Own Watercolor Paints
The method of making homemade watercolors isn’t complicated but it requires time and patience. You might also need to perform the method multiple times to excel in this skill and find the perfect balance between ingredients according to your preferences.
Ingredients You’ll Need
The following is the list of ingredients you’ll need to make homemade watercolours.
Gum Arabic Solution
Gum Arabic, also known as acacia gum and gum Sudani, is a water-soluble gum and it’s obtained from the acacia tree. It’s one of the most important ingredients in water colours because it binds the pigment. You can use solid pieces of gum Arabic if you want but using the solution is more convenient because it’s ready to use.
Clove Essential Oil
Clove oil is an antifungal agent and natural antibacterial that works as an excellent preservative for this paint recipe. Using this ingredient allows you to make sure that your watercolor paint doesn’t go moldy.
Honey
Many watercolor manufacturers use honey as a humectant and a natural preservative in their products. It’s responsible for helping the dried paint retain moisture and re-wet easily after coming in contact with water.
It works as a naturally brittle binder to improve the flexibility of gum Arabic and prevent cracking once the water colour is dried. We recommend you use runny honey instead of the hard one to achieve the most desirable results.
Glycerin
Glycerin also works as a humectant, just like honey, but it also comes with plasticizer properties. It’s one of the most commonly used materials in skincare products and you can easily buy it from a local pharmacy. Without using glycerin and honey, you’ll find it difficult to release it onto a wet paintbrush and it’ll also take a long time to re-wet.
You can use either glycerin or runny honey to complete this paint recipe. However, we recommend you use a combination of both honey and glycerin. That’s because using glycerin in a high amount will make the mixture very thin and too much honey will make it stickier than required.
Dry Pigment
Pigments are probably the most important ingredient in this recipe because they are responsible for allowing you to experience different colors. Every watercolor paint that you buy from the market has some kind of pigment that manufacturers carefully choose after extensive research.
This paint recipe is about choosing the natural pigments to minimize your environmental and health impact. It’s also important to buy a pigment after taking versatility and durability into account.
If you’re a beginner and starting to learn the process of making homemade watercolors, consider using earth pigments. 20 grams of dry pigment is more than enough to make three to four watercolour pans.
We recommend you use 10 grams of each dry pigment for the first batch and save the rest of them. This way you’ll have leftover ingredients to make a second batch if you need to make some adjustments depending upon your preferences.
Don’t use pigments like cobalt and cadmium because they can be harmful to your health if ingested or inhaled. Always buy natural earth pigments because most of them are non-toxic.
Regardless of the type of pigments you use, you must wear a facemask while making homemade watercolour paints to cover your nose and mouth. We also recommend you wear latex gloves to make sure that pigments don’t make their way under your nails to ensure health safety.
If you have kids and pets, keep your pigments out of their reach to ensure their safety and avoid drinking and eating around these materials as well.
Equipment You’ll need
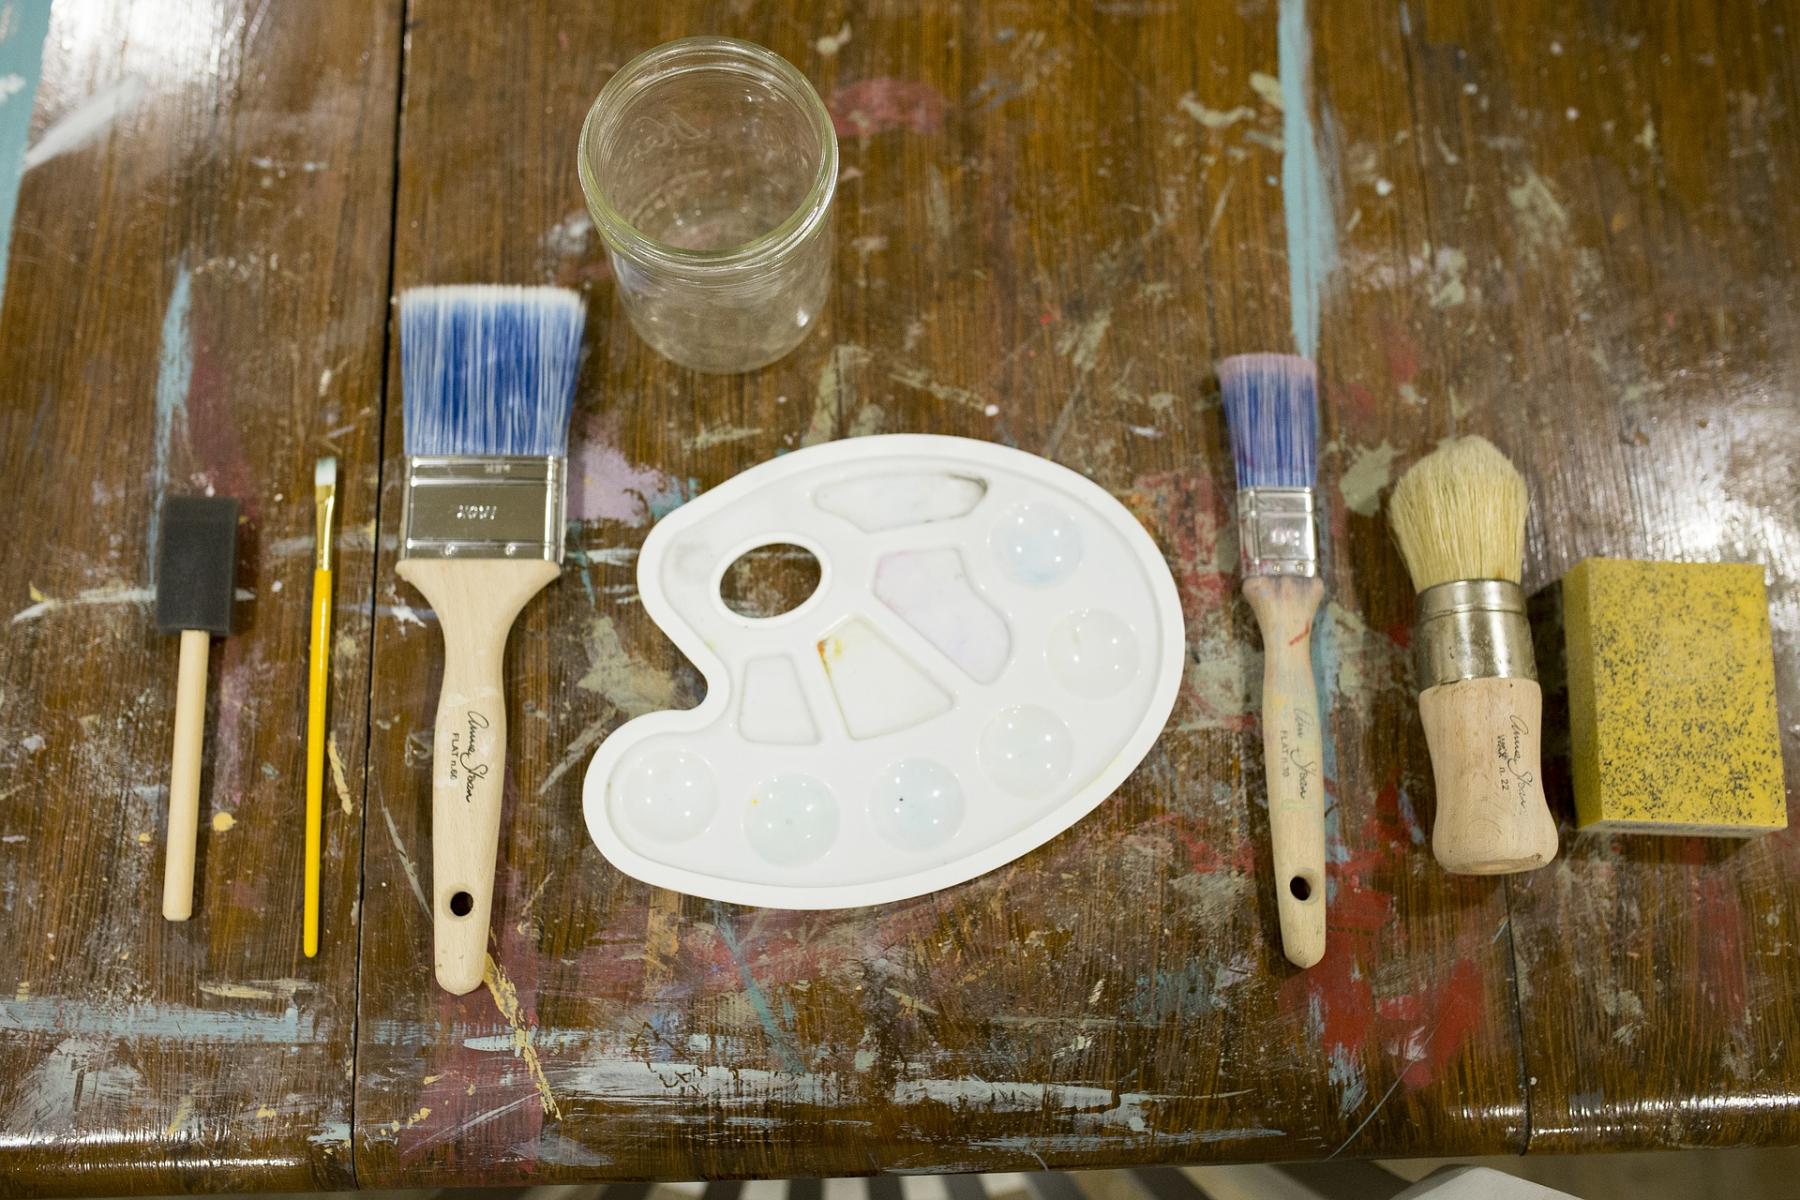
You’ll also need to arrange a grinding slab/glass palette, glass muller, and an empty ice cube tray. You can also use bottle caps and watercolor pans if you don’t want to store your homemade paints in an ice cube tray.
Instructions to Follow
Once you have all the ingredients and equipment in place, the next step is to take safety measures. As mentioned, don’t forget to wear respiratory and eye protection, especially while dealing with a dry pigment.
Additionally, you’ll also need to make sure that you don’t use any equipment, which is used in the homemade watercolor-making process, for cooking, eating, and drinking. Work in a well-ventilated place that you have designated just for this process and avoid going to the dining area or kitchen while making paint.
Make Binder Solution
The first step, which is also the most critical one, to make watercolor paint is to prepare the binder solution using gum Arabic. You can use the following steps to complete this process.
- Use four parts warm (not hot) distilled water and mix it with two parts gum Arabic powder. Stir continuously and pour slowly while mixing the two ingredients. You should only use distilled water because tap water usually contains impurities and it’s highly alkaline. It’ll greatly affect the characteristics and effectiveness of your homemade paint. (Note: You won’t need to perform this step if you are using a readymade gum Arabic solution.)
- Now add one part mixture of glycerin and honey into the mixture. It’ll make the solution less viscous and stirring it will become easy. Stir the mixture for 10 to 15 minutes until all the ingredients are mixed evenly.
- Now you’ll need to add three to five drops of clove essential oil to the binder solution. You can also use rosemary for the same purpose because it also comes with antibacterial and antifungal characteristics.
- Stir the mixture again for two to three minutes to mix the natural preservative evenly.
- Leave the mixture for 24 to 48 hours so that the particles of gum Arabic can undergo the process of complete hydration.
Add Pigments
The process of suspending the pigment particles evenly in the binder solution is called mulling. At this stage, you’ll need to finely grind your pigments using the glass muller and grinding slab. Bear in mind that it’s a time-consuming and labor-intensive task.
Mulling a batch of pigments can take up to 30 minutes or even more based on your speed and quantity of pigments. The finer the pigments the less time they will need to get evenly mixed in the binding solution.
Once you’re done with the mulling process, you’ll need to collect the finely ground pigments in a container and follow the steps listed below.
-
Clean your grinding slab and place the pigment on its (dry) surface.
-
Pour binder solution on top of the pigment in a one-to-one ratio.
-
Fold pigment gently into the binder solution using a palette knife and mix them together as much as possible.
-
Once the mixture has turned into something like paste, add more binder solution and continue the mixing process.
-
Now slowly begin to grind the paste-like mixture using the glass muller in a circular motion.
-
Spread it across the grinding slap to make a very thin layer to make sure all ingredients are mixed evenly and finely.
-
Use a scraper or palette knife to pool the colored paste into the center of the grinding slab and repeat this process several times. If you feel that your paint has become too stiff, consider adding a little more gum solution.
-
Use watercolor paper during the mulling process to test the quality of the paint.
If you see paint dusting off, it means you need to add more binding mixture. On the other hand, if your watercolor paint is too shiny, you’ll need to add more pigment.
This process of making homemade watercolors is a bit lengthy but the results you’ll get are worth the effort. In addition, you’ll get the handle of this process after a couple of experiments.
Let the Paint Dry Overnight
If you feel that your watercolour paint produced satisfactory results on the watercolor paper, start pouring the mixture into an ice cube tray, bottle caps, or pans and leave it to dry overnight.
If your drying pan cracks, it means you didn’t add enough binding solution to the mixture of a particular pigment you used. It’s also important to note that different pigments will need a different amount of gum solution.
Enjoy Painting
Make sure that you don’t start using your paint until it’s completely dry. If you live in a damp or cool environment, the drying process can also take up to three days. After that, grab some water and your favorite wet paint brush to test your homemade paints on watercolor paper.
How Do You Make Watercolor Pigments?
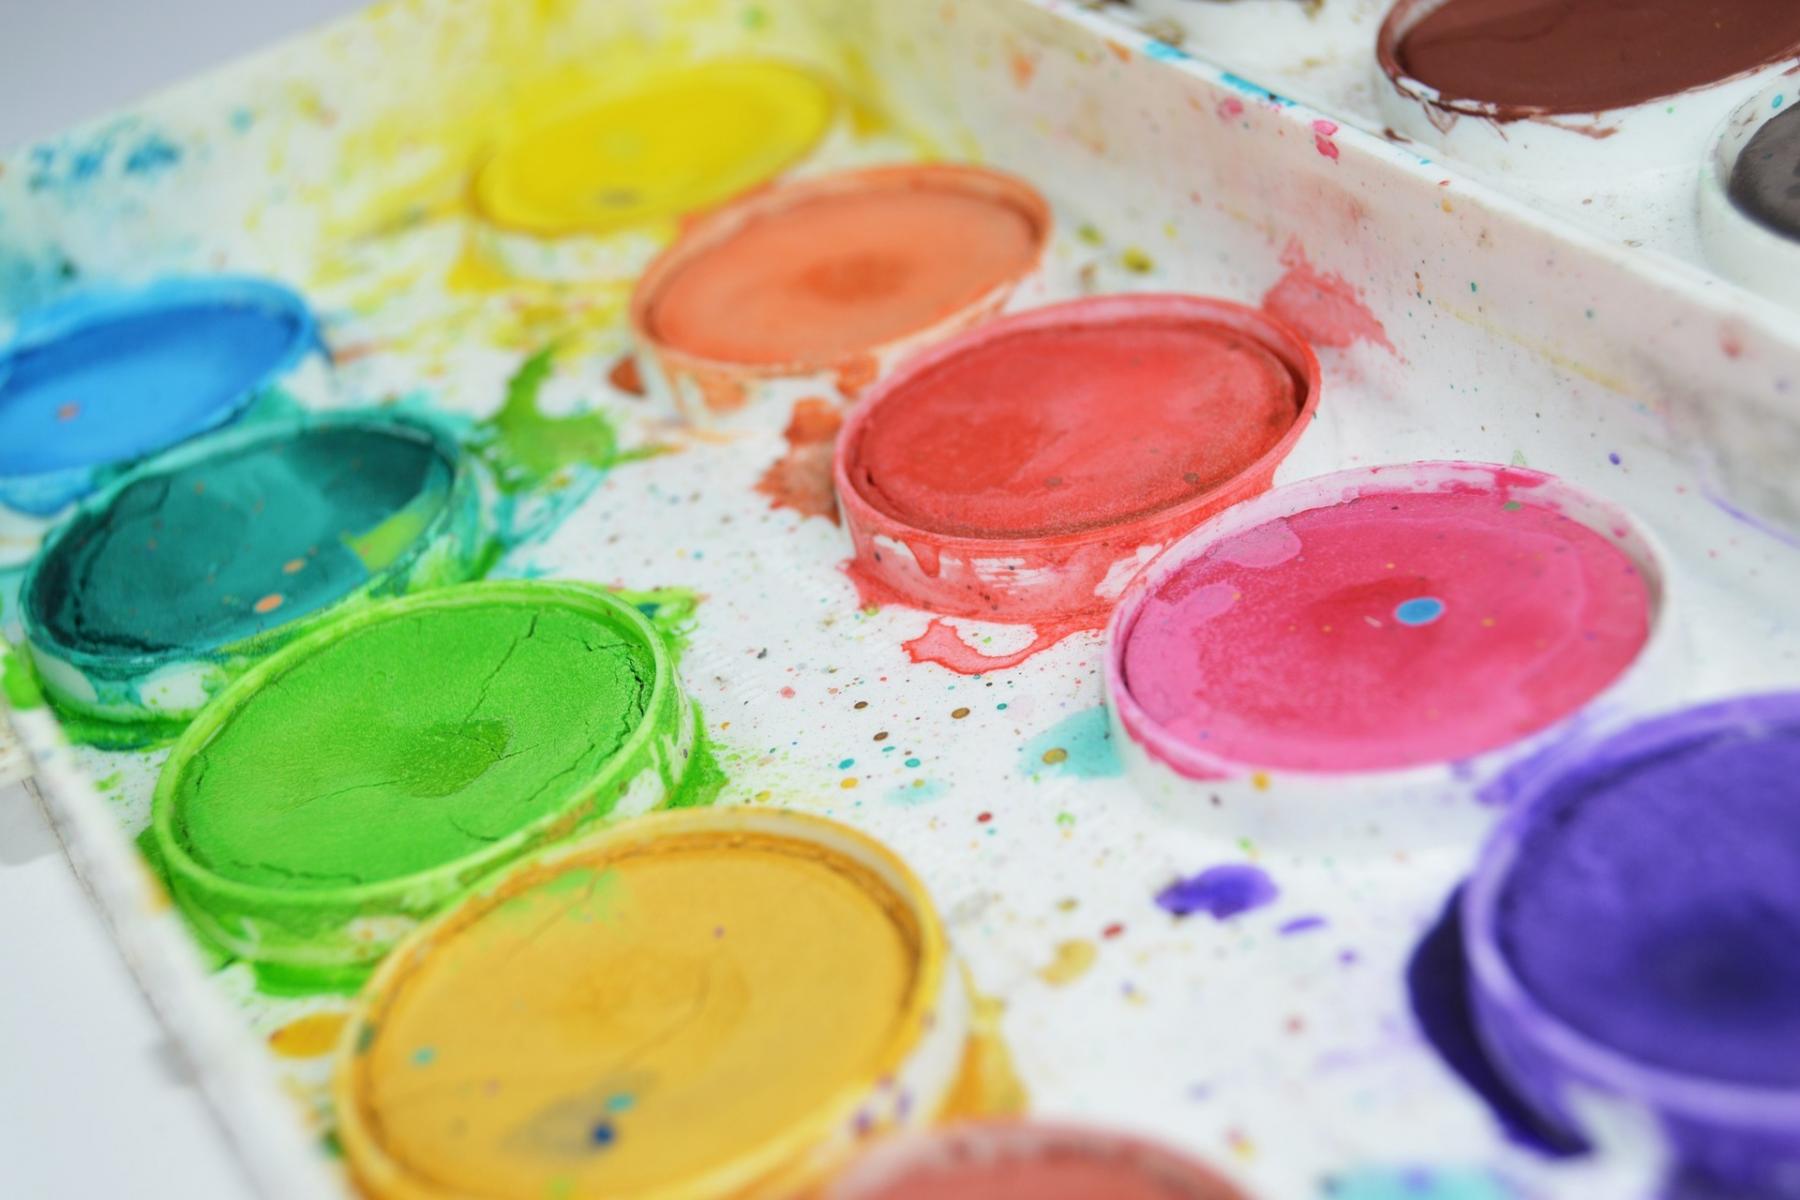
From gentles and cool blue and green to string and warm yellow and red, earth pigments are available in a vast array of colors in the market. They make for an eco-friendly and safe option and offer results similar to synthetic pigments.
However, it’s also possible to make your own watercolor pigments as well if you want. There are so many things around you that you can use for this purpose. Almost all places have colored clays and minerals that technically offer the same characteristics that you get from the earth pigments bought from a store.
You just need to wash, levigate and pulverize them. Many colored liquids such as plant juices and dyes can also be made into pigments. Other possible candidates that you can use to make pigments include rust scrapings, pottery, colored glass, and pulverized bricks.
Ideally, a material that has the following characteristics can be converted into natural earth pigment.
-
Can be finely ground or pulverized so that it can be converted into a pigment.
-
Should not affect the quality of binder solution, both physically and chemically.
-
Must be stable in its natural form and must not react chemically with other pigments or environmental conditions.
-
Should suspend in the binder solution instead of being soluble.
-
Must not contain any organic material that can start decomposing over time.
You can use the following steps to turn potential candidates like natural earth substances into pigments.
-
Once you have selected the right material, you’ll need to pulverize and grind it. You might need to use a strong hammer, if the material is in large solid form, to break it into small pieces. You can use a glass muller and grinding slab or a pestle and mortar for this purpose.
-
Use a screen or sieve to filter out the finer particles and continue the grinding process.
-
Place the ground pigment in a container and add water to get rid of impurities using different sieves.
-
Leave the water and ground pigment mixture for a couple of hours to let the pigment settle on the bottom of the container.>
-
Remove the water carefully from the container and let the pigment dry.
-
Now you’ll need to levigate the pigment by adding water again.
-
Stir the mixture well and leave it for about a couple of minutes. This way the finer particles of pigment will be in suspension but the larger grains and heavy sand will settle on the bottom.
-
Add the water with finer pigment particles to another container and get rid of sand and grains.
-
Leave the container with water and pigment particles uncovered for a couple of days.
-
Drain off the water once the pigment particles have settled on the bottom.
-
Allow the pigment to dry off completely and use it to make homemade watercolor paints.
FAQs
How to Store Homemade Watercolor Paints?
The best thing about these homemade watercolor paints is that you can store them indefinitely. That’s because this paint recipe doesn’t use any ingredient that can spoil the quality of water colours.
All you need to do is to store your paints uncovered once you’re done so that the remaining water can evaporate naturally. Once they’re dry, you can store them in a dry and cool place to use them in your next painting session.
Can Homemade Watercolour Paints Stain?
Yes, the homemade watercolour paints that you made using this method will stain. But thankfully, they are easy to clean as the pigments we used are water-soluble. You also won’t find it difficult to clean your hands once you’re done with painting using these watercolors.
Can I use Food Colorings Instead of Natural Pigments?
Yes, you can use food coloring instead of natural pigments. While it will make the whole process easier, the food coloring stains and it's hard to get rid of them. You’ll need to wash your clothes as well as your hands multiple times to clean off those stubborn stains.
Is Water Color Good for Beginners?
Yes, water color paints are one of the best and most common art supplies for beginners. They are comparatively cheaper and you can also make them at home within a couple of hours.
Conclusion
Making watercolor paints at home is a fun and exciting activity. It’s all about exploring and learning new things through trial and error. Not only does it make you creative but it also allows you to become a resourceful artist.
We hope this in-depth guide will help you understand the right way to make homemade watercolors from scratch. Happy Painting.


