As you aim to continuously improve your skills in watercolor painting, there are several watercolor techniques you can learn and apply. Whether these are basic watercolor practices or more advanced ones, there's always something to discover or rediscover in the art of watercolor. Let's go through some of these tips and tricks so you can improve your watercolor paintings even more!
Materials Used in This Watercolor Lesson:
- Any brand of cold press watercolor paper (140lbs, size 6" x 4")
- 2 containers of clean water
- Spray bottle
- Kosher salt (or table salt)
- Incredible White Mask's Liquid Frisket, or Grumbacher's Miskit Liquid Frisket
- Cuticle pusher and cutter, or a scoring knife or credit card
- Saran Wrap (or any brand of clingfilm)
- Old toothbrush or stiff brush
Mijello Mission Gold Watercolor Paint
- Rubine
- Blue Gray
- Prussian Green
- Orange
- Prussian Blue
- Violet Lake
- Perylene Maroon
- Indigo
Acrylic Paint (Any Brand)
- Titanium White
Brushes
- Chinese Bamboo round brush (no. 20, or any large size)
- Chinese Bamboo round brush (no. 12, or any medium size)
- Any round brush (no. 4)
- Any round brush (no. 2)
Tip#1: Essential Watercolor Techniques - Washes
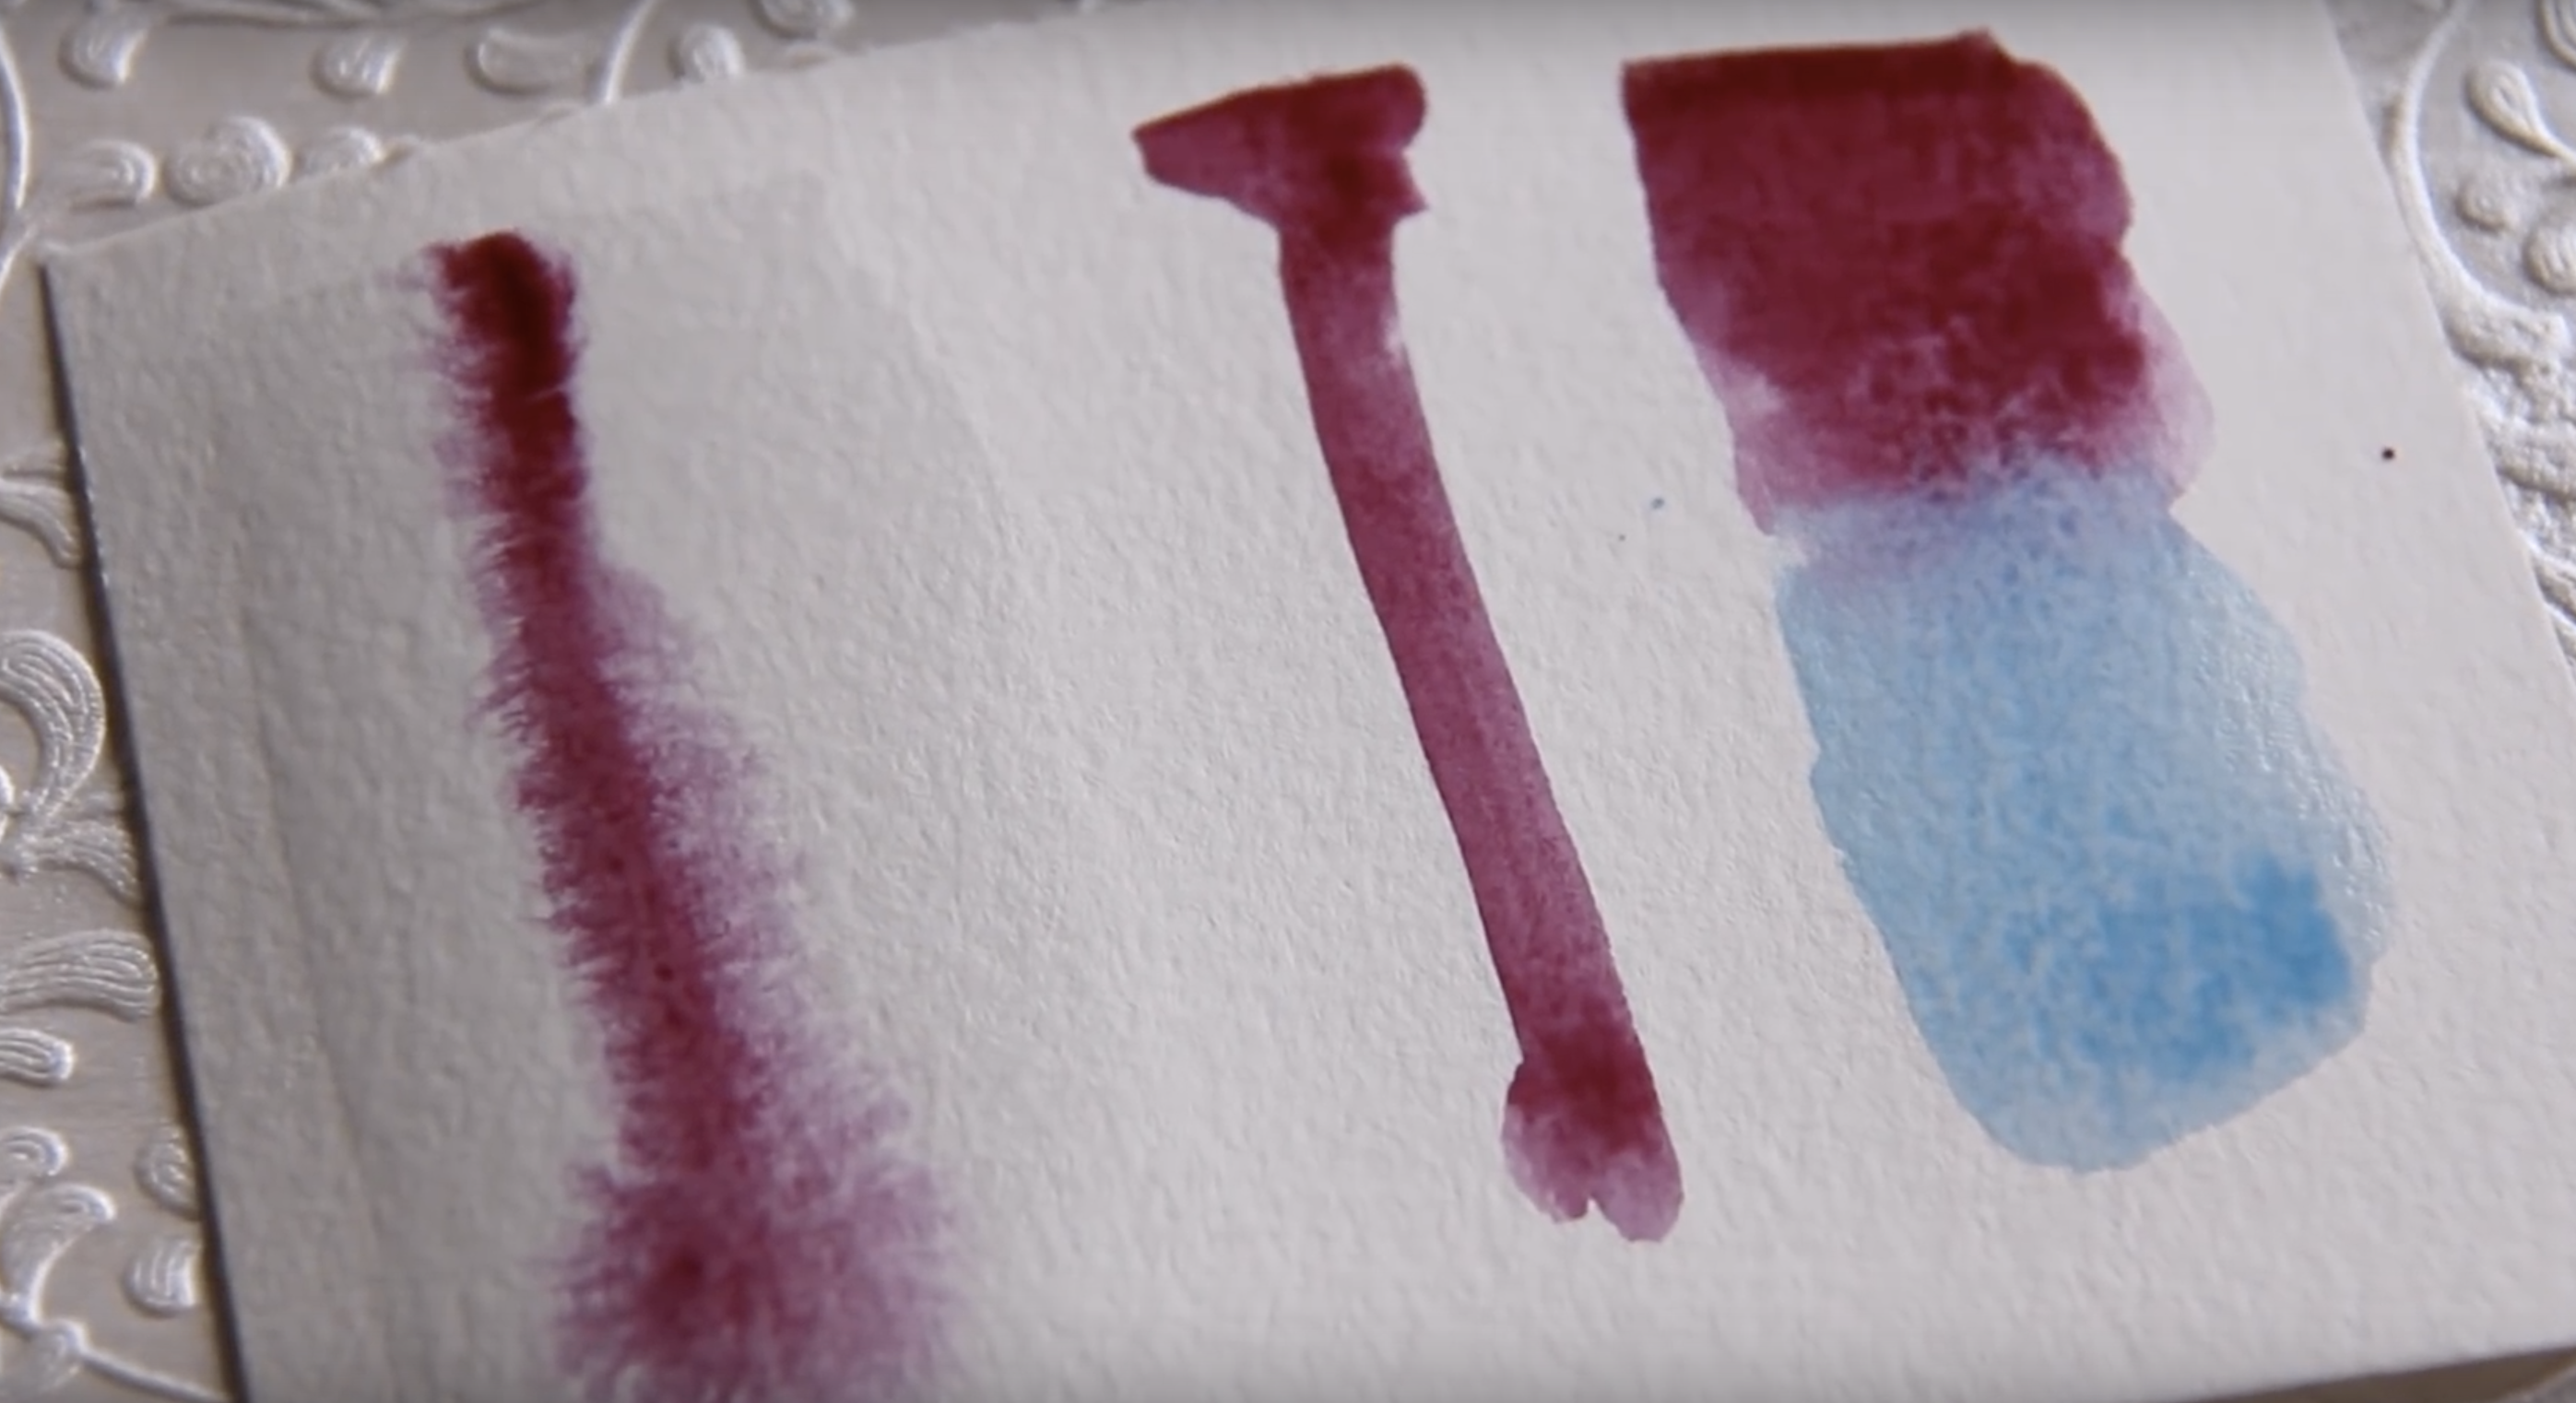
Being able to master the different watercolor washes is the most basic of watercolor techniques. The more you apply these different washes, the more you enhance your skill in being able to control the water and paint to get the result that you want. The wet-on-wet effect is achieved by brushing water onto the paper first and adding your paint before the water dries. This results in a softer wash of paint. With the wet-on-dry effect, you have more control over your brushstrokes, since you're putting wet paint on a dry surface. The result gives you hard edges, and no paint will go beyond the edges of any shape that you paint. There's also the variegated wash, which allows you to seamlessly blend two or more colors while they're still wet on the paper.
Tip#2: Always Have 2 Water Containers
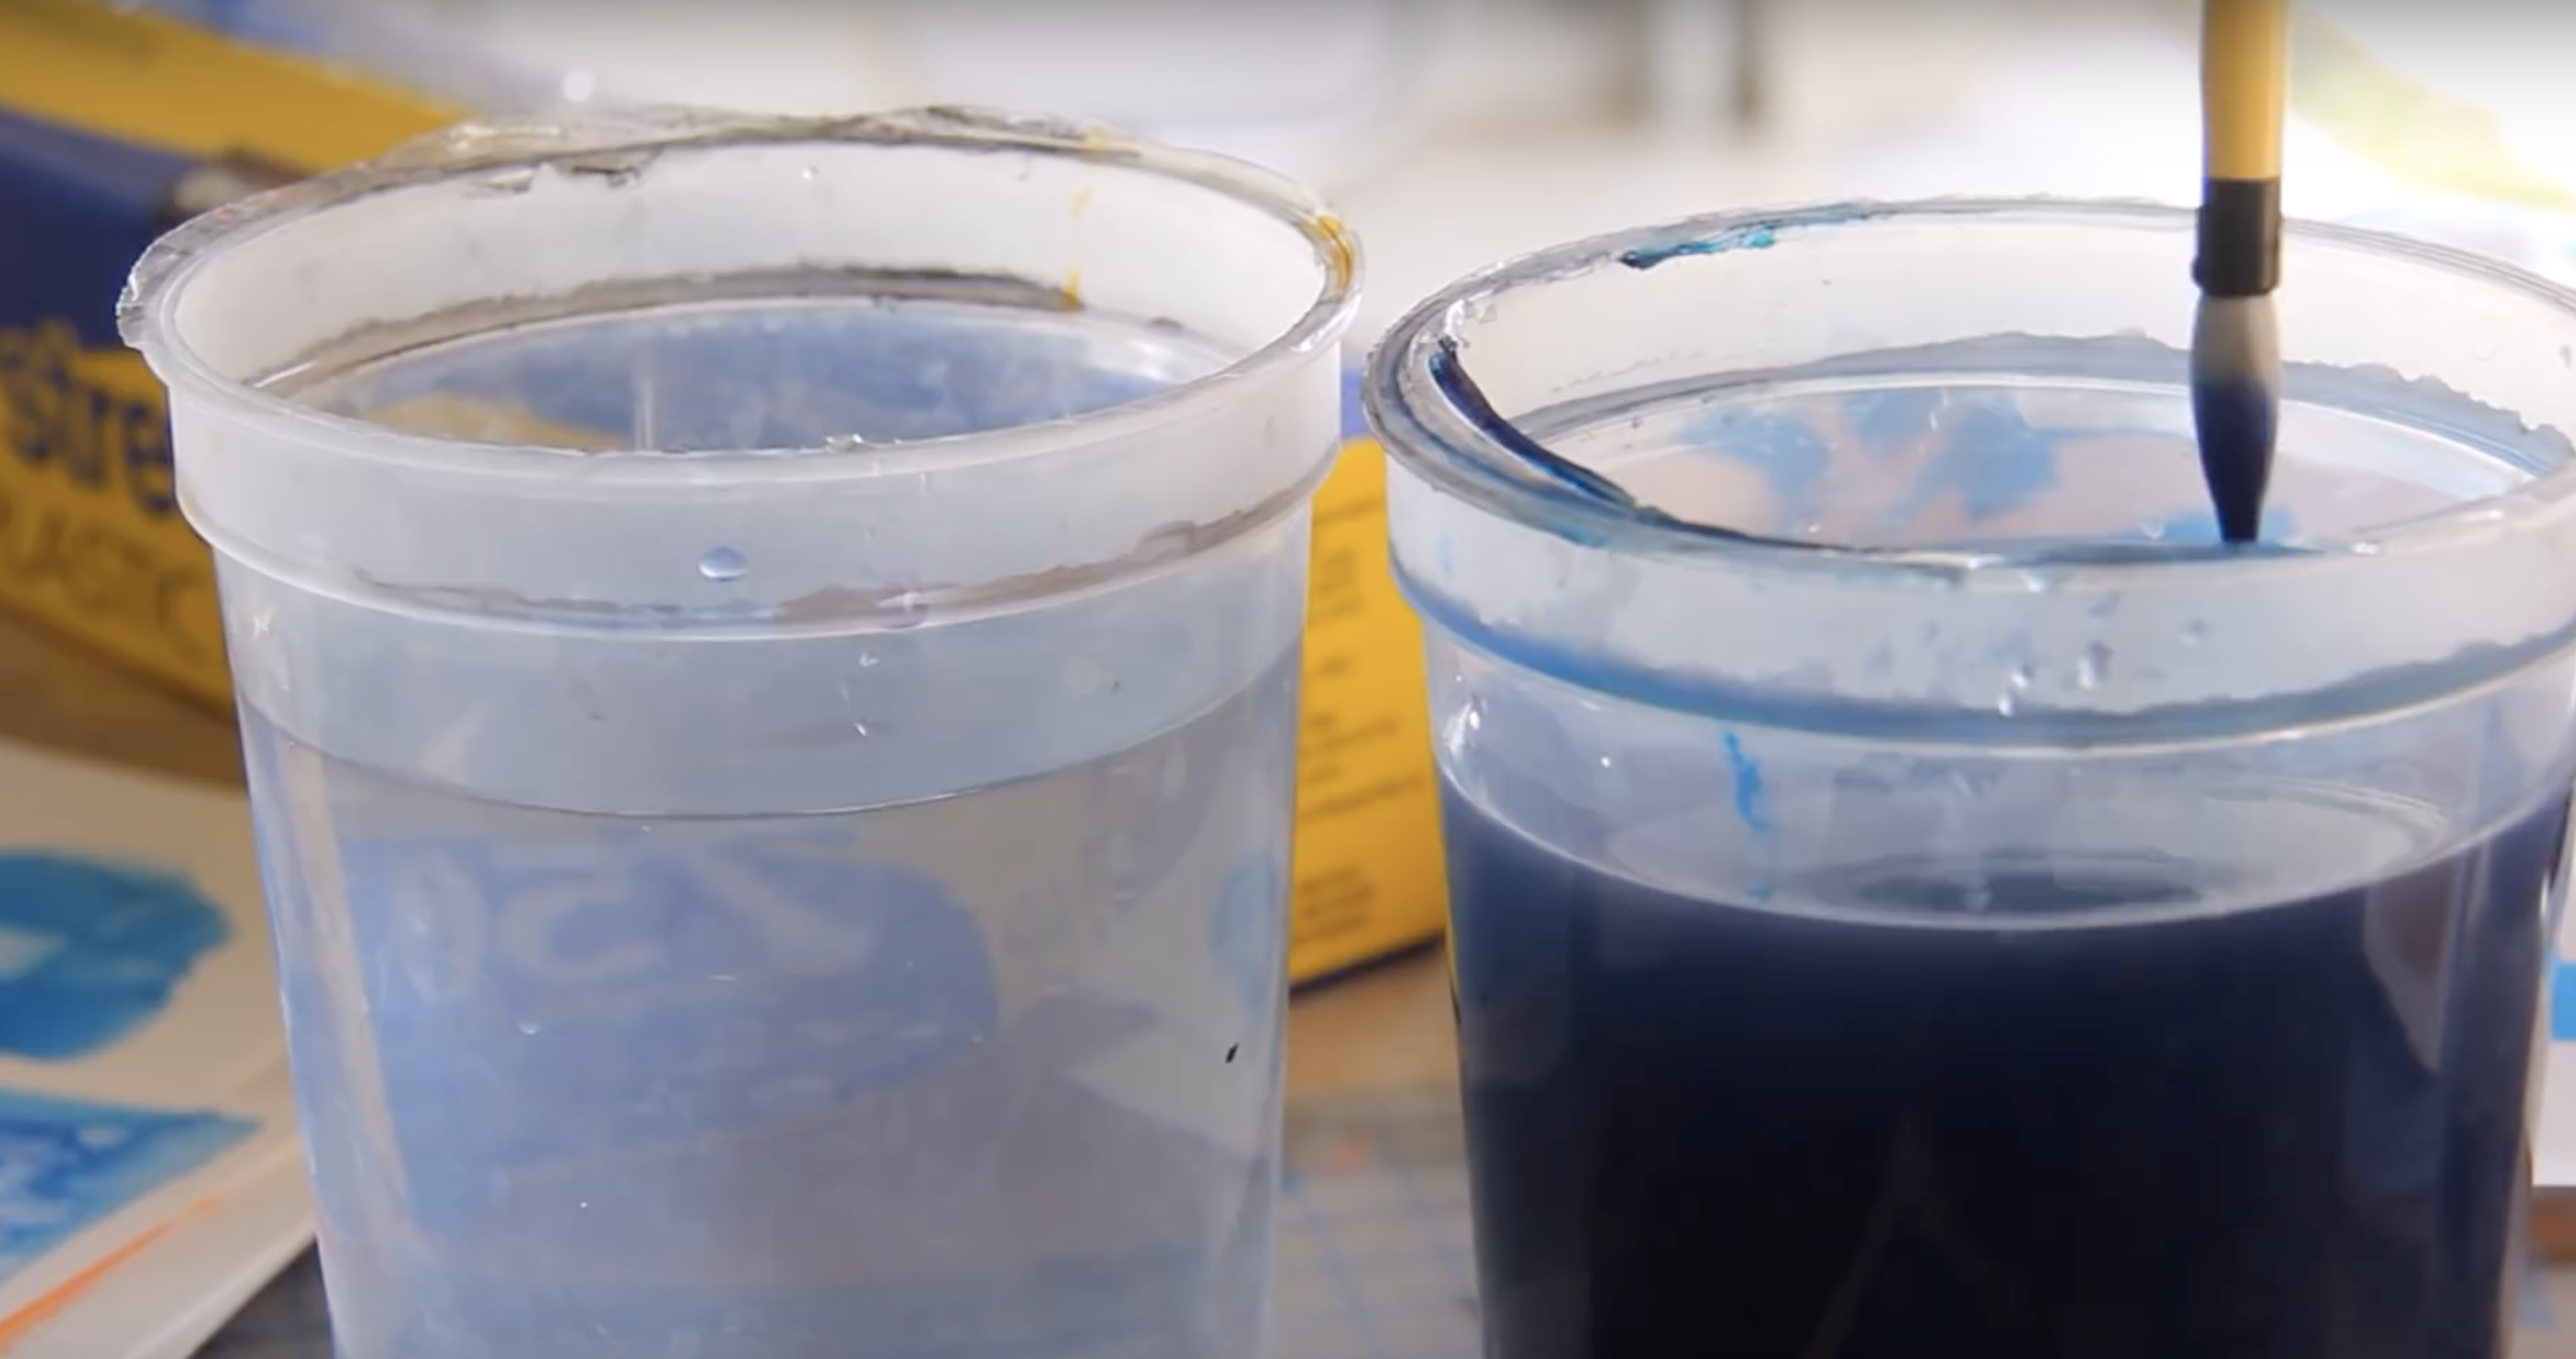
This is a simple but efficient practice that can save you a lot of time and water! One container is for cleaning the brush, and the other is for dipping the brush with water you will use to paint. This helps you get the best shades of color from your paint, since keeping the water clean means you can avoid getting a muddy wash of paint resulting from an excessive mix of colors. You also don't have to keep getting up to change the dirty water.
Tip#3: Activate Your Paint by Spraying Water
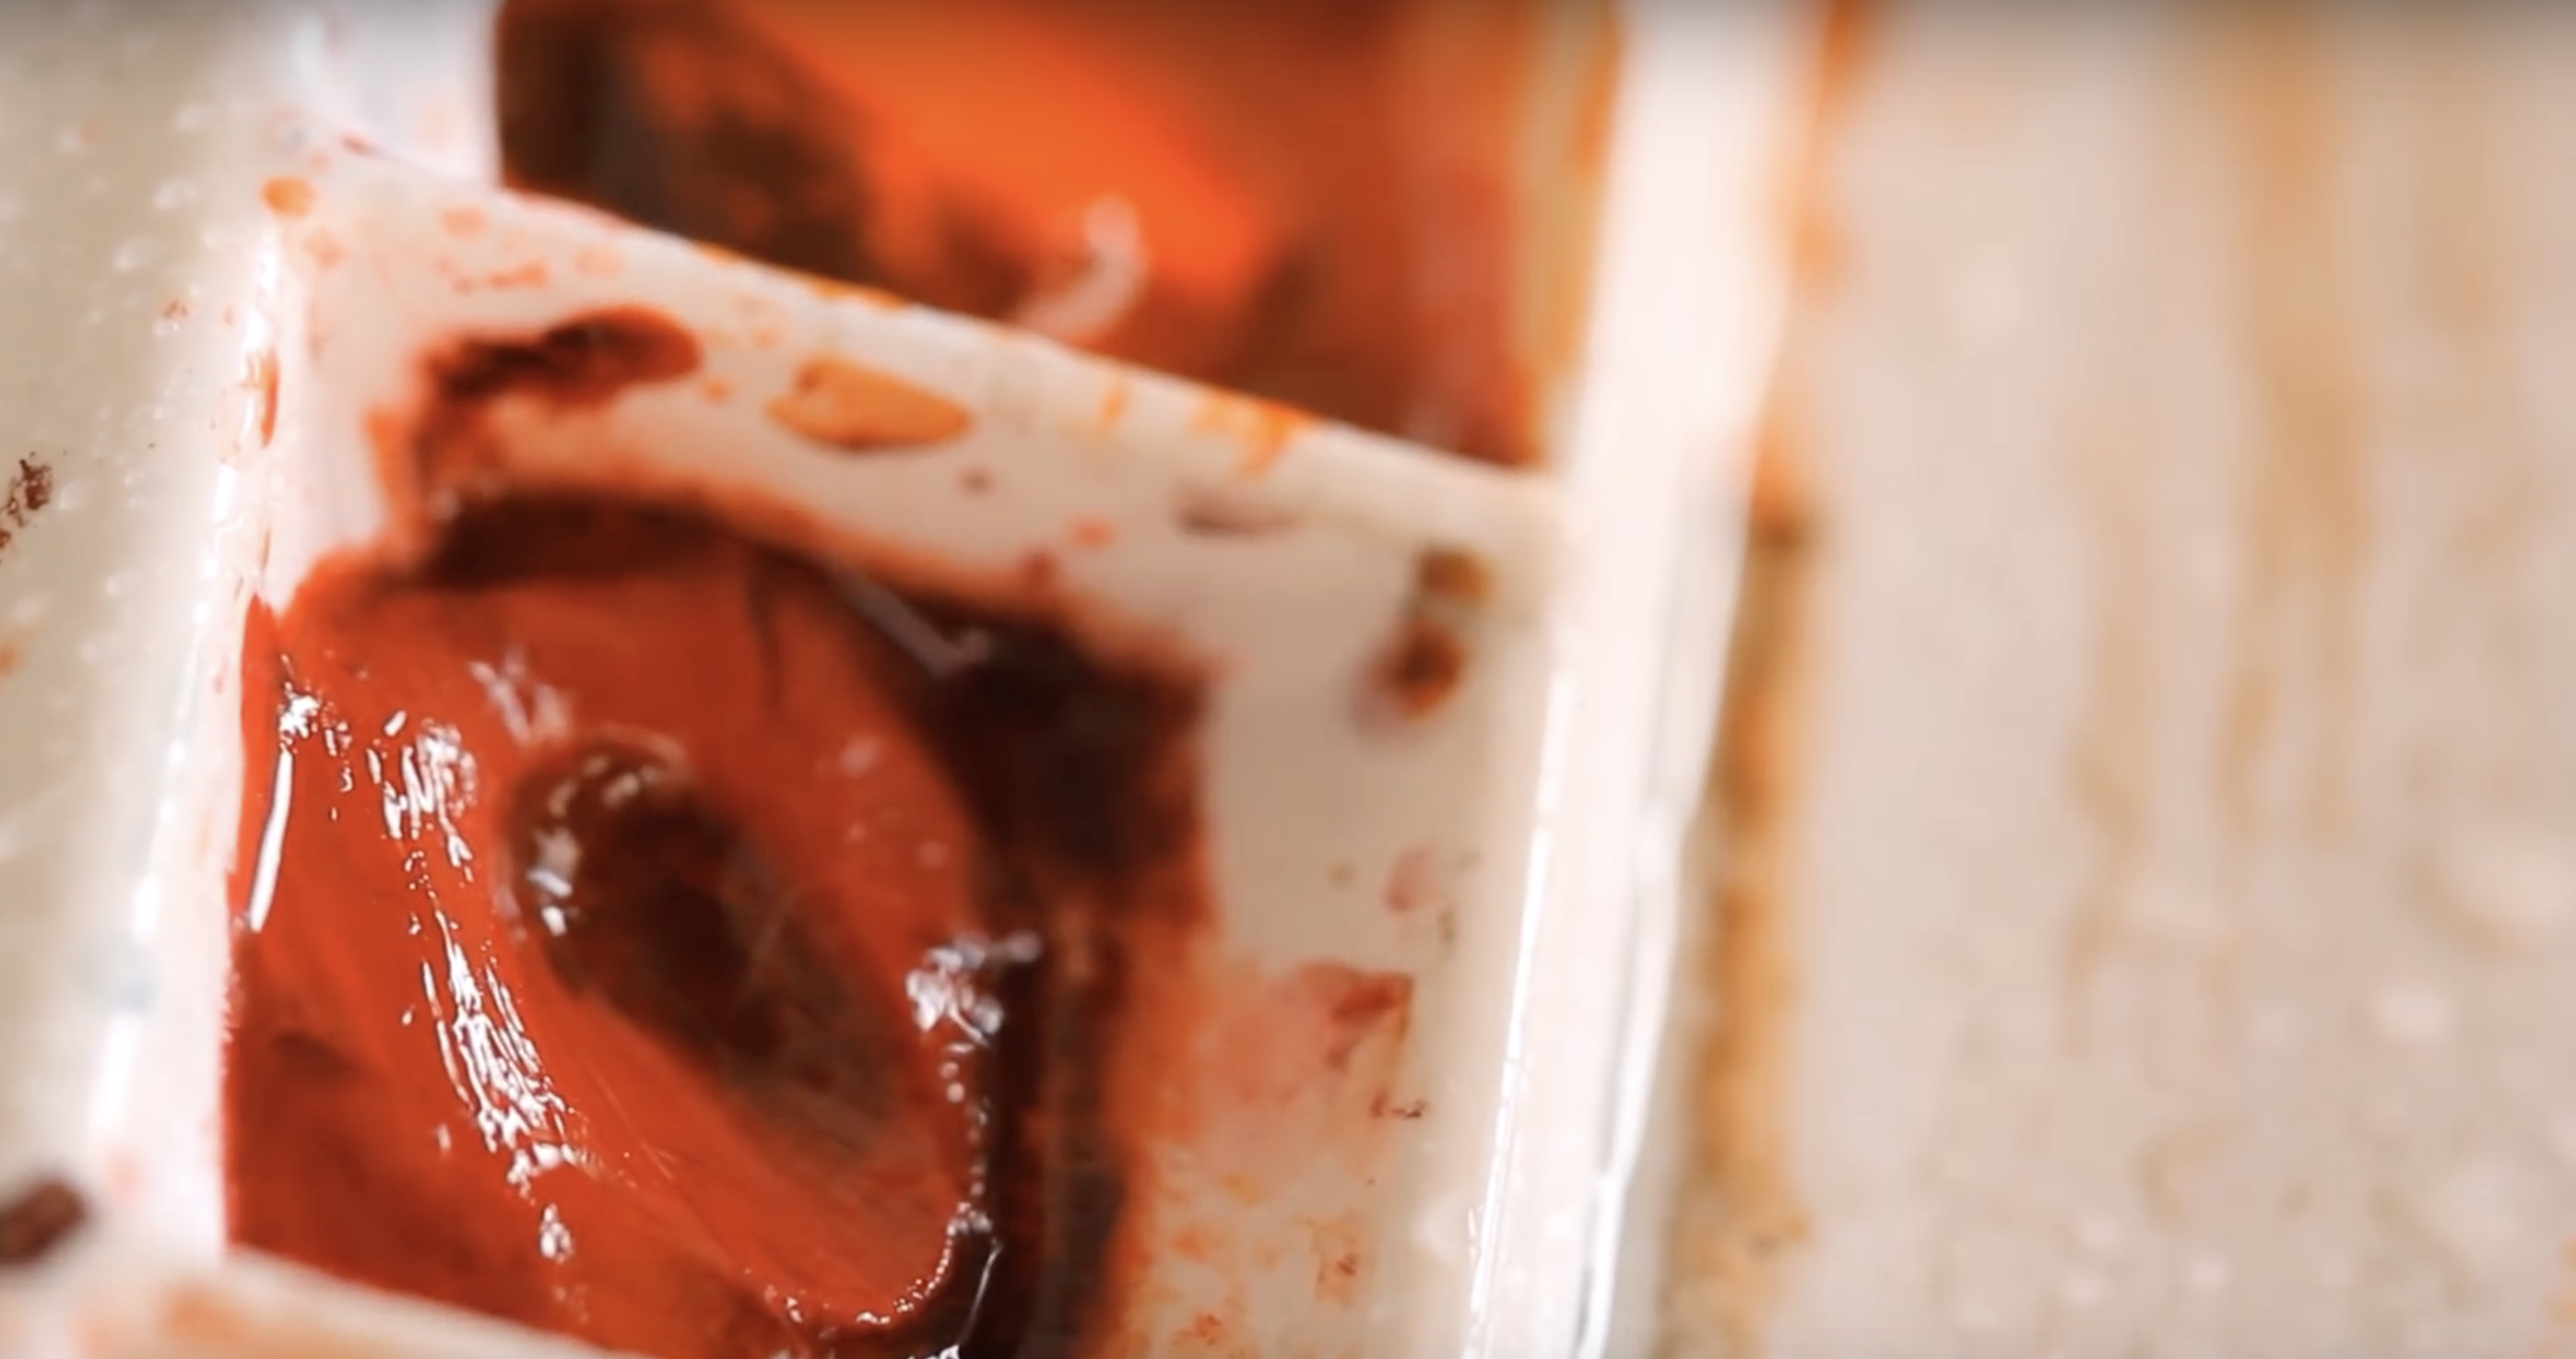
Dried-up watercolor paint in your palette can easily be reactivated by spraying some water into it. Just a light spray using a spray bottle will wake up your paint, and this will make it much easier for you to apply the paint using the different watercolor techniques that you want to practice.
Tip#4: Textural Effects With Salt
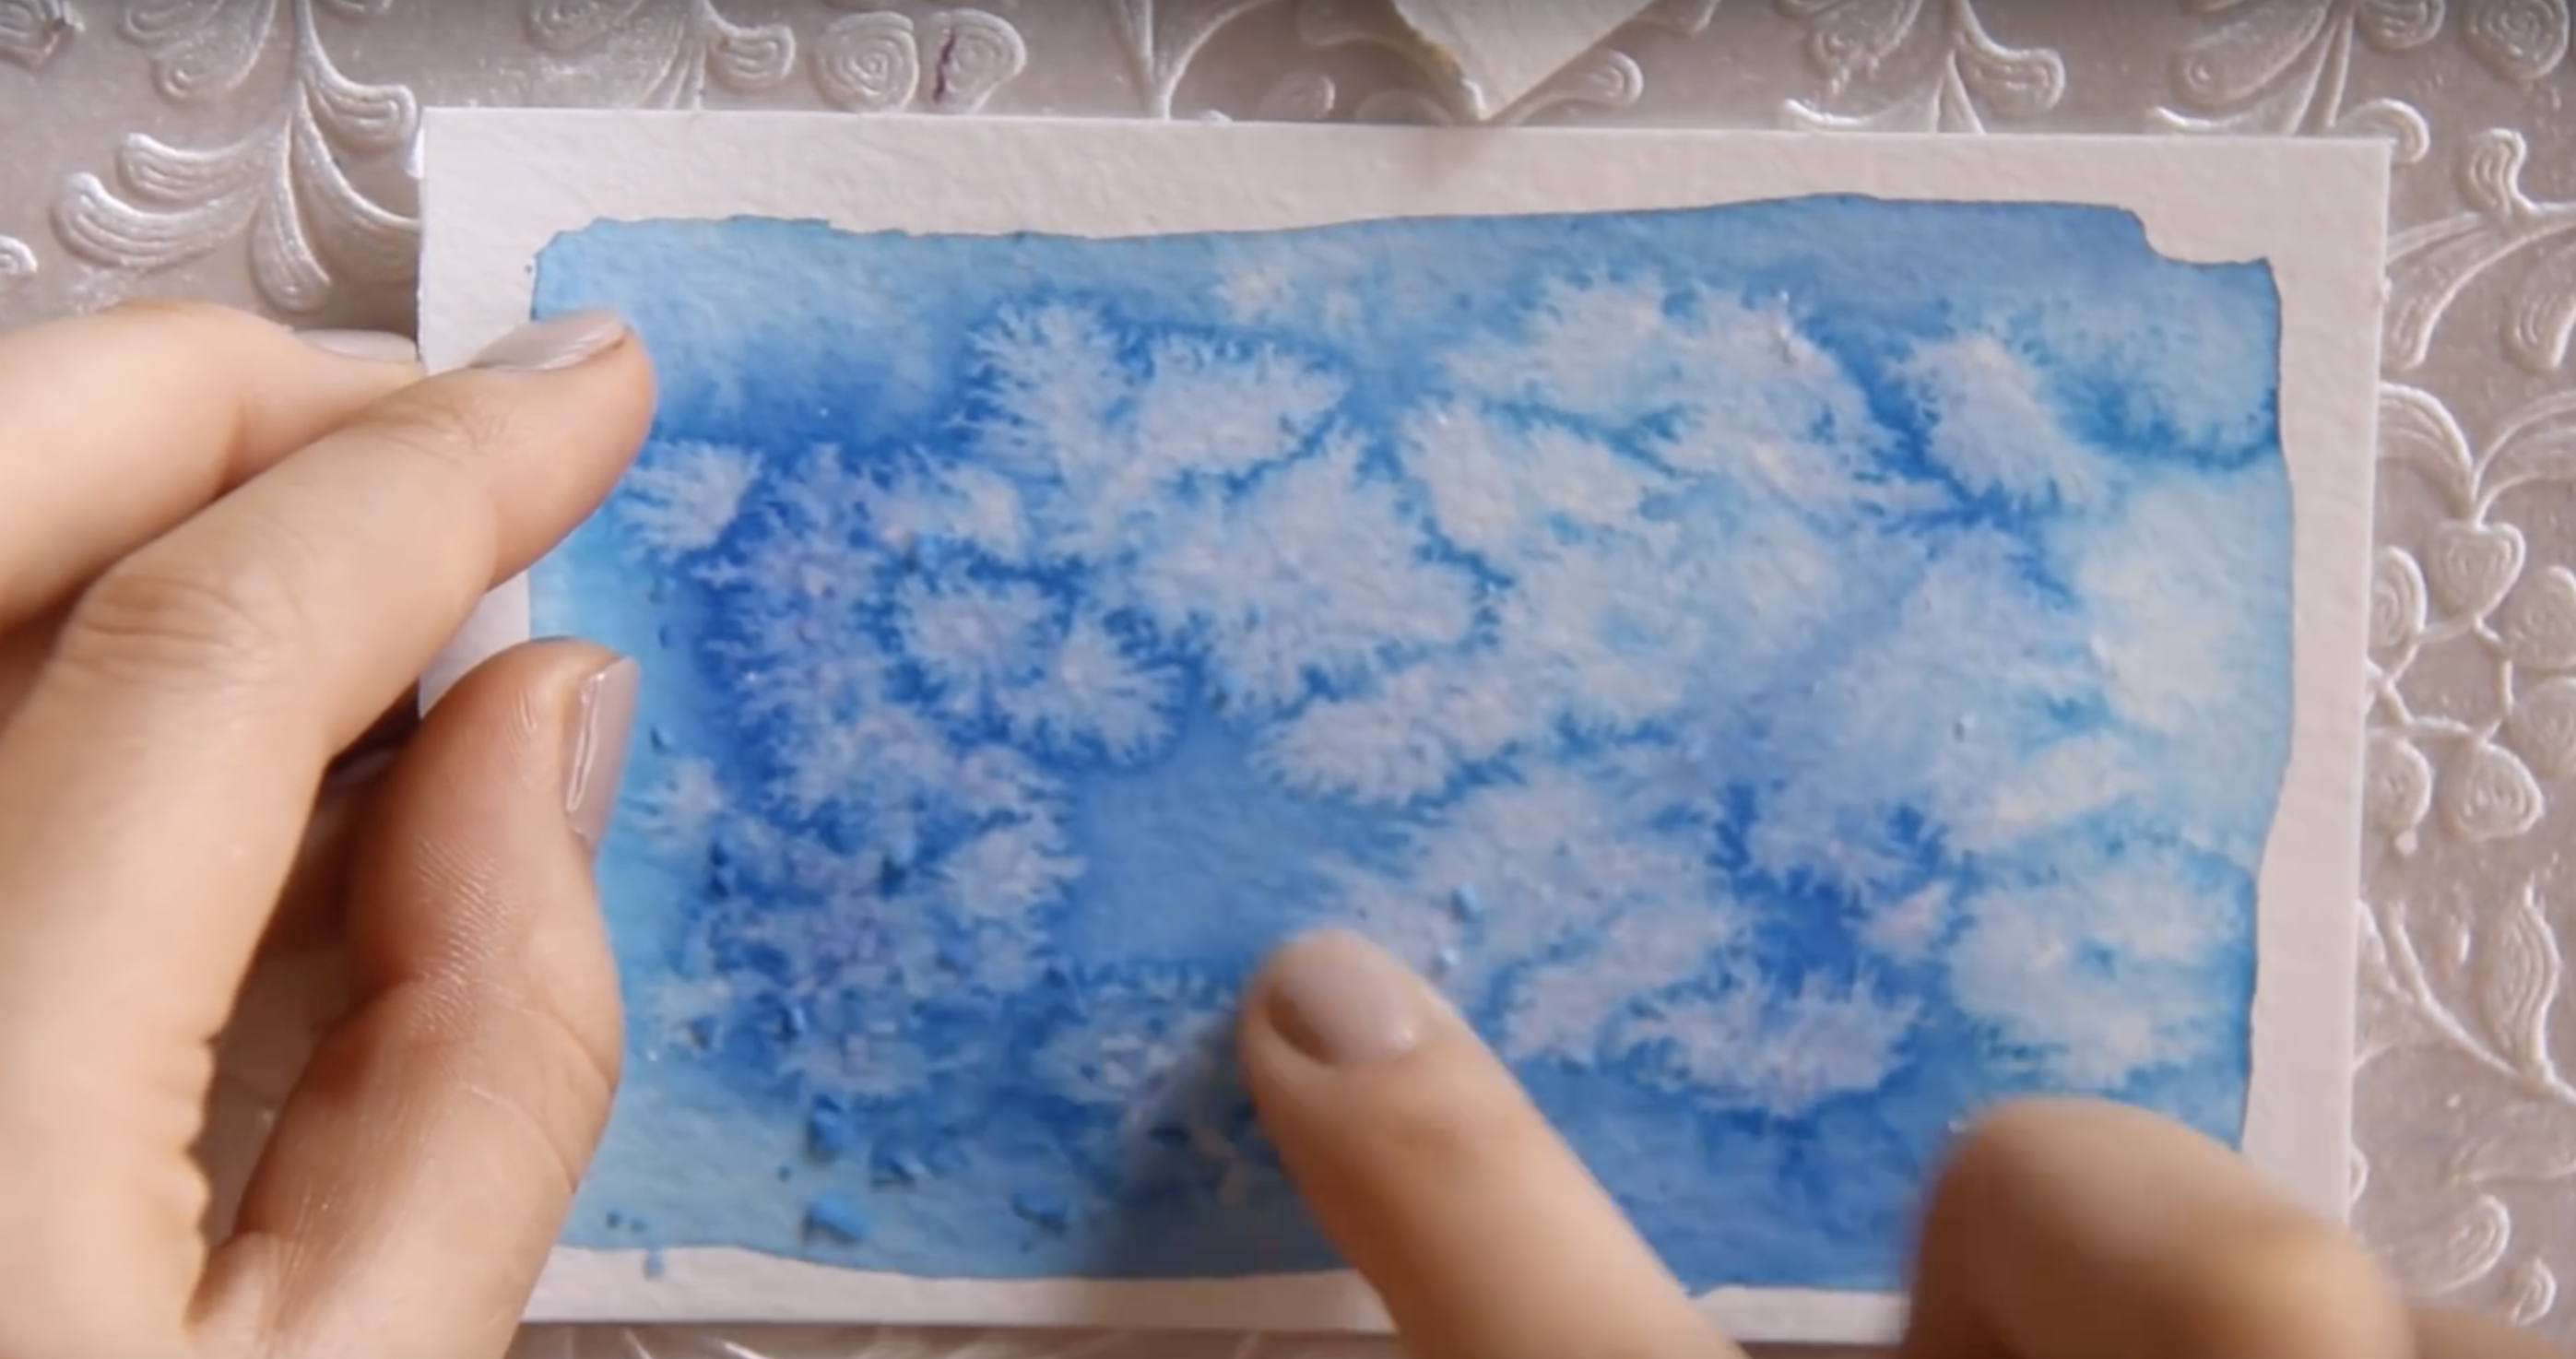
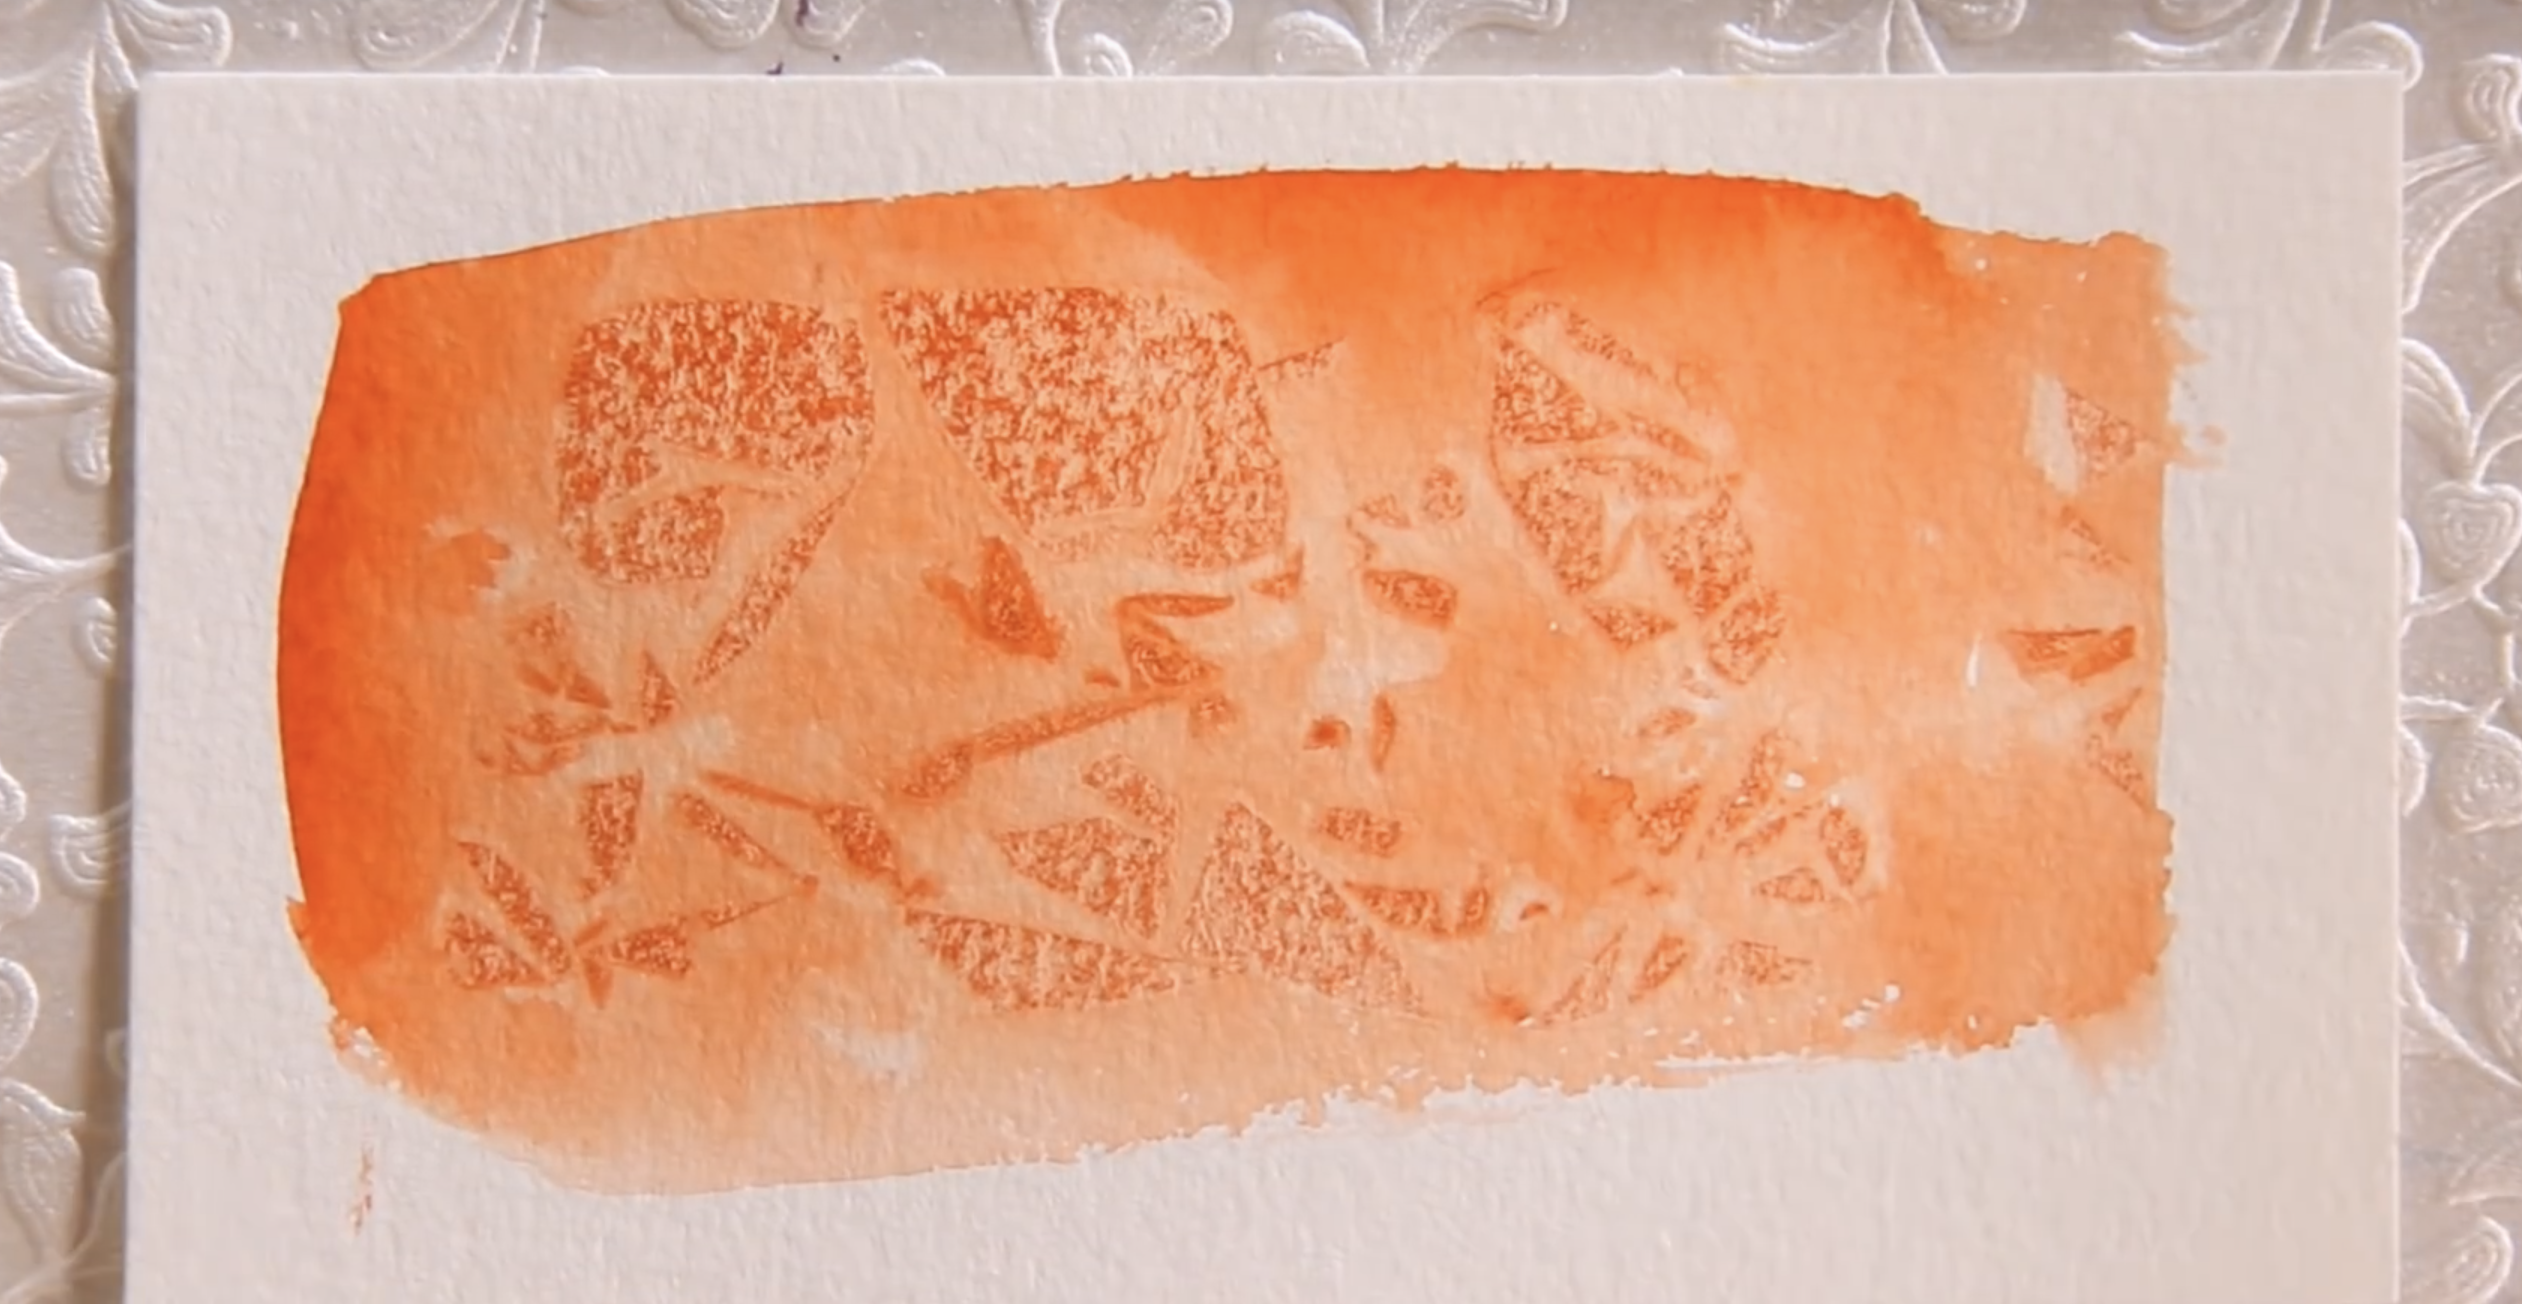
Adding some kosher salt (or even table salt) to your watercolor painting will add texture to your work of art. It's an interesting yet still subtle effect that will be great to use in almost any kind of painting! To do this, start out by painting the area you want to make textured. While the paint is still wet, sprinkle a dusting of kosher salt onto this area. You can place the grains of salt strategically, depending on the effect that you want to achieve.
Once the paint is dry, gently rub the salt off the paper. You'll see the full effect of this trick when using larger grains of salt, or if you have time, experiment with different types of salt to see how that affects the texture!
Tip#5: Use Masking Fluid
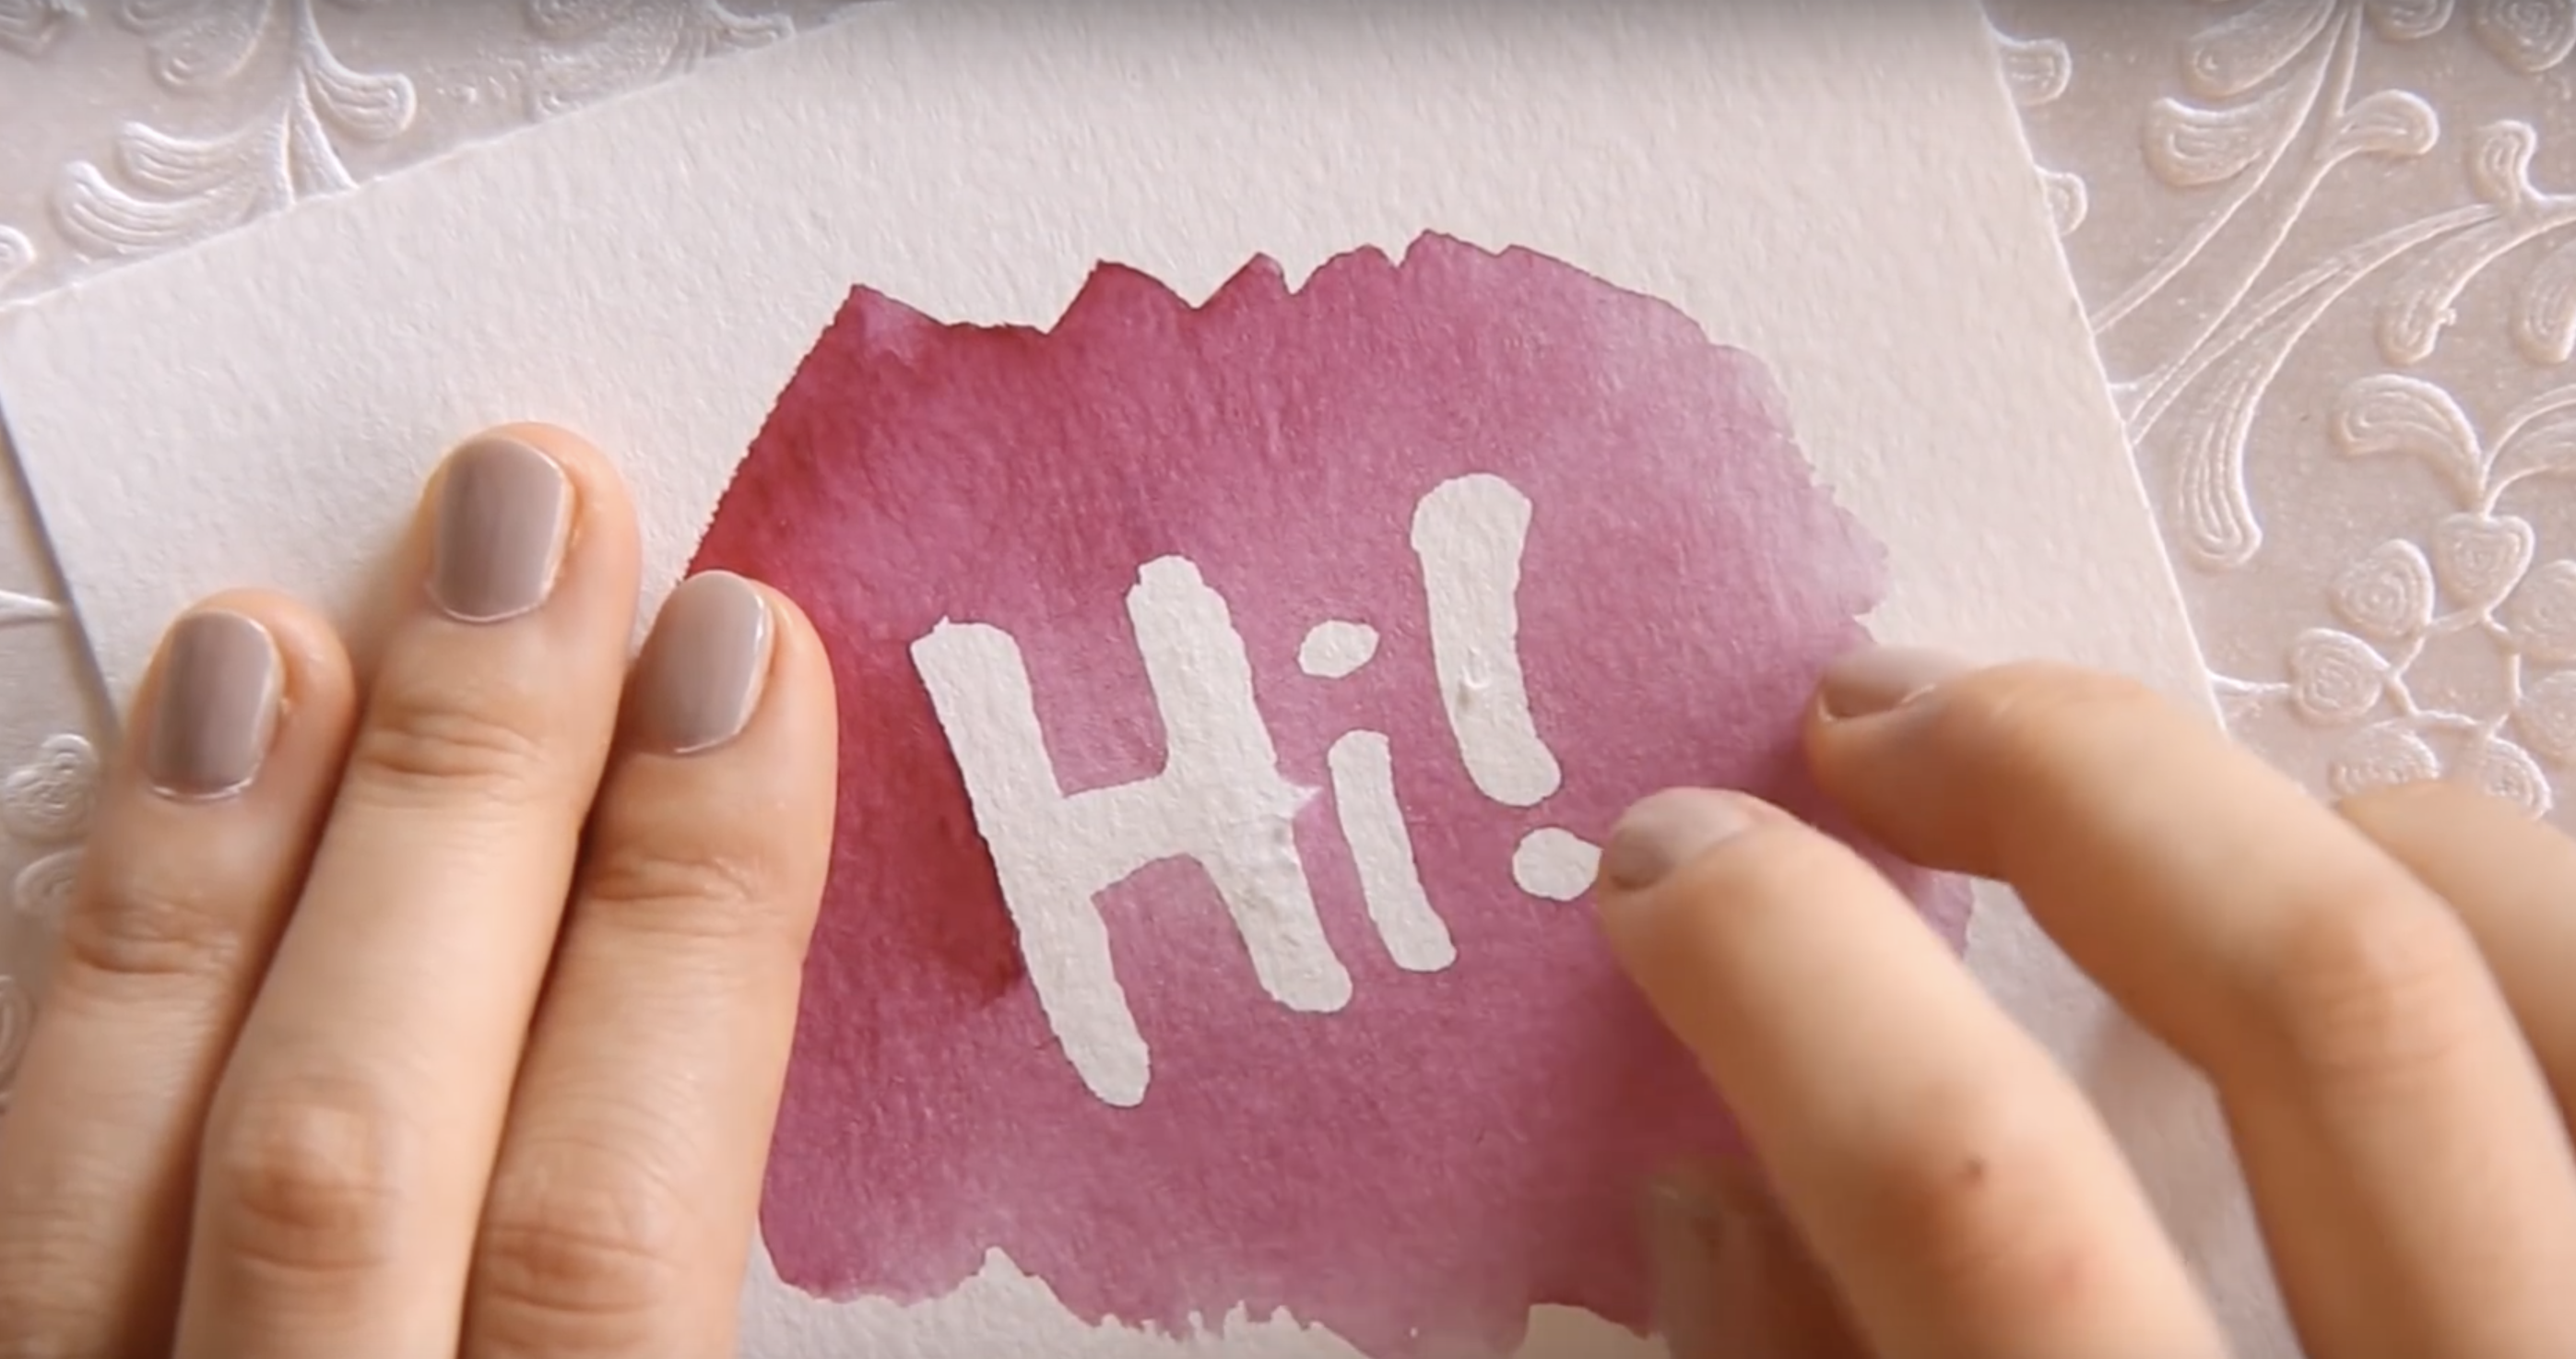
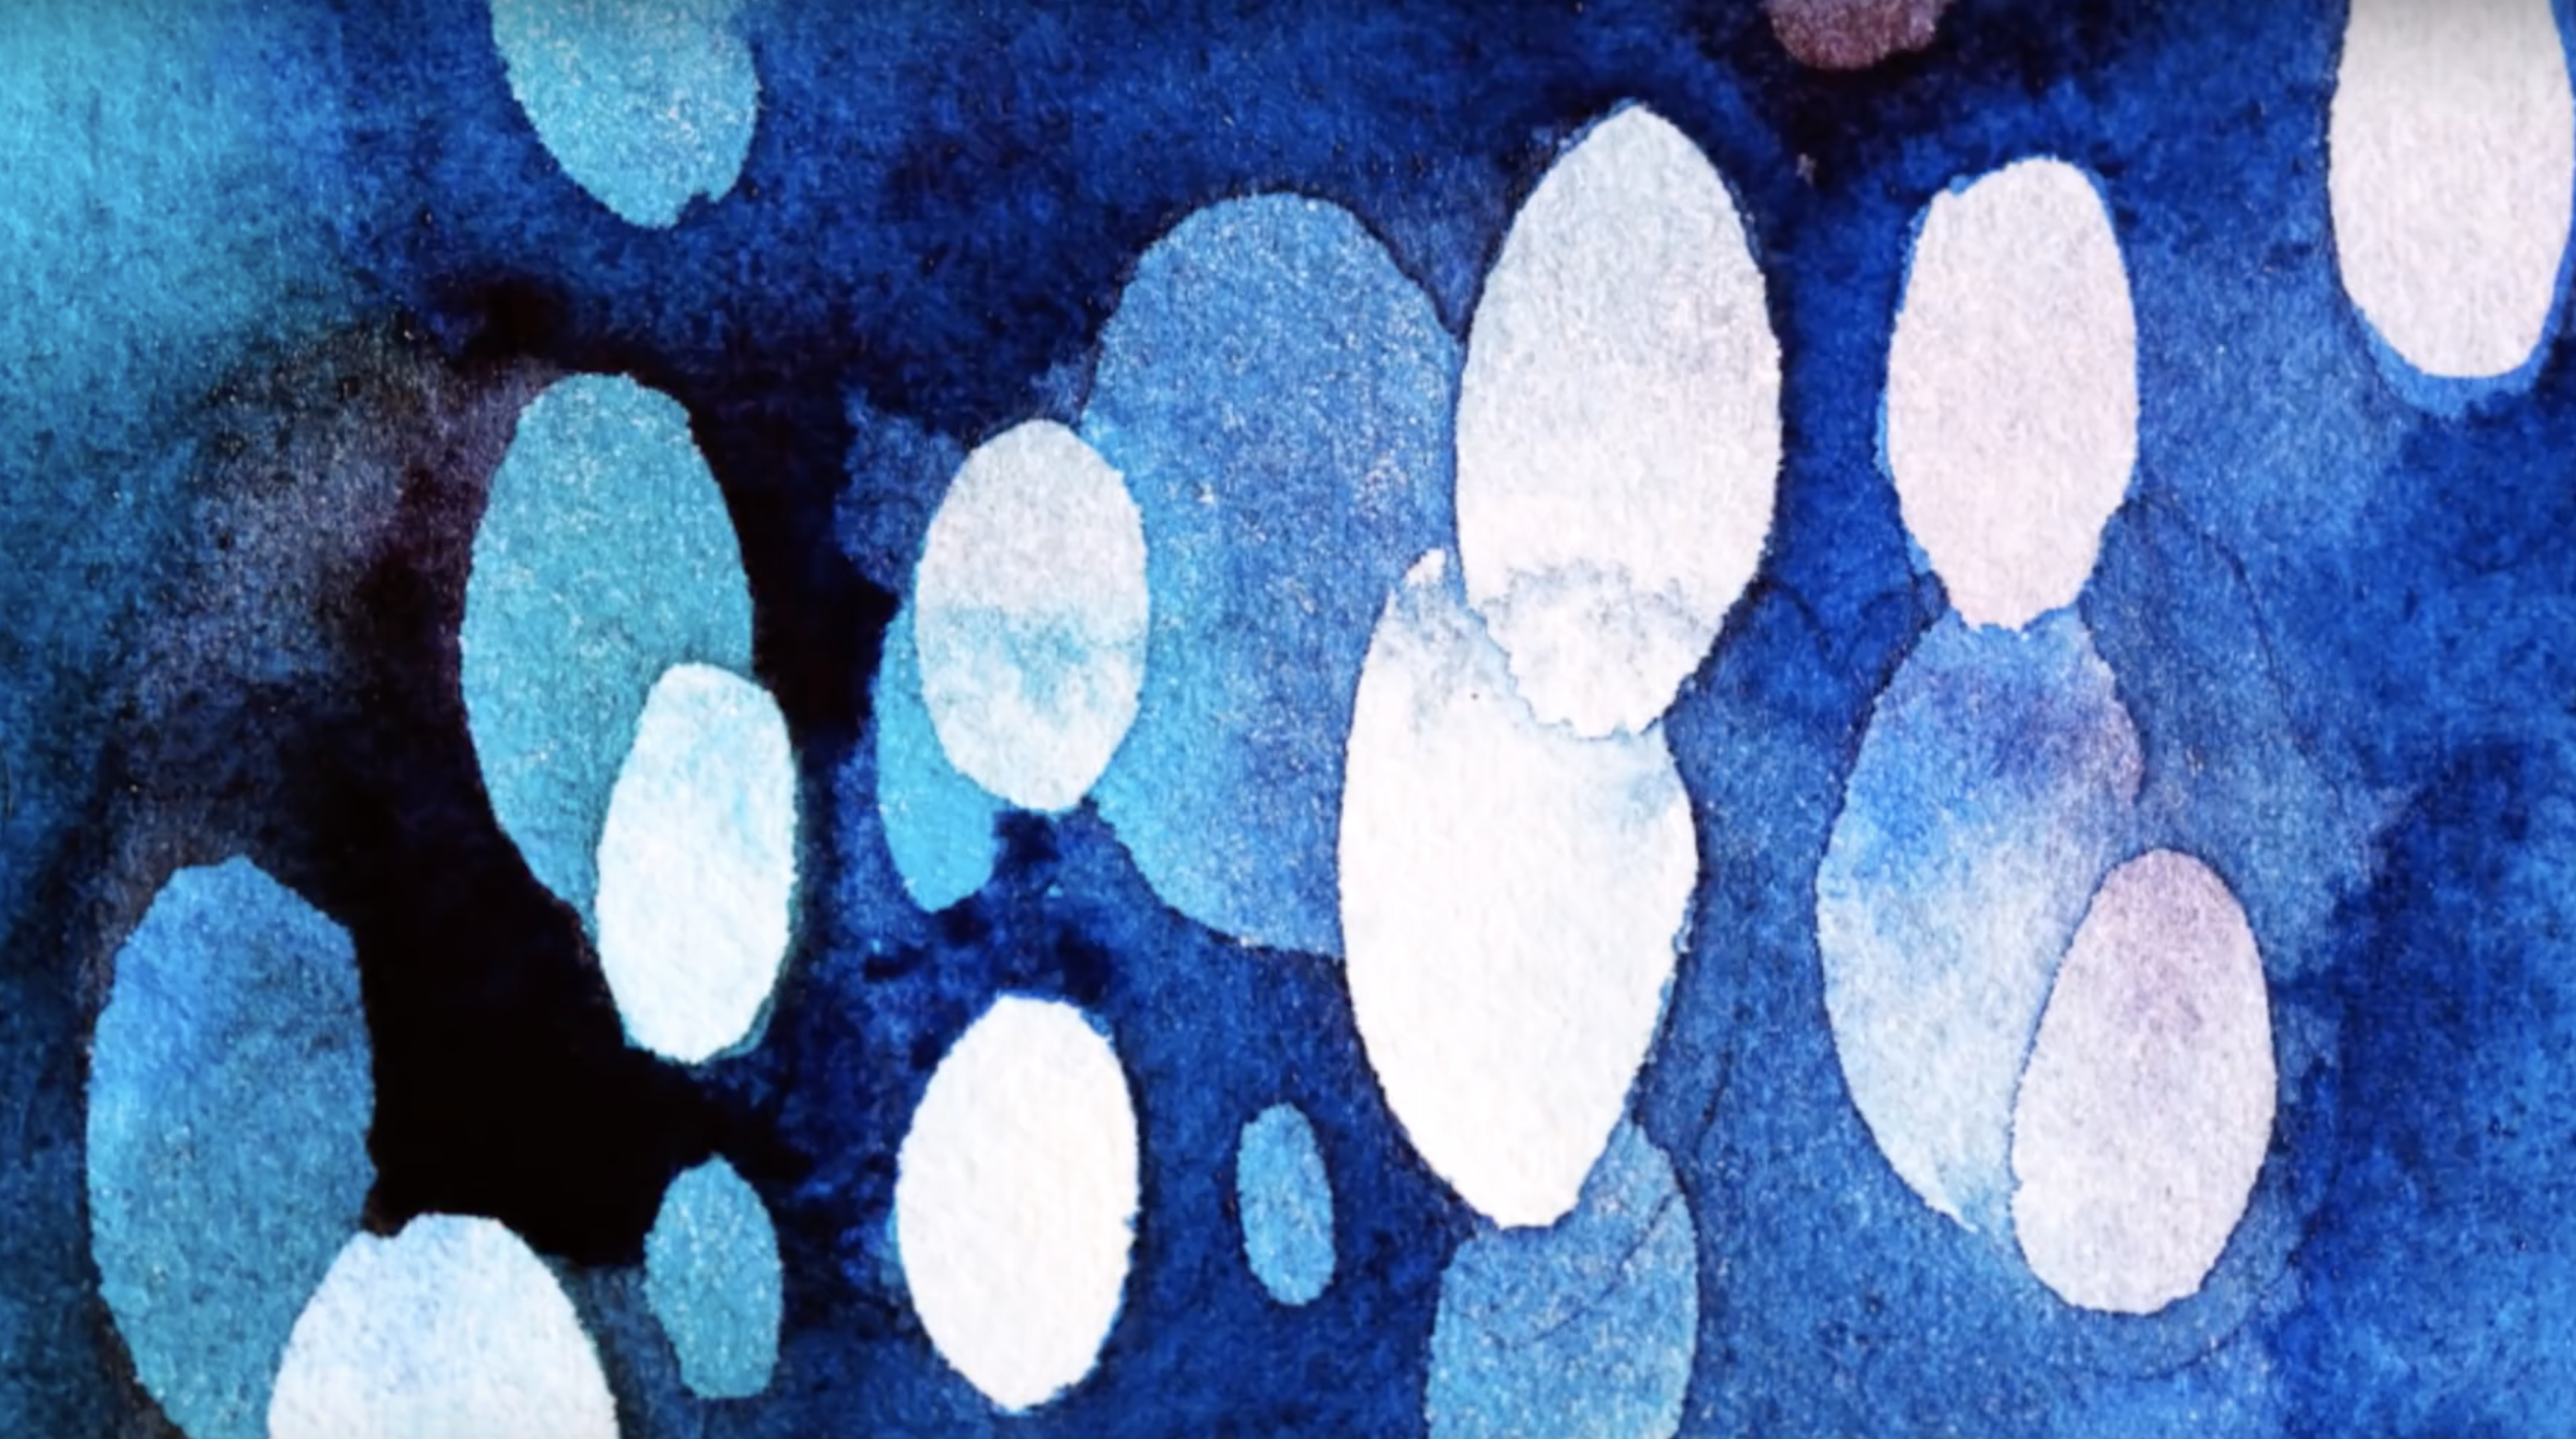
Using masking fluid is an interesting trick and a very handy watercolor technique when you want to preserve highlights or white areas in your watercolor painting. To do this, use a no. 4 round brush to paint the areas you want to keep white using the masking fluid. Let the masking fluid dry completely before adding some watercolor paint. Once the paint is completely dry as well, you can gently peel off the masking fluid.
The result will be highly contrasting areas - one washed with watercolor and the other completely void of it. It's one of those easy watercolor techniques that you can definitely use for many different paintings.
Tip#6: Create Invisible Sharp Edges
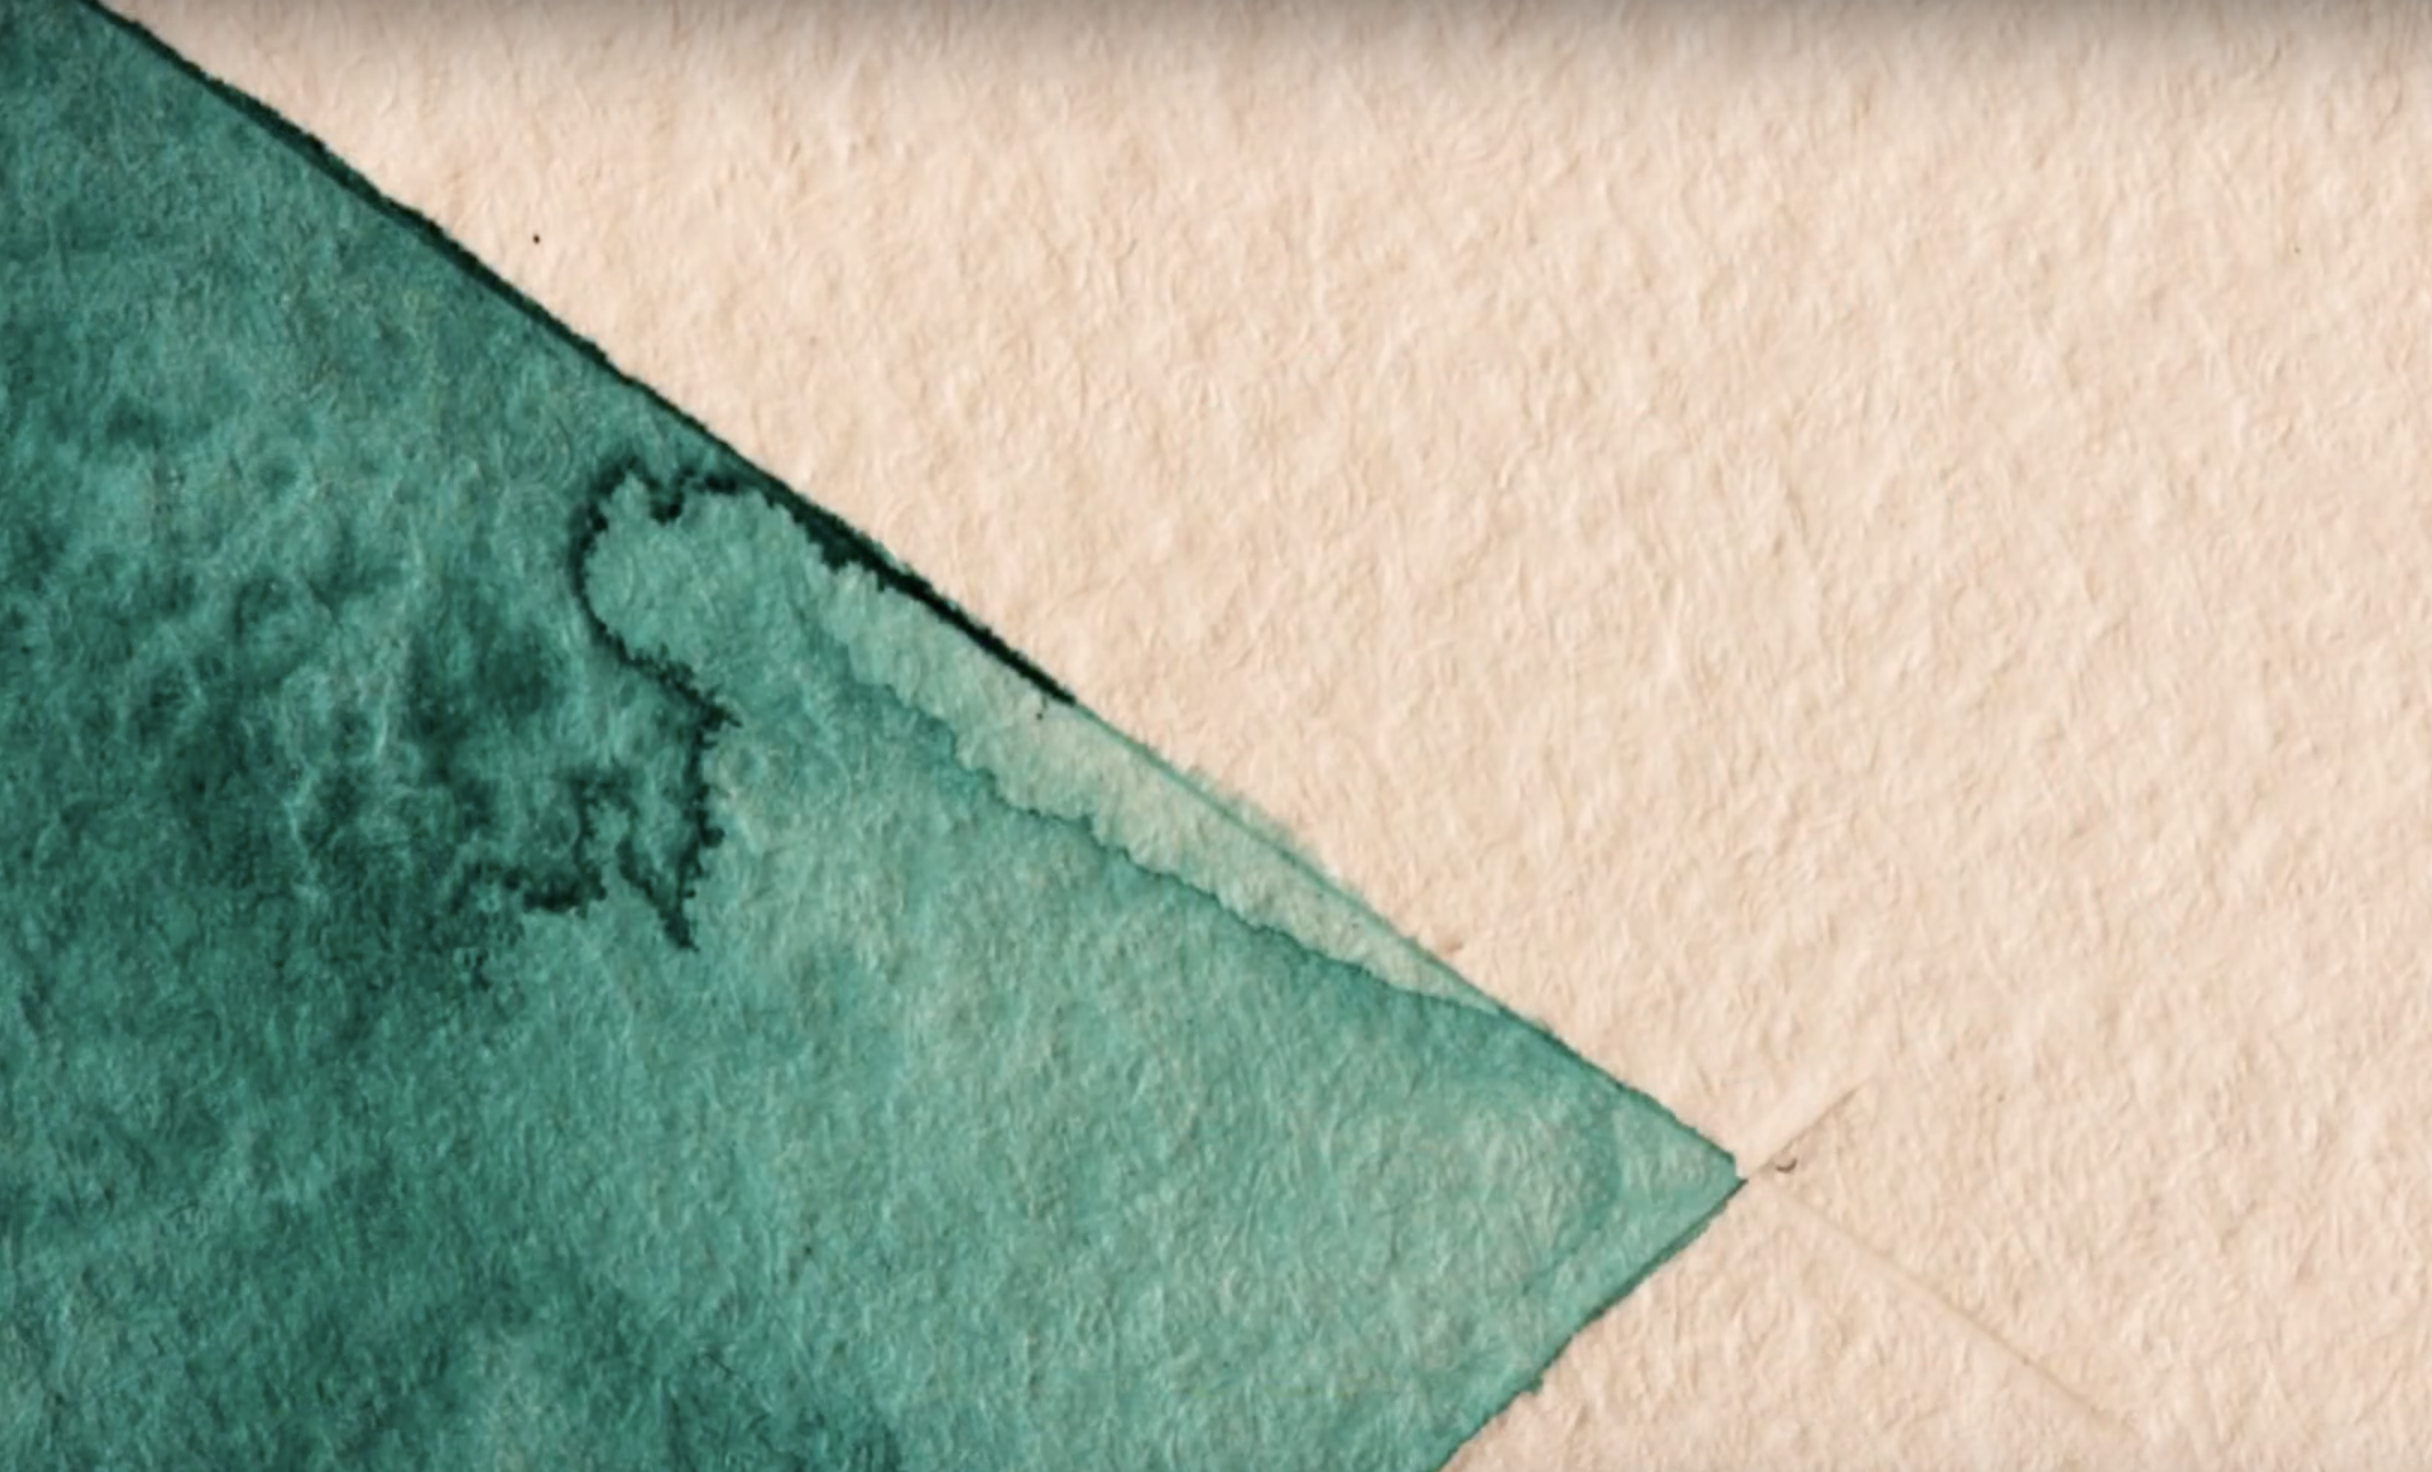
Using the blunt edge of a cuticle cutter, or a scoring knife (or even the edge of your credit card), you can draw on invisible edges for paintings that require sharper borders or lines. This controls the movement of your paint so that it stays within the small grooves you made in your watercolor paper. It's a very easy tip that results in more defined shapes or areas of your watercolor painting!
Tip#7: Getting a Crinkly Texture
If you want a different textured effect for your painting, here's one of the watercolor techniques that can help you achieve that. With just the use of clingfilm, you'll get an abstract and textured watercolor area that will add depth to any watercolor painting. Apply watercolor on your paper, and while the paint is still wet, put on a scrunched up plastic wrap on top of it. You can adjust the clingfilm while it's still wet!
Then, let the paint dry before carefully peeling the wrap off. You can even make it more interesting and add leaves or twigs before adding the plastic wrap, although there's no need to scrunch the clingfilm up in this case. The paint will pool under the wrap or the other items you put on top of it, and once you peel them off, the marks and shapes they make add more depth to your painting.
Tip#8: Try the Lifting Technique
This is basically a dry lift technique where you take out dry watercolor paint by gently scrubbing painted areas using a wet round brush. You can use this technique to form highlights and ghostly effects, or simply create contrast between a painted area and an area that will have little to no watercolor paint on it. It's also good for fixing mistakes, but don't use it too much or it may damage the surface of your watercolor paper!
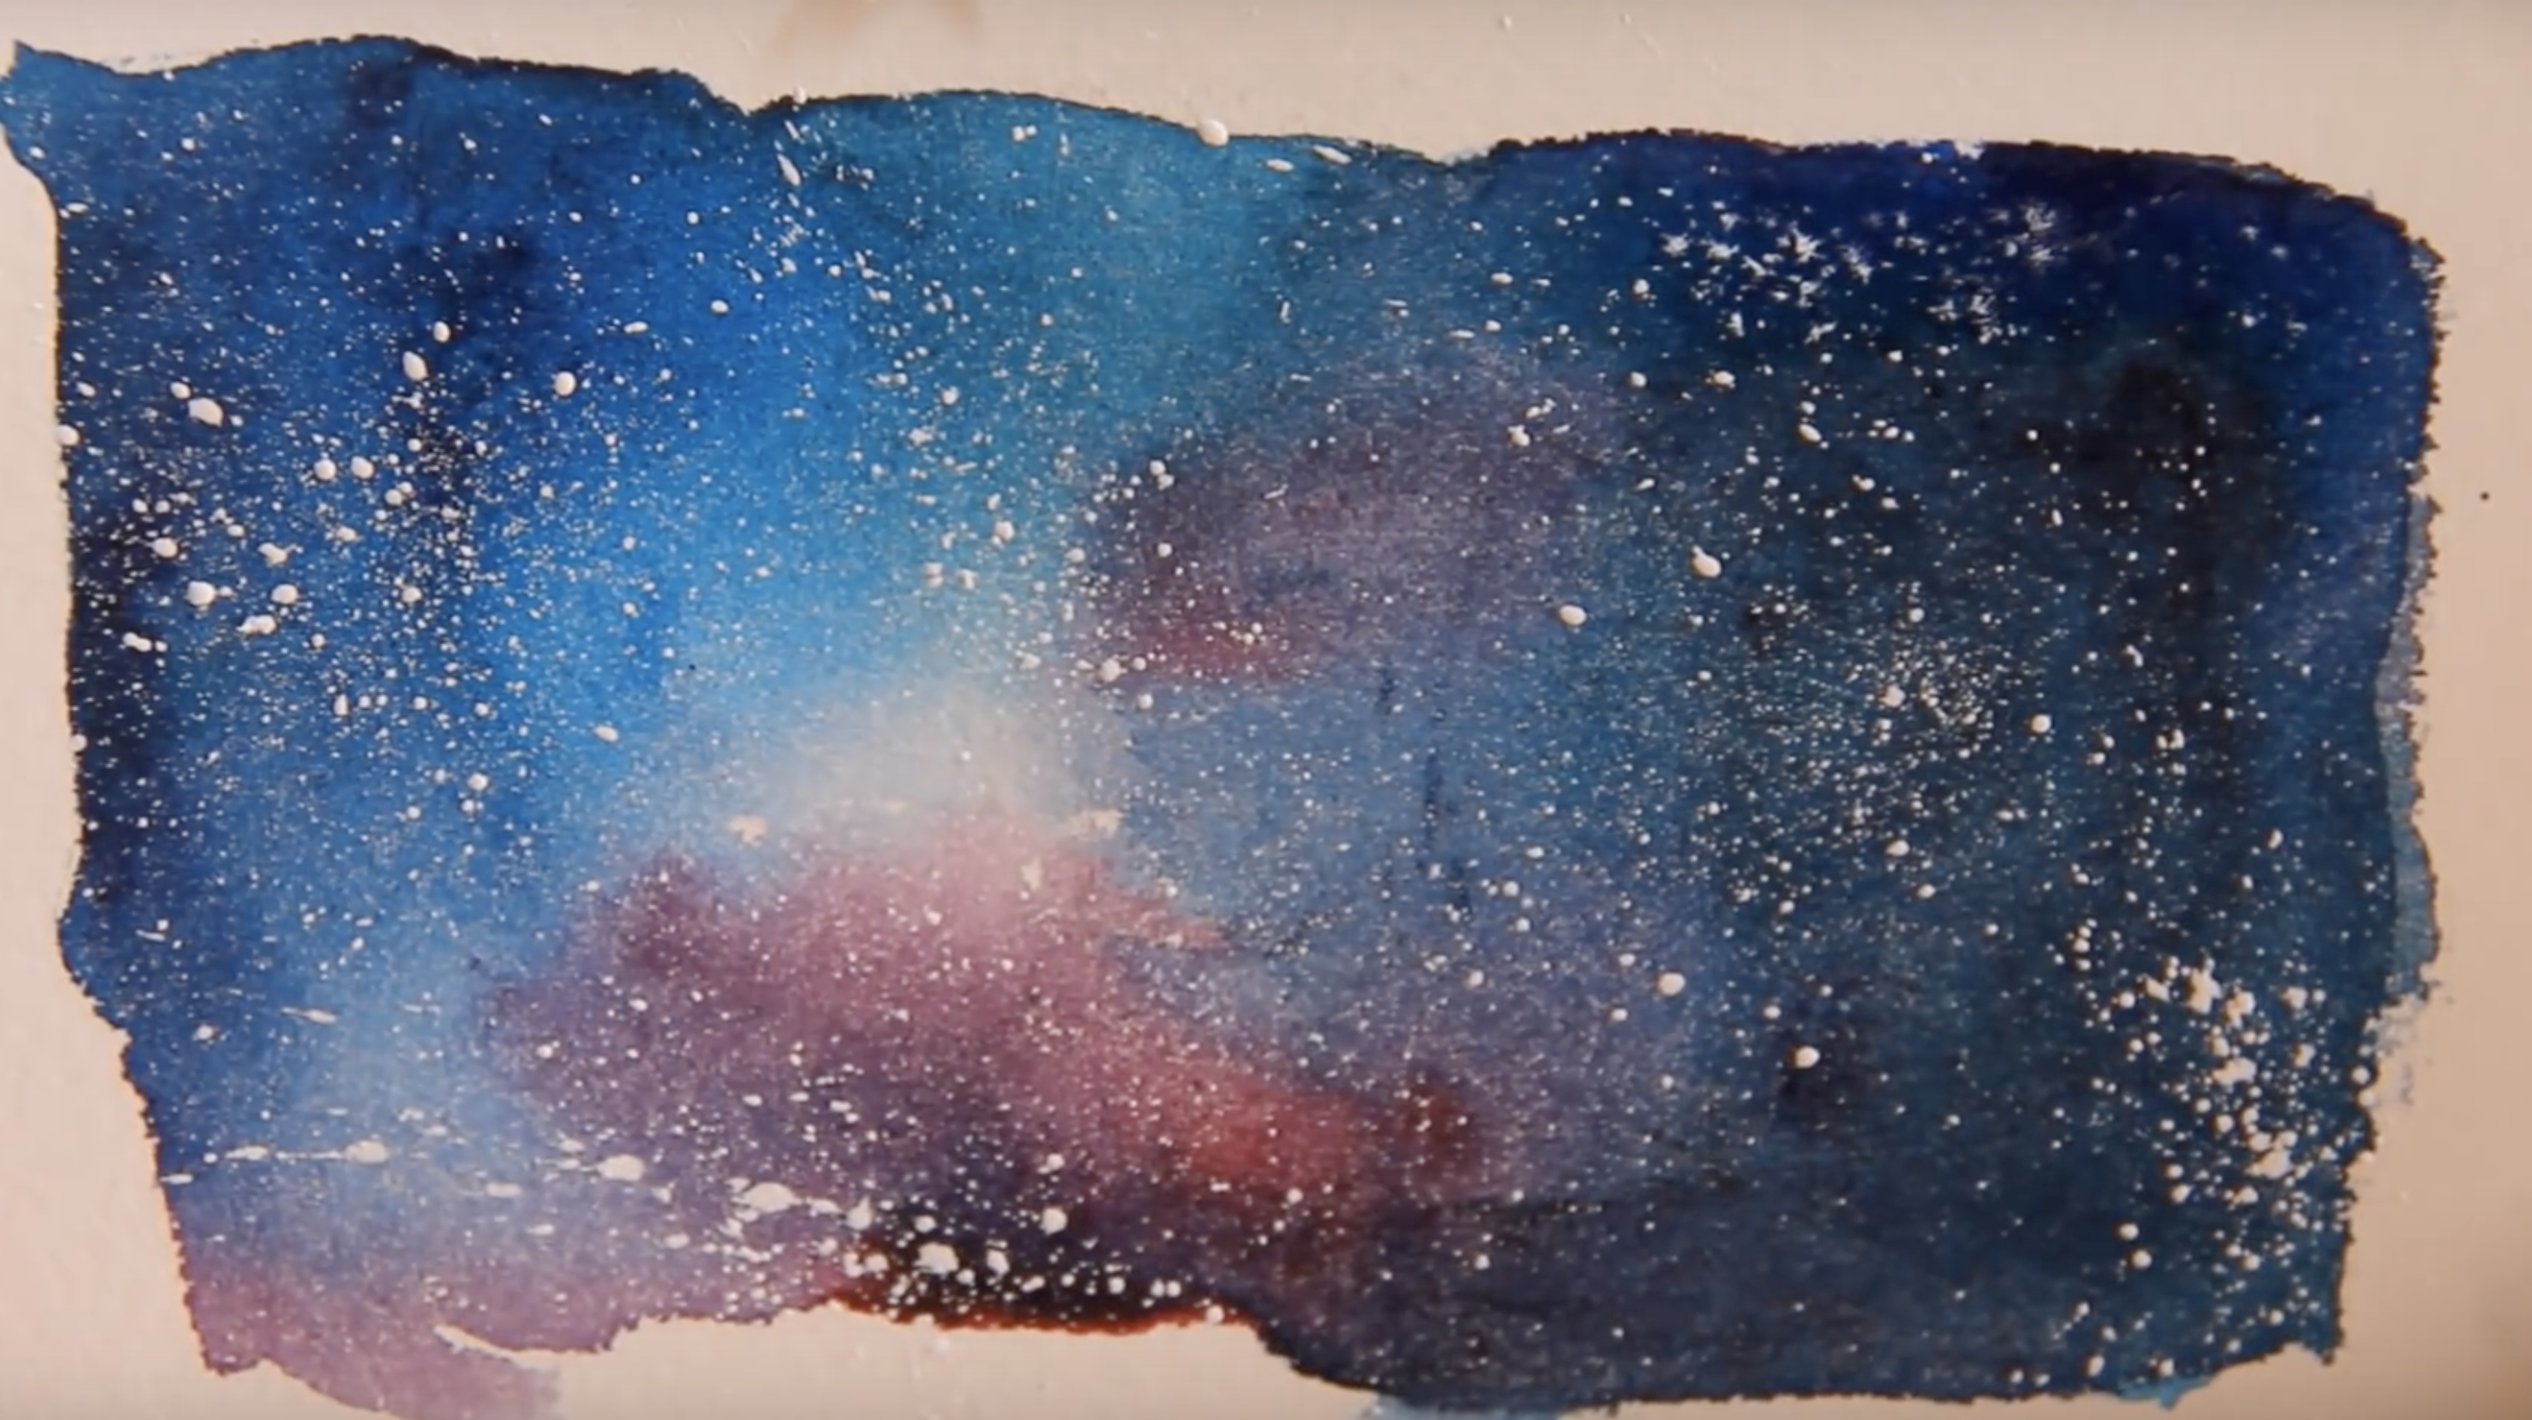
Tip#9: The Galaxy is in Your Hands
If your painting involves space backdrops, this watercolor technique will come in handy. And maybe galaxies themselves may seem a bit complicated to paint, but in reality, all you need is a combination of wet-in-wet and wet-in-dry techniques. Use colors such as Indigo, Perylene Maroon, and Violet Lake, and apply to your paper via the wet-in-wet and variegated wash techniques. Once your paint is dry, put some slightly diluted Permanent White acrylic paint on a toothbrush or a stiff brush. Then, flick the bristles so the paint splatters onto the painted area. This will create random flecks of space particles and stars.
Pro tip: Try not to overuse this watercolor technique though!
Tip#10: Painting Negative Space
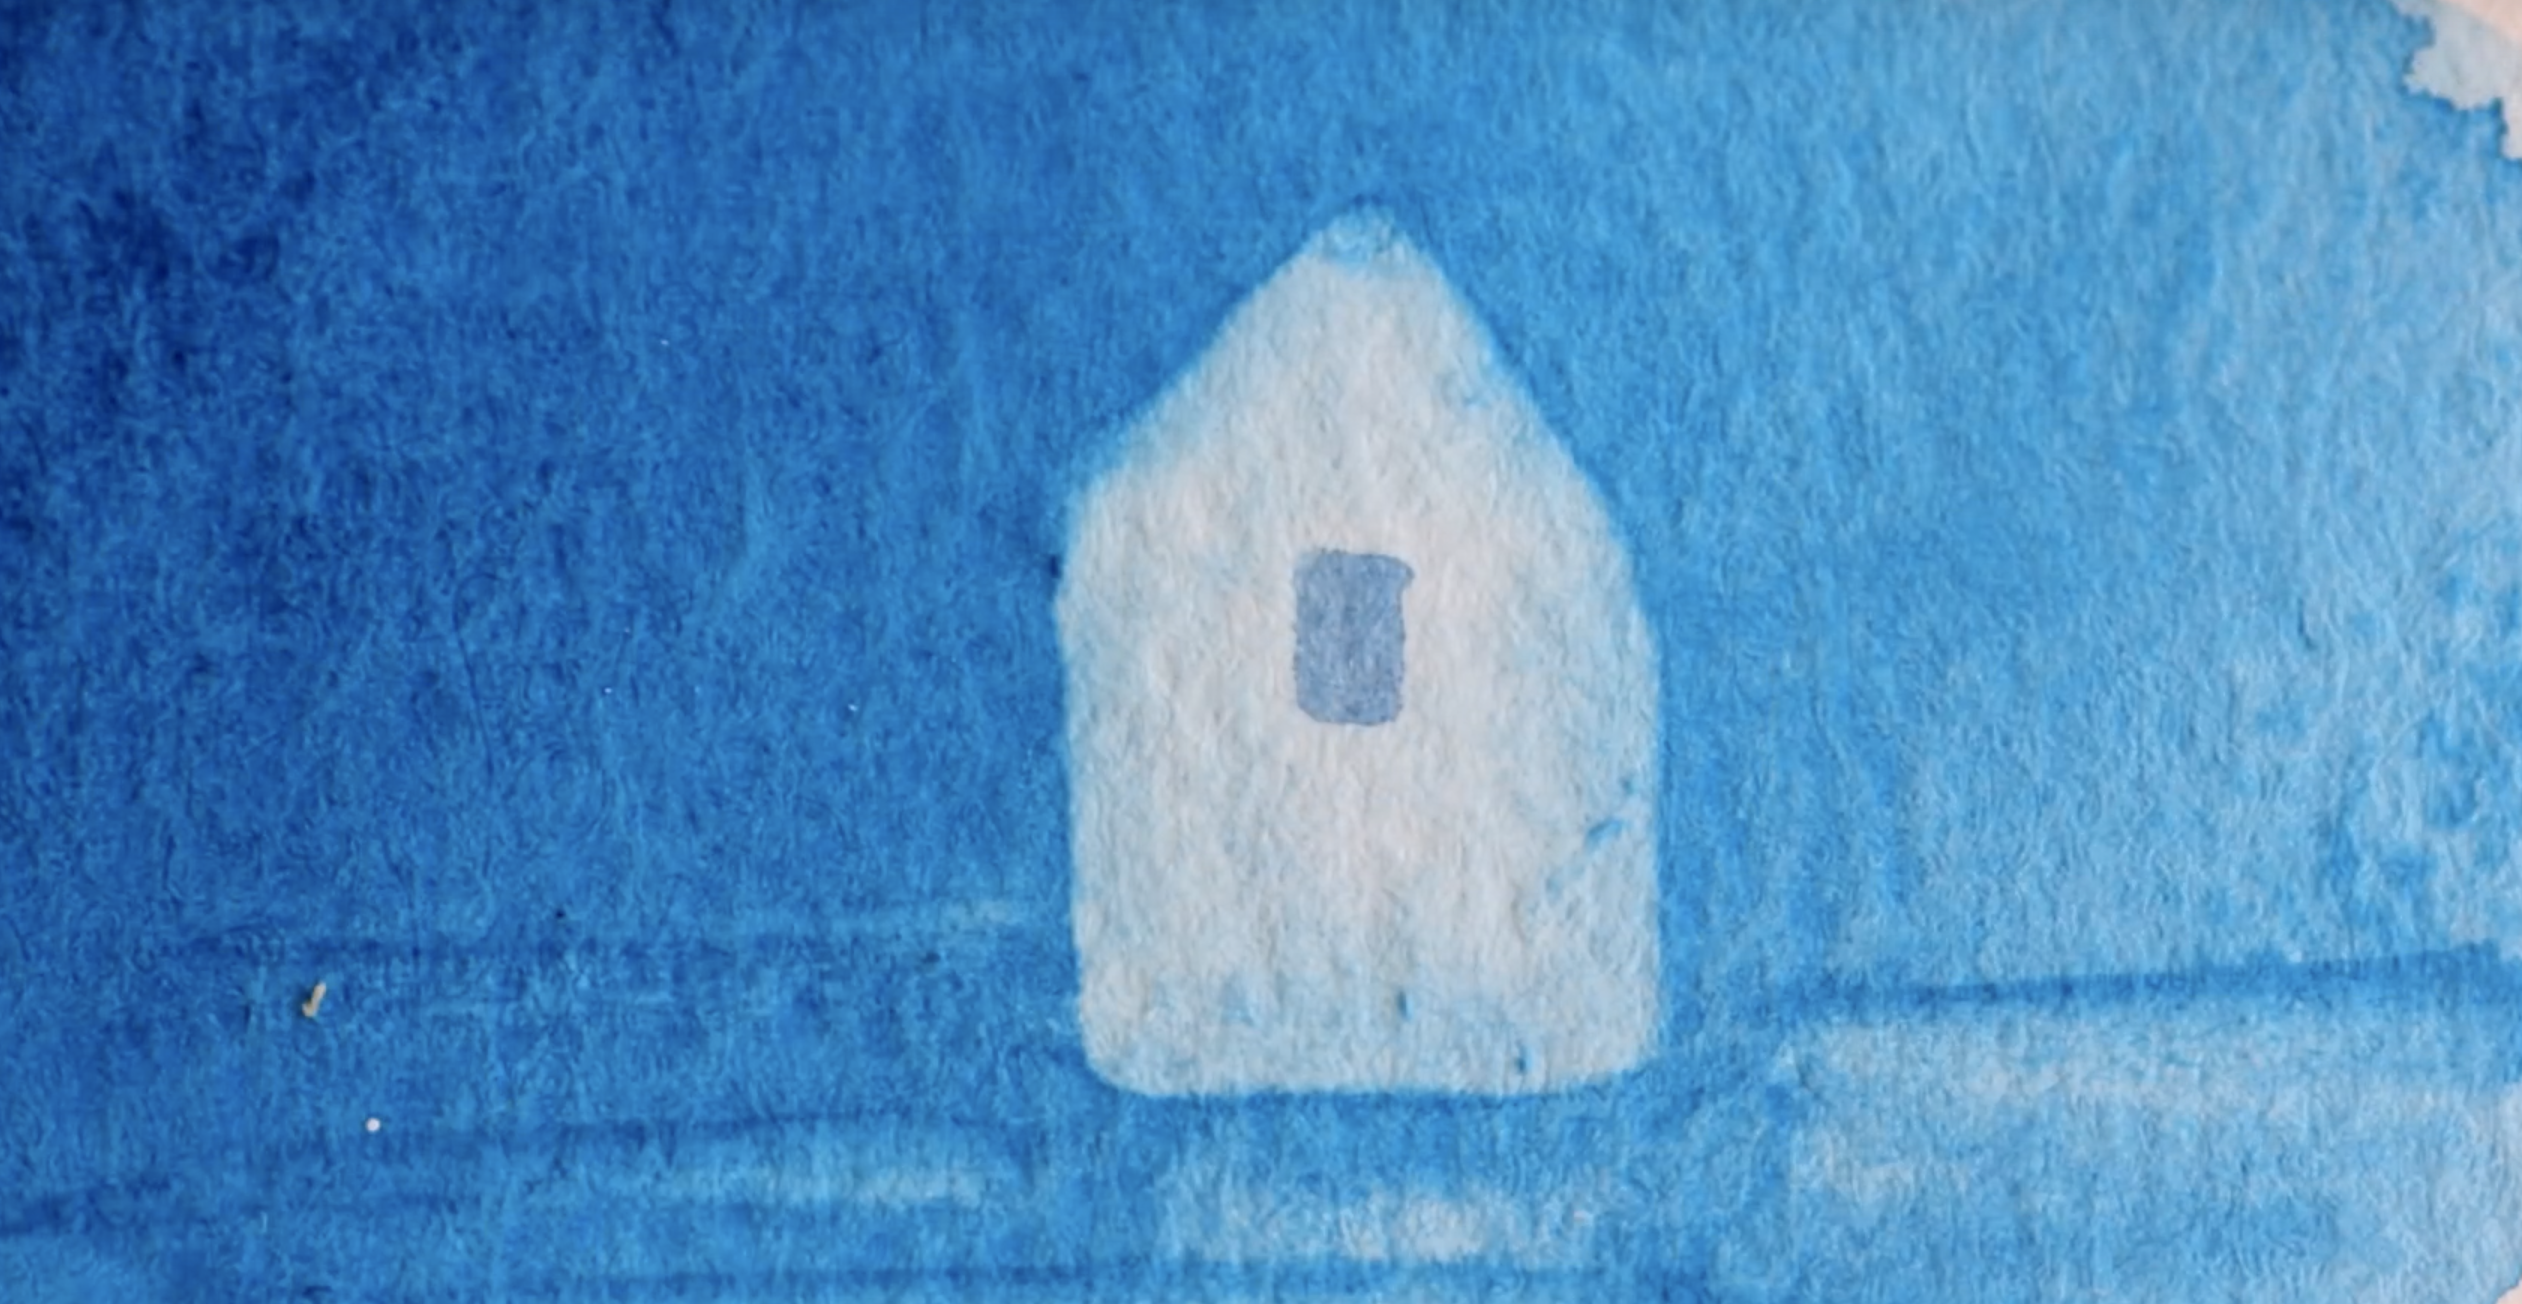
You can also switch things around and focus on painting the negative space or the background surrounding your subject. The paint you apply for your background will help define your subject, adding a contrasting depth to your painting. You can combine this with different watercolor techniques and concepts as well such as creating edges and borders to help your subject stand out.
The contrasting result is almost magical and can be just as beautiful as the traditional technique of making your subject darker than its surroundings. We hope you've refreshed your watercolor skills with these different tips and tricks!
And if you want to view the video version of this tutorial, here it is. See you in our next article!
