Hooray, it's Independence Day! Today we're practicing basic watercolor techniques by painting a watercolor American flag with PK Watercolors. Get ready to tackle some stars, stripes, and folds!
Materials Used In This Lesson:
- Canson Montval cold press watercolor paper (140lbs, 5" x 7")
- Palette for mixing paint
- A container with clean water
- Dry rag or paper towel
- Mechanical pencil
White Knights' Professional Watercolors
- Cobalt Blue
- Titian Red
- Violet
- Ultramarine
- English Red
Holbein Artists’ Gouache
- Permanent White
Brushes
- DaVinci CosmoTop: Round brush (no. 8)
- DaVinci CosmoTop: Round brush (no. 10)
- Artist's Loft: Flat brush (size 3/4)
- Winsor & Newton Series 136: Round brush (no. 2)
Step 1: Sketch An American Flag
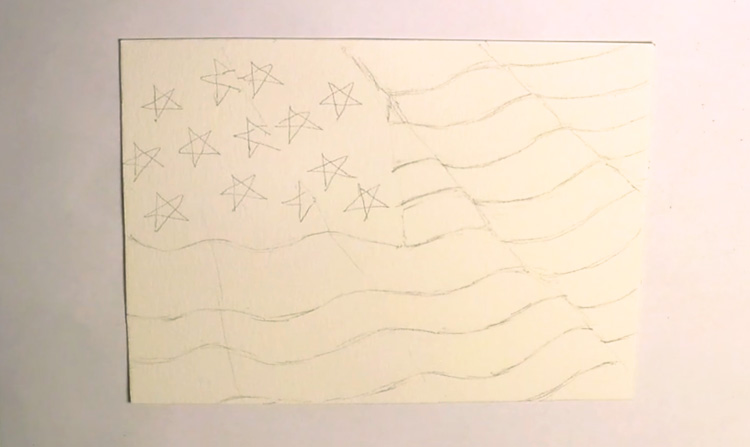
The first step in this Independence Day special is to draw an American flag. Sketch lightly and try to minimize erasing so that you don't damage the watercolor paper. If you want to create waves in the cloth, you can use light guidelines to determine where the folds will be.
Step 2: Filling in the Base Colors
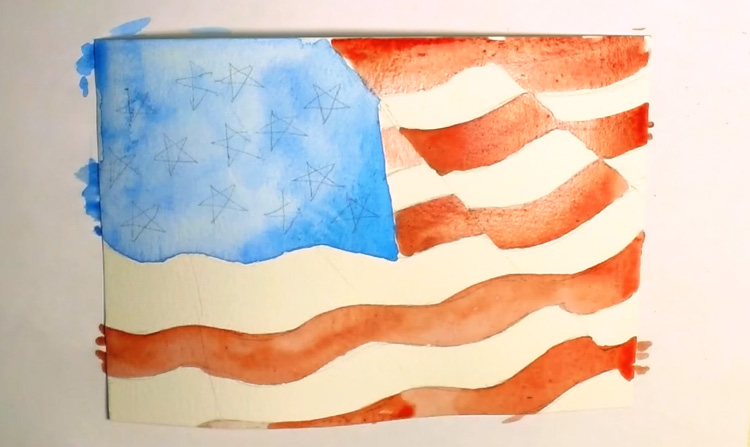
The American flag has three main colors: red, blue, and white. In this stage, we'll block in the base colors for this watercolor painting. Load a no. 8 round brush with Cobalt Blue and block in the blue rectangle in the upper right corner. Use the wet-on-dry (i.e. adding wet paint to a dry surface) technique to achieve a hard edge while being mindful of the folds in the American flag. Block in the whole rectangle, covering even the white stars which we'll fill in later.
Next, pick up Titian Red and use the wet-on-dry technique to block in the stripes. Leave the white stripes unpainted; the white of the paper will serve as the highlights for this area.
Step 3: Adding Depth
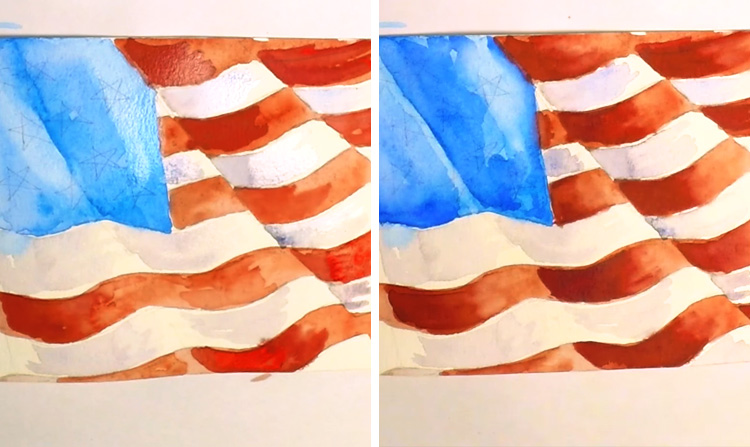
In this step, we'll add depth to this watercolor American flag. While the layers are still wet, switch to a no. 10 round brush and use the wet-in-wet technique (i.e. adding wet paint to a wet surface) to add shadows to the flag. Drop in stronger Cobalt Blue and Titian Red paint to strengthen the blue and red layers, then use a very diluted Violet to add shadows to the white stripes of the flag. Since the flag has visible "peaks" and "valleys" in its folds, concentrate the shadows in the valleys to give the flag depth.
Meanwhile, the peaks should have the lightest shade of color. You can see this in the images above. To strengthen the contrast, apply Ultramarine and English Red to the blue and red shadows. Give these shadows a hard edge on the left side and a soft edge on the right.
To create the soft edge, use the tip of your brush and clean water to scrub along the edge, then lift the excess paint with a paper towel. Pro tip: You can use this technique for painting similar folds in any fabric-based subject!
Step 4: Strengthening Contrasts to Create Depth
Wait for the paint to dry before moving on to this step.
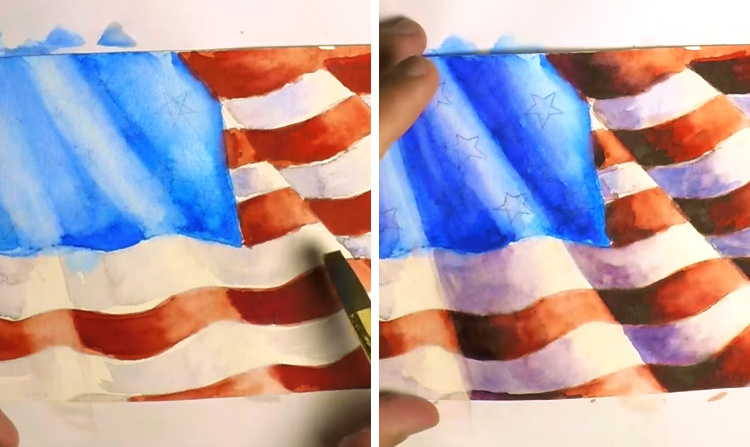
Switch to a flat brush and apply clean water over the "peaks" of your American flag. Next, gently dab away the wet layers with the corner of a paper towel. Lifting up the reactivated paint will leave behind a soft touch of color around the highlights of the flag. Finish these colors off by strengthening the shadows for the last time. Use a no. 10 round brush to deepen the blue shadows with Ultramarine, the red shadows with English Red combined with Violet, and the white shadows with Violet.
Like before, use clean water to soften the right-hand edge and pick up any excess with a paper towel.
Step 5: Finishing Touches on an American flag
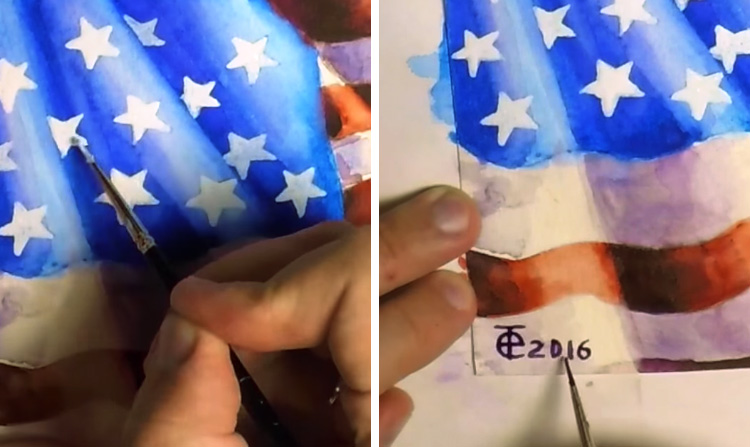
The final step in how to watercolor paint an American flag is to fill in those white stars. Combine Permanent White gouache with water until you achieve a creamy texture. Load a no. 2 round brush with this mixture and start blocking in those stars. If the first layer appears too transparent, wait for it to dry before applying a second layer. Finally, once everything has dried completely, use Neutral Black to sign your painting.
That's it for this Independence Day special!
We hope you enjoyed painting an American flag!
If you'd like to see the artist at work, you can watch their video here:
