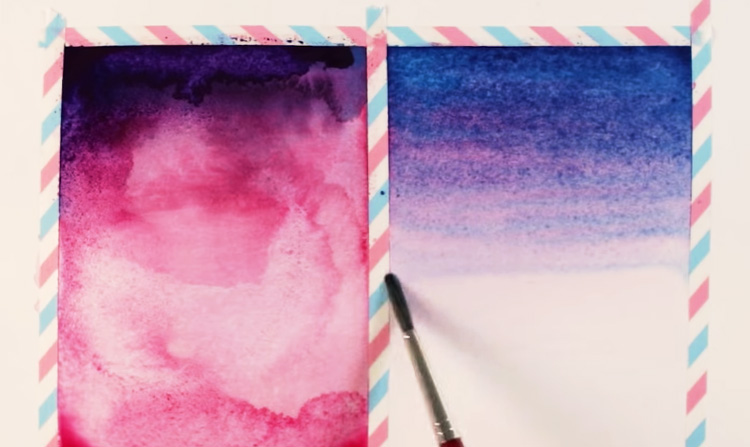
It's always good to go back to the basics once in a while! If you need a refresher, here are a few beginner watercolor techniques to keep in mind as you bring your ideas to life. Thanks for sharing your easy watercolor tips, Mako!
Materials Used In This Lesson:
- Hahnemühle's A5 Watercolor Book (135lbs, size 5.8 x 8.3") or any similar watercolor paper
- Printer paper
- Palette for mixing paint
- 2 containers with clean water
- Dry rag or paper towel
- Cheap watercolor paint
- Winsor & Newton Cotman Sketchers' Pocket Box (12 half pans with pocket brush)
Brushes
- Da Vinci Student Series 3503: Round brush (no. 6)
Tip #1: Choosing Paper
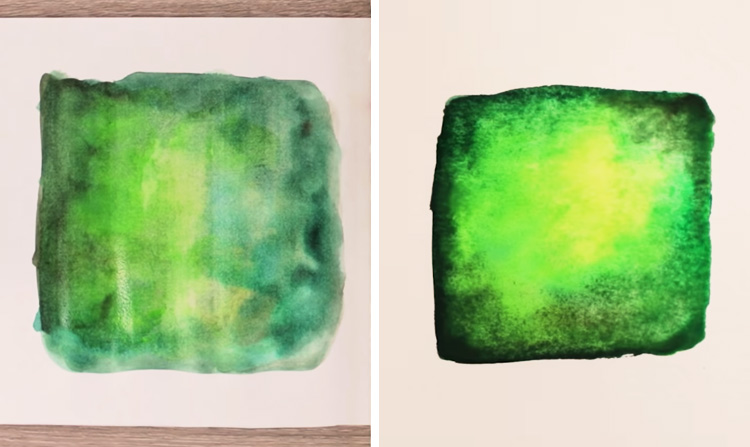
Paper is one of the most important materials you should consider when preparing your watercolor painting. There are different kinds you can use, but not all of them will be effective at handling watercolor paint. Ordinary printer paper is great for thumbnail sketches and planning out your painting, but it doesn't hold watercolor techniques very well (as seen on the left side of the image above). Because printer paper is so thin, water tends to make it buckle and curl. It can hold a limited amount of paint before it gets too fragile to work on, and the paint on the page dries quickly, which results in streaky washes. Yuck!
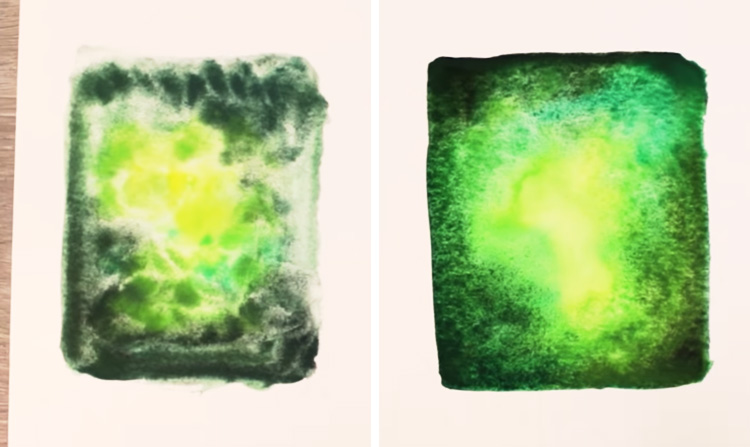
Watercolor paper, on the other hand, is made for watercolor painting! It comes in heavier weights (i.e. it's thicker) that allow it to hold a lot more water with minimal buckling. Because the water can sit on the paper without damaging it or drying out too quickly, you also have more time to work paint while it's on the page. Pro tip: Use 100-140lbs watercolor paper for painting and practicing your watercolor ideas.
These paper weights are ideal for beginners because they allow you to practice without sacrificing quality, or getting too expensive.
Tip #2: Investing in Paint
You can choose to get cheap paint from a dollar store for your painting experiments, but these aren't the best way to experience watercolor techniques. Cheap paint tends to contain a lot of fillers, so they appear chalky and crumbly when dry. They also absorb water quickly, making them difficult to blend. This makes it a struggle to achieve a technique like the variegated wash, which depends on the colors naturally blending together on the page. It's best to invest in higher quality student-grade watercolor paints instead, such as the Cotman paints from Winsor & Newton. These paints are very pigmented compared to the cheaper brands, and will work the way you need them to. Plus you can often find a basic set for a pretty good price!
Tip #3: How to Use Water
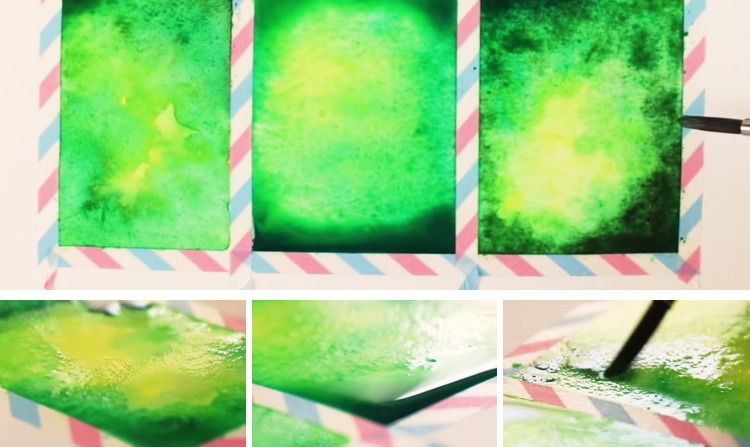
A big struggle for beginners is how to use water in watercolor techniques, so here are some things to keep in mind: First, if you're not using enough water, you'll notice that the colors will just sit in one spot and not blend into each other. When dry, the wash may contain weird patterns, streaky lines, and hard edges. Second, if you're using too much water, you'll notice that the paint tends to pool around the edges of your painting. As a result, when you add color onto the page, the pigment becomes concentrated in these pools. Third, a sign that you're using the right amount of water is that the surface of your watercolor paper appears glossy (but without the pooling). When you drop paint into it, the paint spreads and blends naturally into the other wet areas.
Just try to be aware of the state of your paper as you paint. You can always add more water to the page if it seems to be drying out, and you can remedy pooling by lifting the excess water with a watercolor brush, a paper towel, or clean rag.
The key is to practice!
Tip #4: Controlling Color Bleeding
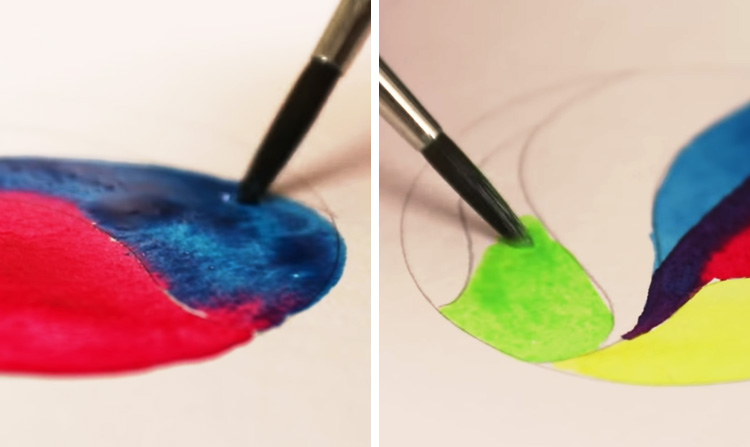
Another problem beginner painters struggle with is color bleeding. It's such a headache when you have a great wash (i.e. layer of paint) that gets ruined when a different color seeps into it! Color bleeding happens when you have two wet layers that are touching each other. Since watercolor paint will always flow into wet areas, this causes the colors on either side to mix together. To avoid this, allow the wet area to dry completely before painting the spot next to it.
Pro tip: If you want to save all that waiting time, simply work on an area that isn't next to the wet area!
Tip #5: Using Watercolor Techniques to Make A Smooth Wash
There's nothing quite so satisfying as laying down a smooth wash! It can be difficult though, so here are some tips on how to achieve one: First, paint on a surface that's either completely dry or completely wet; i.e. using wet-on-dry or wet-in-wet watercolor techniques. This will allow your wash to be consistent and easy to control. Start from the top of the page and work your way down to the bottom. It would help to work on a tilted surface as you do this, so that gravity can help to pull the paint down.
Next, make sure you prepare enough paint for your wash so you can finish laying it down without interruption. Pausing between strokes may allow the paint on the page to dry, and if you attempt to continue afterward, you'll end up with a streaky wash. Finally, if you'd like to add layers to the wash, make sure the previous layer has dried completely before you lay down the next one.
That's all we have for today. We hope these tips were helpful to you and your watercolor journey!
If you'd like to watch Mako explain these tips herself, here's her video:
