Learning how to use watercolor paint and some basic techniques to apply it is a great way to jumpstart your watercolor painting journey. Experimenting is the best way to discover all these, and this quick watercolor painting guide for beginners is very easy and fun to follow.
Materials Used In This Watercolor Lesson:
- Daler Rowney Aquarelle cold press watercolor paper (140lb, size 12" x 9")
- Painter's, artist's, or masking tape (2" width)
- Pencil for sketching
- Two containers of water
- Spray bottle filled with clean water
- A piece of scrap watercolor paper or paper towel
- Kneaded eraser
Winsor & Newton's Cotman Watercolor
- Indigo
- Payne's Gray
- Permanent Rose
Brushes
- Loew Cornell Series 7430 Flora: Round brush (no. 14)
- Winsor & Newton Cotman Series 111: Round brush (no. 4)
- Winsor & Newton University Series 235: Round brush (no. 2)
- Daler Rowney Aquafine Sable: Round brush (no. 5)
Step 1: Prepare Your Materials
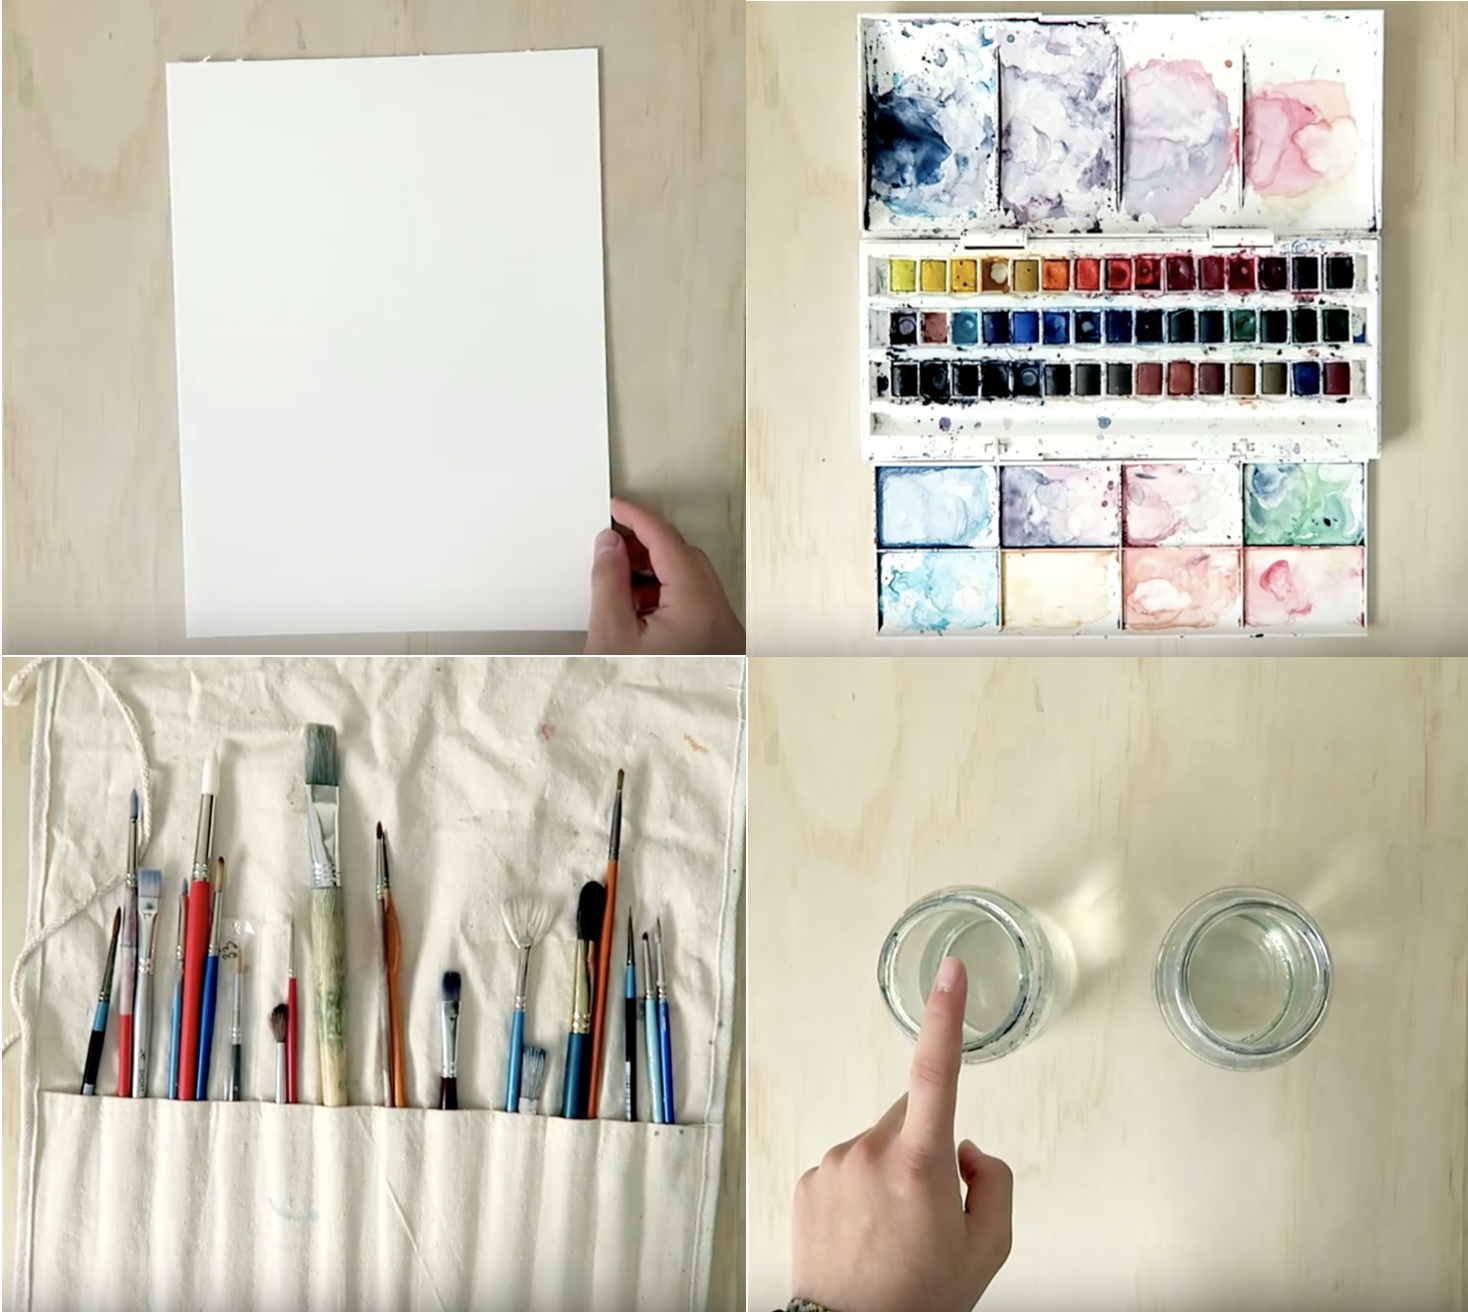 While it may seem obvious, the materials you use have a great impact on the watercolor painting you'll be creating. For the purposes of this lesson, you may use a sketchbook, but we recommend using 140lb watercolor paper. It's heavier and thicker, and can help you control your paint better. This also helps in creating the various washes and blends of color when learning how to use watercolor. Of course, you will also need watercolor paint. They come in many forms, and it's up to you to decide what works best for you. There are tubes, disc cakes, and pans, with pans being what the artist uses in this tutorial. If you're using pans as well, remember to wet or spray them with water before using to activate the pigments. Watercolor brushes are important too, as different brushes create different textures and effects. We'll stick with round brushes for now though. You will also need to prepare 2 containers of water. One will be for the clean water you can use to wet a clean brush, activate your paint, or to wash a brush more thoroughly. The other will be used to wash your dirty brushes in, or whenever you need to change colors. It's a good habit to take early on because you don't want the previous paint color to muddy or alter the current color you're trying to get. On the side, prepare a piece of scrap paper or paper towel, where you can wipe off any excess paint or test paint mixes before applying to your actual watercolor paper. Finally, don't forget to tape down the edges of your paper to a board, as this will help it stay flat while you paint. You can also block off a strip along the top for experimenting with the techniques you'll learn in the next few steps.
Step 2: Try the Wet-in-Wet Watercolor Painting Technique
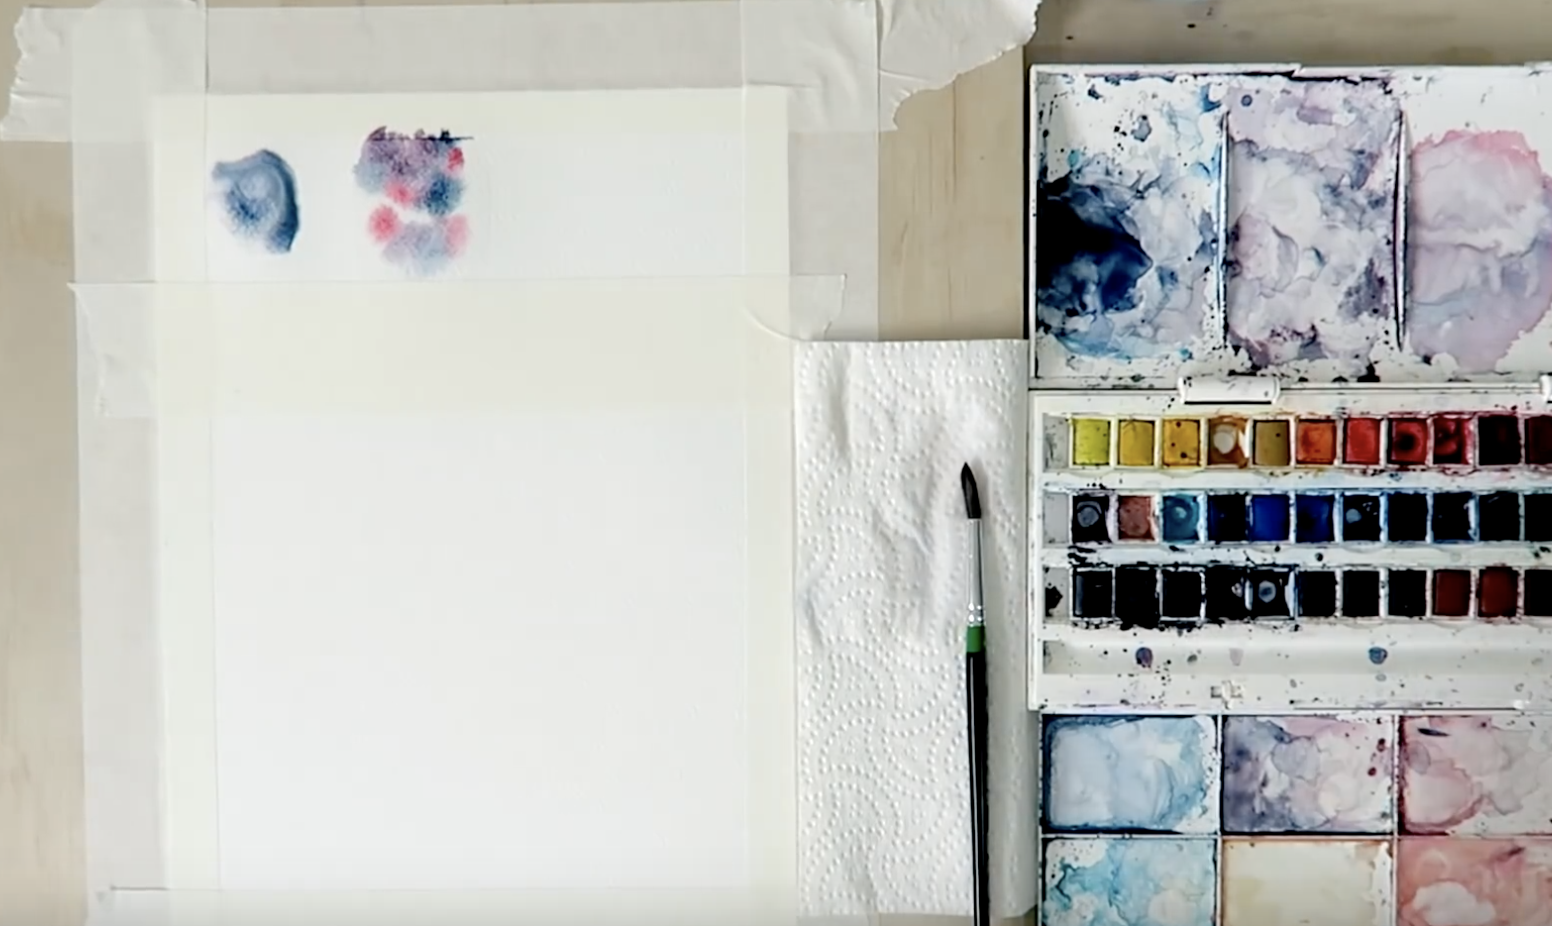
The two most common watercolor techniques are the "wet-in-wet" and "wet-on-dry" techniques. Understanding how to apply both is an important base knowledge for watercolor painting. "Wet-in-wet" simply means you are applying wet paint onto wet paper. You can start by using a round brush (no. 14) to apply a layer of water onto your paper. While your paper is still wet, drop in your paint. You'll see that the effect is a soft wash of color, as the paint bleeds into the areas where you've applied water. You can also do some blending, or spread out the paint while it's still wet. In this tutorial, the artist drops in dots of Indigo and Permanent Rose, letting them blend together naturally in places where they meet on paper. You can try the same with any 2 colors of your choice! This technique allows for more movement and creates a softer effect. You can also experiment and try different levels of wetness for your paper. You can even try a more subtle wet-in-wet technique by letting the paper absorb some of the water first before applying any paint.
Step 3: Experiment with the Wet-on-Dry Watercolor Painting Technique
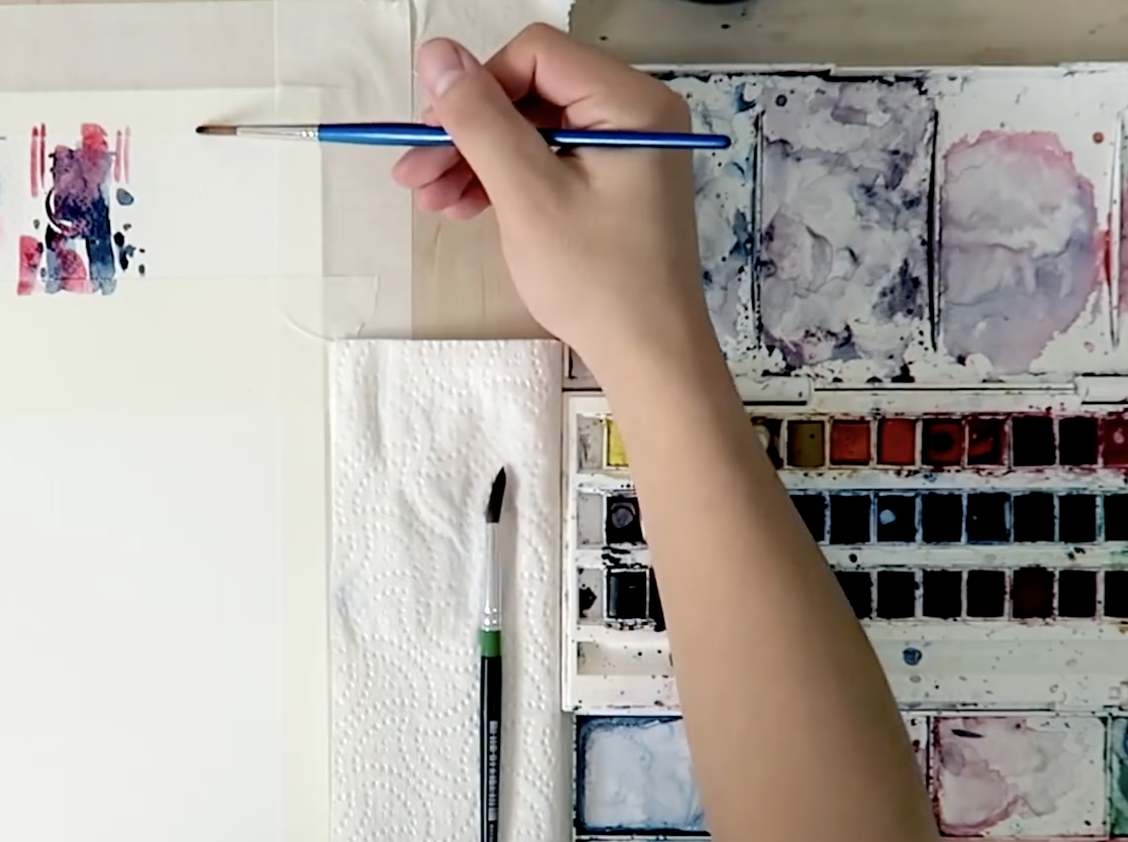 The "wet-on-dry" technique, on the other hand, is applying wet paint to dry paper. The result is a wash that you have more control over, and with harder edges. Unlike the wet-in-wet technique, your paint will not bleed or make a "blooming" effect. You can definitely use this technique when creating lines or painting small and specific details.
Step 4: How to Use Watercolor by Combining the 2 Techniques
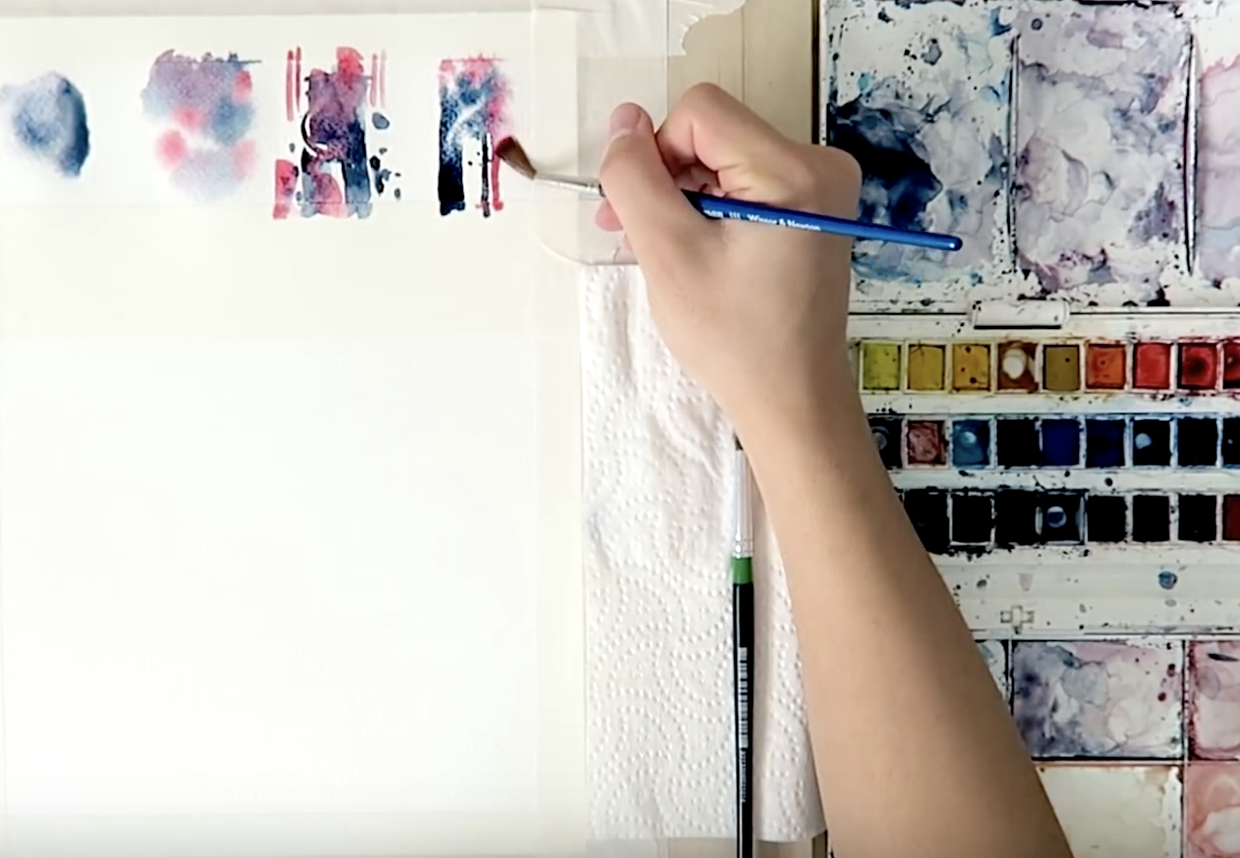 As you get more comfortable using both techniques, you'll be able to combine them together in your watercolor painting. This way, you'll also learn how to use watercolor techniques and bring out their strengths to make your work more interesting. For the next experiment, start with a wet-in-wet wash first, followed by a wet-on-dry technique for applying details. You can also apply more water on the details while the paint is still wet to give it a more variegated wash effect.
Step 5: Create a Quick Portrait Using these Watercolor Techniques
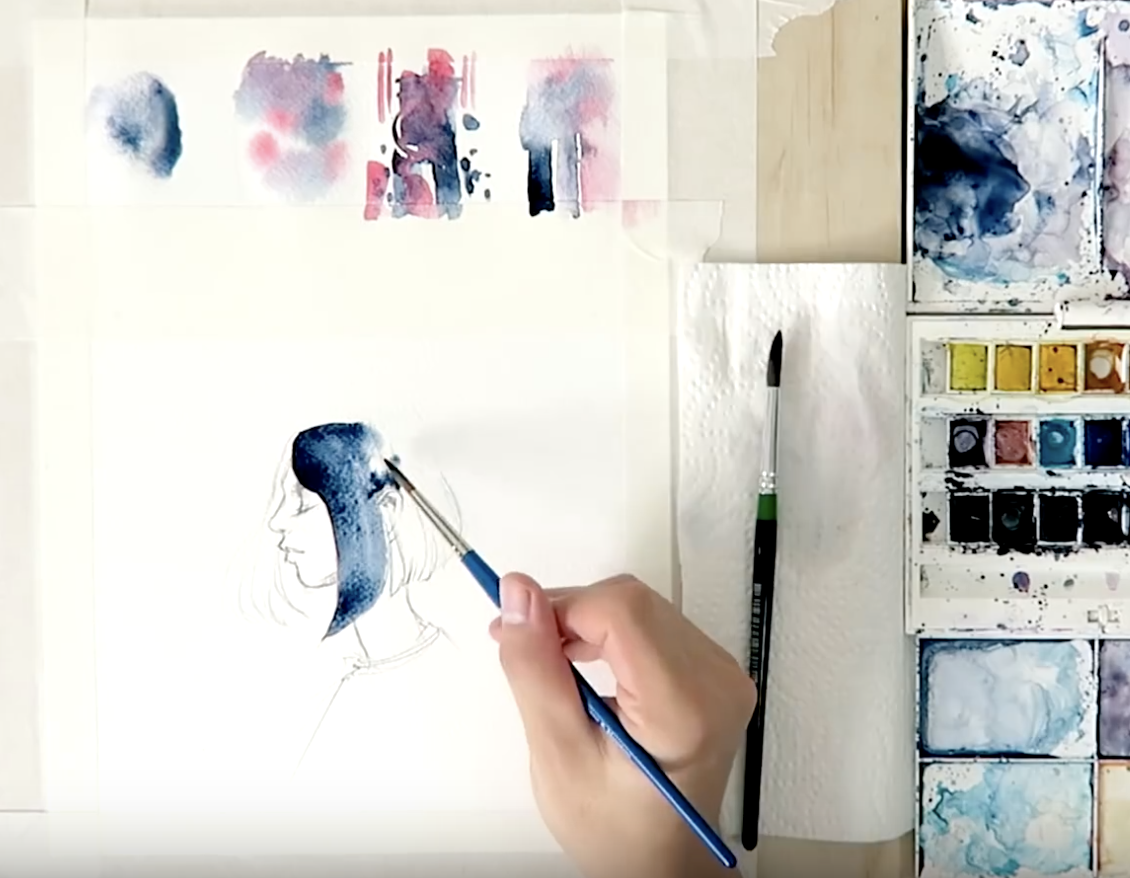 Now it's time to apply your newfound knowledge of the 2 basic watercolor techniques and create an easy watercolor portrait painting! Small note: when you're working with various washes and different layers of paint, always remember to paint from light to dark. To begin, make a quick pencil sketch of a profile portrait, and clean up any stray lines with a kneaded eraser. Then, with a no. 4 round brush and some Indigo paint, use both the wet-in-wet and wet-on-dry techniques for the hair - the former for a soft base layer, and the latter for adding individual strands of hair once the base layer is dry.
Step 6: Add More Details to the Portrait
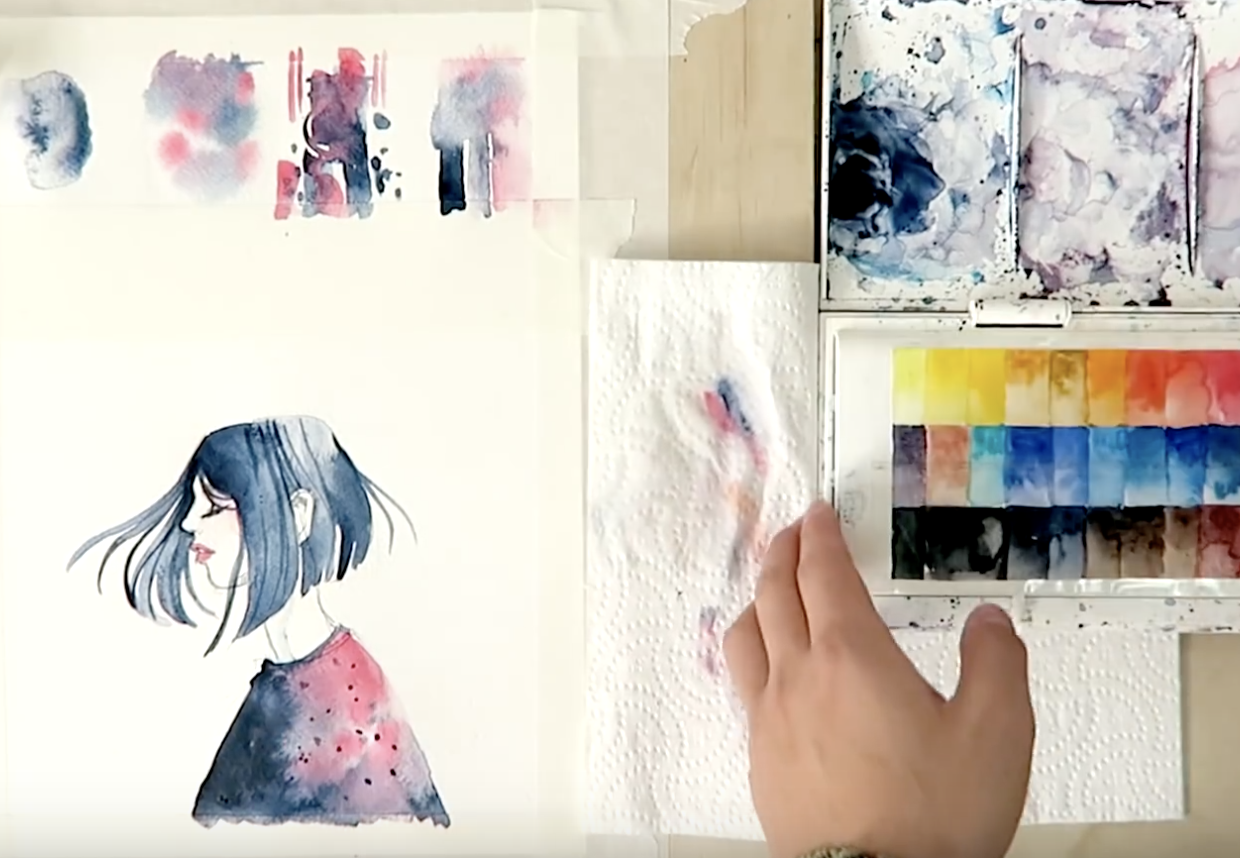 For the face, take advantage of the wet-in-wet technique to create a soft blush on the cheek. Use a very diluted Permanent Rose for this! For the lips, switch back to the wet-on-dry technique as it counts as detail work. When painting the clothes, you can use a combination of both techniques, giving that section of the painting both a soft wash of color and detailed lines that help form the subject. The key really is to experiment and take advantage of the spontaneous characteristic of this medium. Don't be afraid to test and try out different amounts of water and paint, different colors, and different strokes of the brush. This is the best way to learn and get comfortable using this delicate medium. To watch the video version of how to use watercolor, you can click the "play" button below. Happy experimenting!


