Nebulas are full of mystery, color, and life. They are literally made up of gas, molecules, atoms, and clouds of dust. Such enigmas are captured in this simple watercolor painting tutorial, which will make use of the variegated wash technique.
Materials Used In This Watercolor Study:
- Watercolor postcard/paper (110lb, size 6" x 4")
- Bow compass, or an HB pencil and a round object to draw a circle
- Paper towels or a rag
Paints (Winsor & Newton's Cotman Watercolor)
- Permanent Rose
- Indigo
- Lemon Yellow Hue (optional)
- Viridian Hue (optional)
- Cadmium Red Hue (optional)
Acrylic Paint
- Titanium White
Brushes
- Léonard Series 20RO Ruby: Synthetic round brush (no. 20)
- Artisti: Synthetic round brush (no. 18)
- Escoda Perla Series: Synthetic round brush (no. 1)
- Round brush (no. 4) (optional)
Step 1: Wash with Base Colors
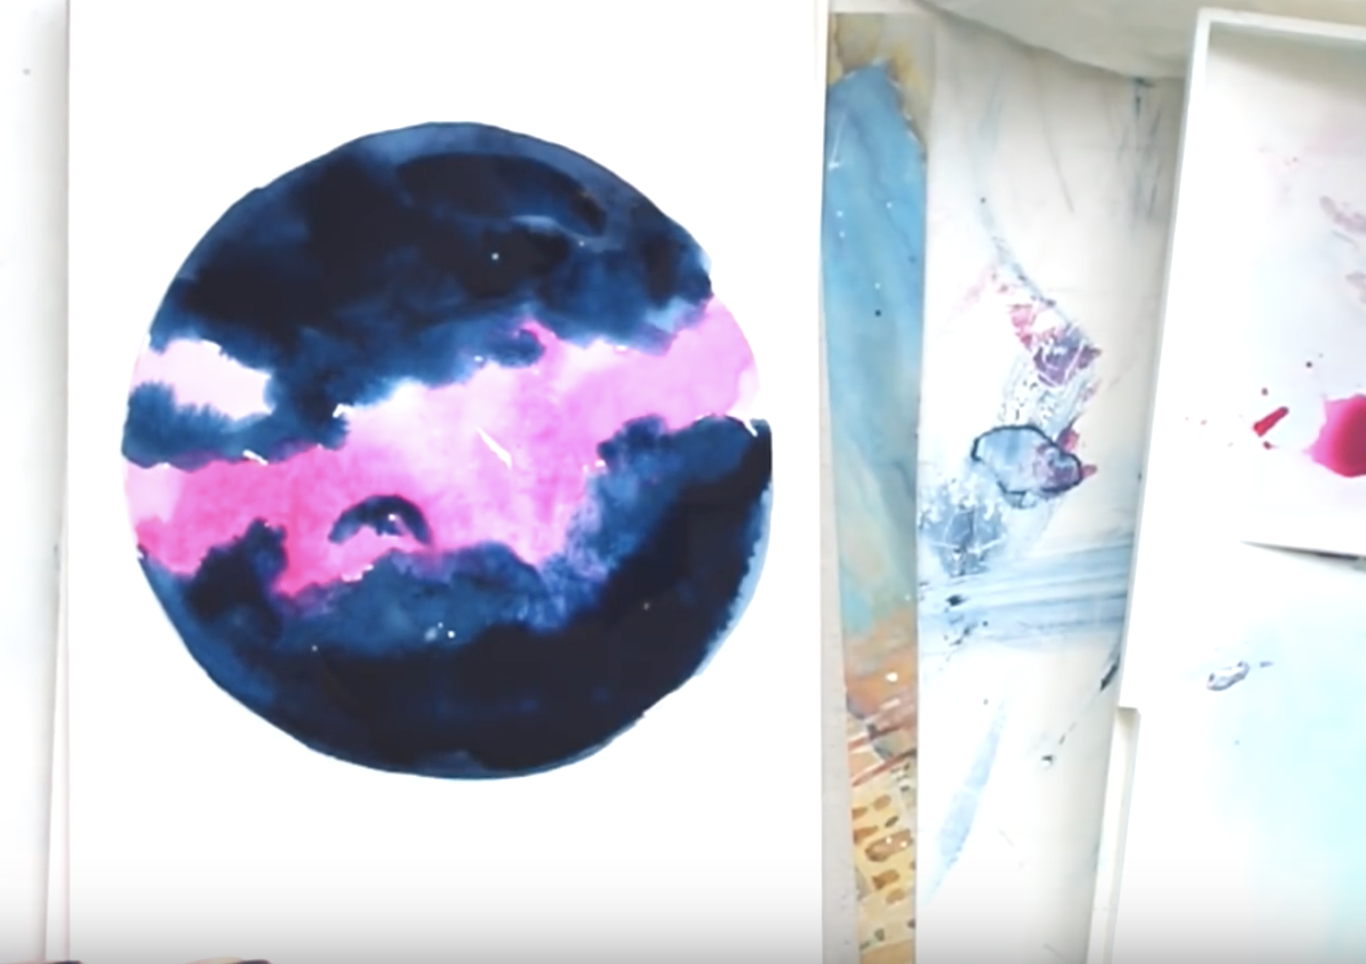 While there's no need for an outline sketch, use a bow compass to draw a circle in the middle of your watercolor paper. You can also use a pencil and draw around any round object, as long as it fits inside your paper! This will help to frame your nebula as if you were gazing into the night sky through a telescope. Start your simple watercolor painting by painting the nebula's base colors. Using the wet-on-dry technique, pick up Permanent Rose using a no. 18 round brush, and brush lightly along the center of the nebula. Next, add some flat washes of Indigo, with some graded washes of the same color that bleeds into the middle area. This gives more visual texture to your watercolor painting. Be careful with the bleeding area, as you want to keep both colors distinct while harmonizing with each other. For the best gradated effect, allow both colors to settle and meet, and let them blend naturally before the paint dries.
Step 2: Let the Colors Blend
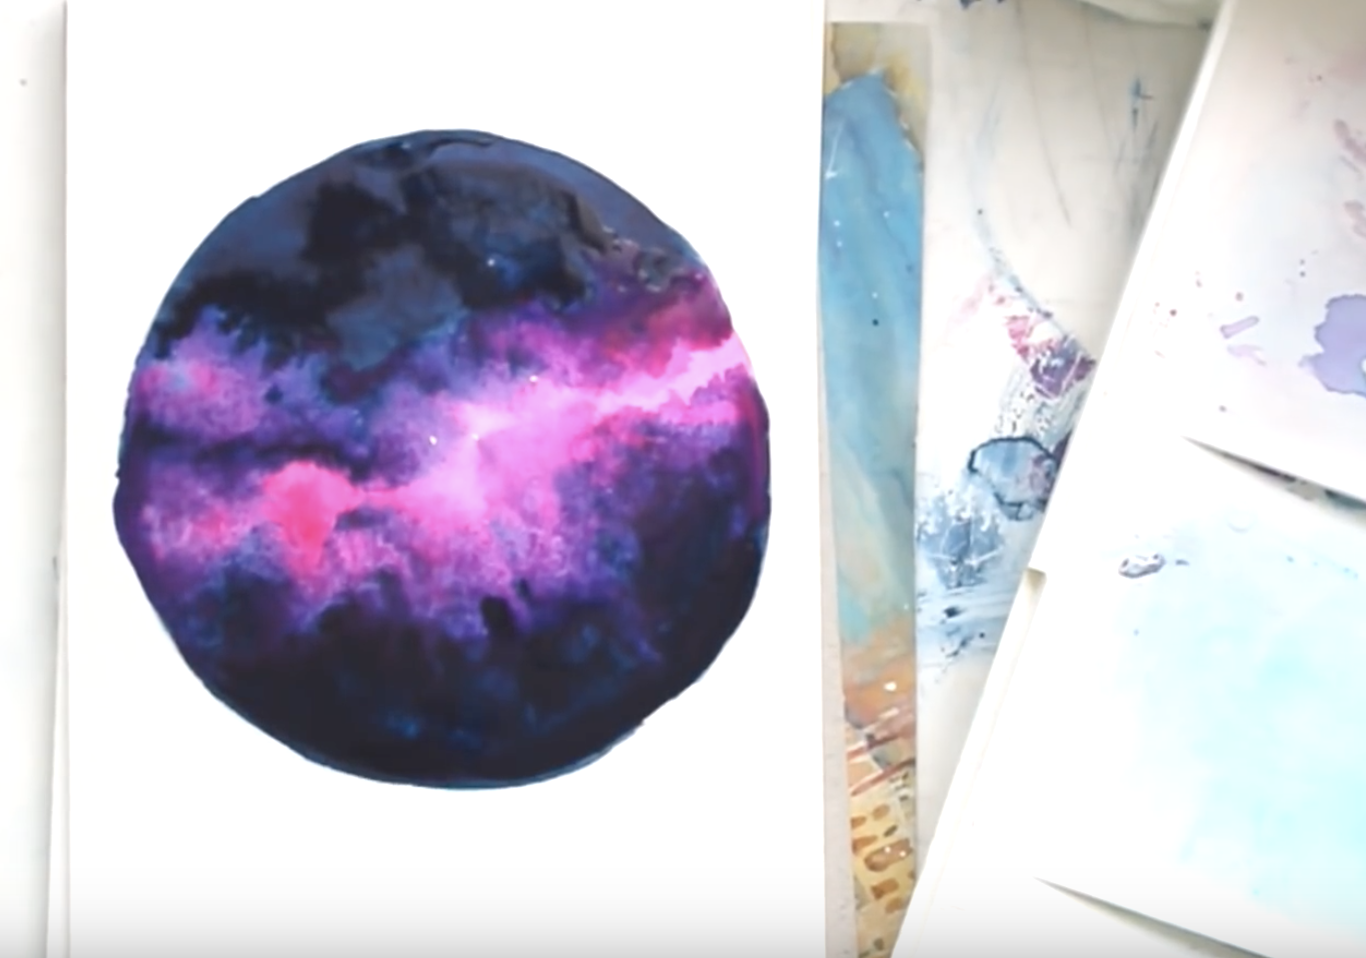
Without waiting for your base to dry, mix your Indigo paint with the Permanent Rose still left on your palette, and the result will be a more mauve or violet shade. Lightly brush this violet hue onto the areas where both colors meet, to further highlight the blended area. As you add these colors, you will be using the variegated wash technique (i.e. adding wet paint in wet paint), since your paper is still wet with paint. The result should be a blooming swirl of colors, where the upper and lower parts of your nebula is framing the middle with dark Indigo. You can continue to add more of the Permanent Rose paint onto the center to make the colors more vibrant. Try to keep your color placement as random as possible as well, so it looks more cloud-like in form. You have to be careful not to overdo the mixing and blending of colors as this will create mud, instead of a natural-looking fusion of hues.
Step 3: Adding Marbling and Starry Details
 Using calculated control, use a damp no. 20 round brush to gently lift some of the paint at the center part of your nebula to make it have a more marbled look. Make sure to scrub gently on the areas you want to be lighter! You can also add thicker paint in the areas you want to highlight with more intense hues. After the previous layers are dry, switch to a no. 1 round brush, and with a bit of Titanium White acrylic paint, gently dot clusters of stars in some areas at the center. Don't add too many, as you'll sprinkle more on in the next step!
Step 4: Sprinkle Some Stars
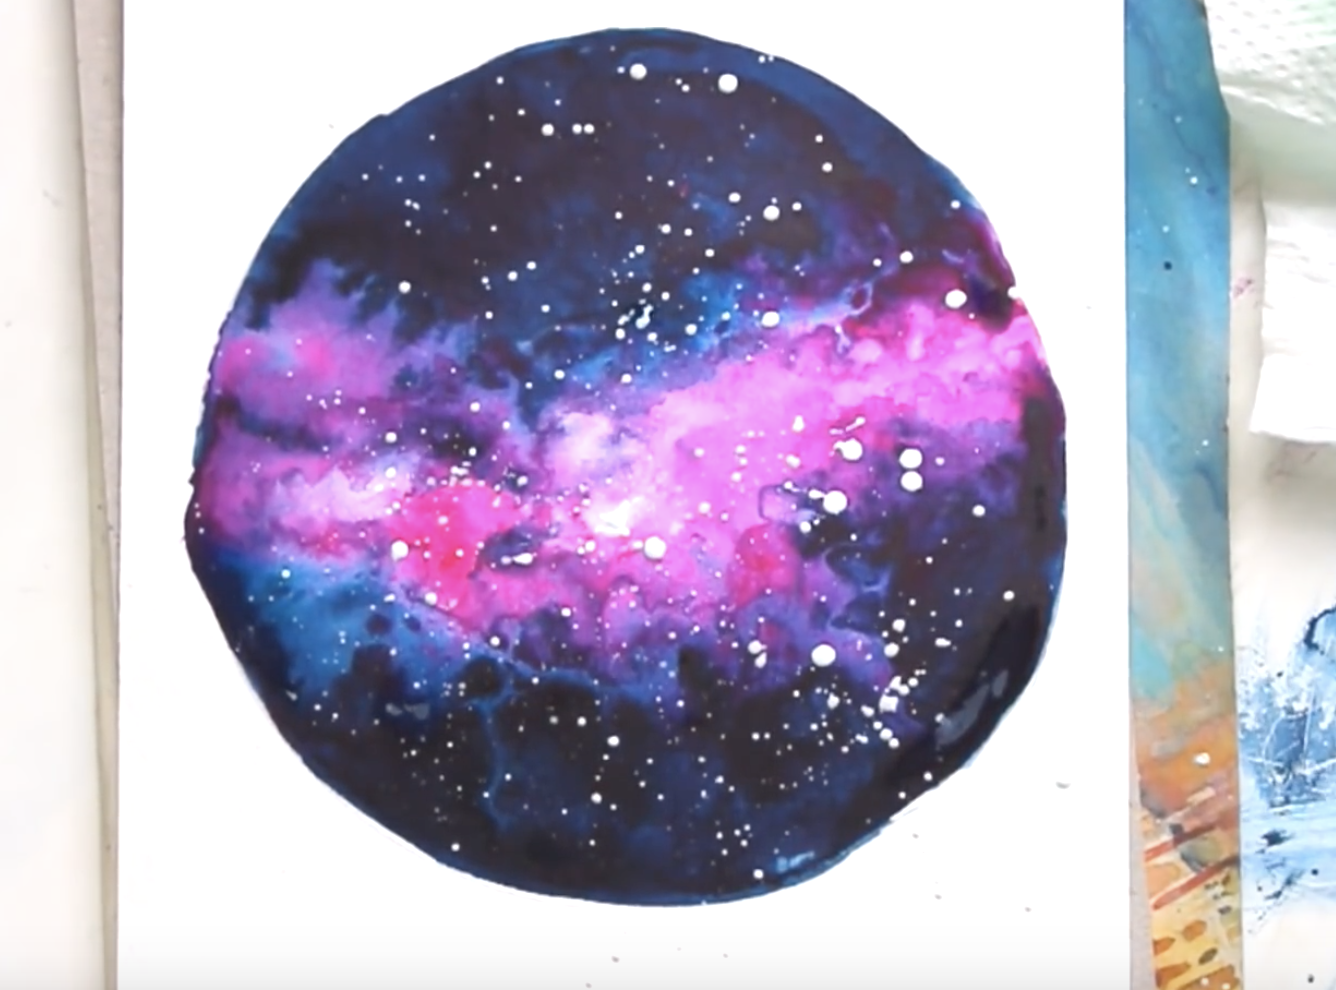 Now it's time to add a sprinkling of stars onto your nebula. Using your no. 18 round brush, pick up more Titanium White acrylic paint and gently tap your brush against a stick or another brush. This will create random white flecks across your simple watercolor painting. You can also switch to a no. 4 round brush for smaller dots. Keep sprinkling until you feel that there are enough stars.
Step 5: Try Other Colors for Another Simple Watercolor Painting
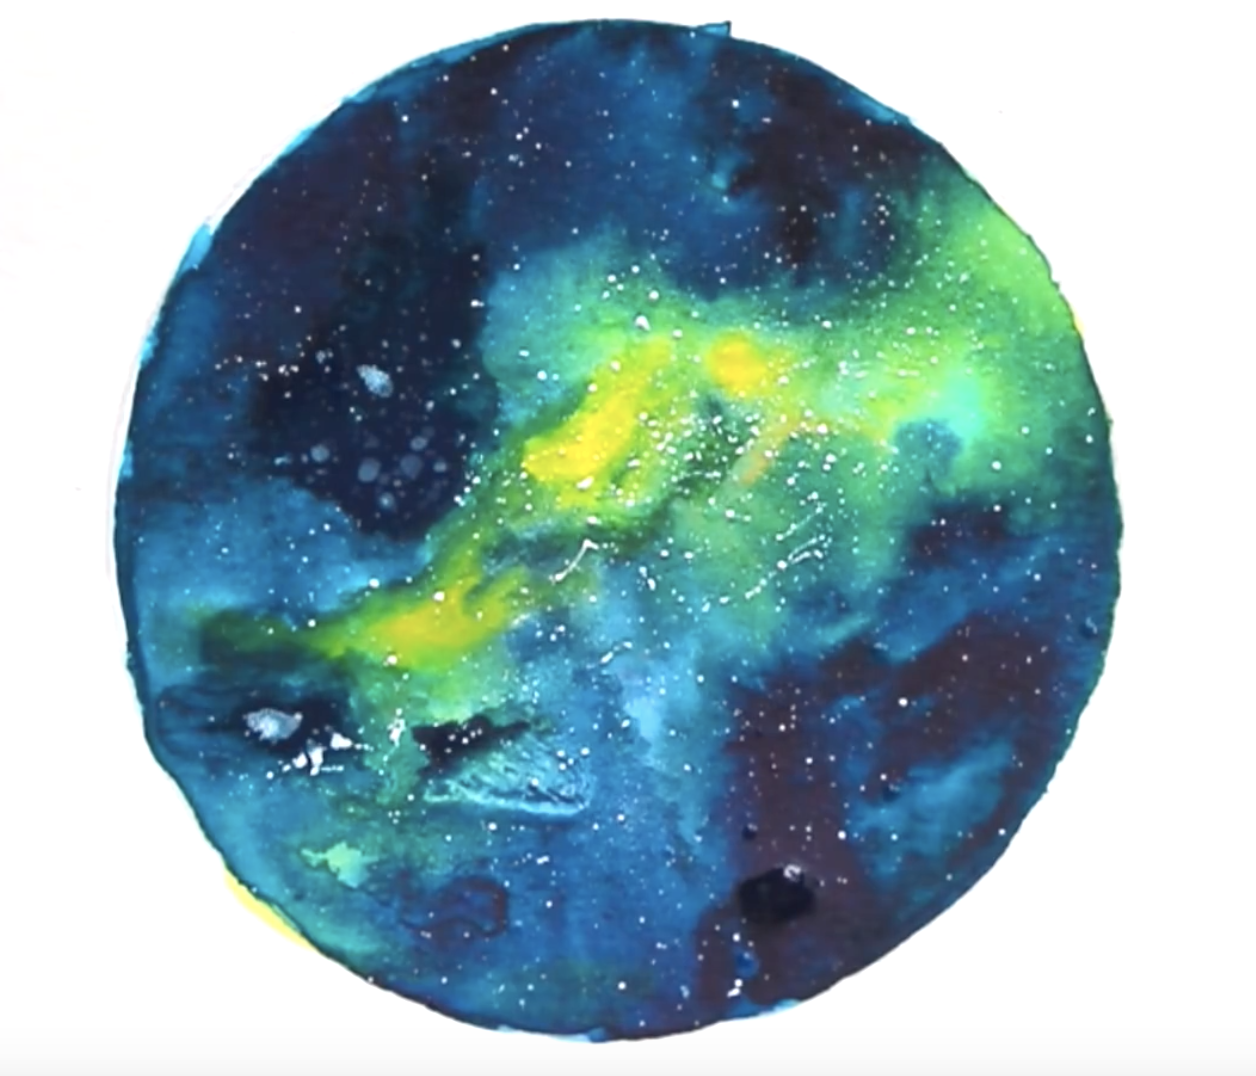
At this point, you're done with your first mini nebula! Feel free to try another blend of colors. In this demonstration, the artist also created a second nebula with different colors, but using the same simple watercolor painting techniques we just walked through. She uses a mix of Viridian Hue, Lemon Yellow Hue, Cadmium Red Hue, and Indigo, but feel free to use your own colors (as long as Indigo is kept for the color of outer space). Doing a few more will also be a good way to practice the different techniques and washes you just learned. Remember that watercolor painting is as expansive as the galaxy. There is always something beautiful to discover both in intricate heavenly bodies and in flexing your creativity. You can view the video version of this lesson by clicking on the link below. Happy painting!


