Watercolor tree paintings often look very beautiful and dynamic, but seem difficult to paint. In this tutorial, you'll learn the secret technique to painting great trees effortlessly! Mr. Shibasaki demonstrates how to do so in this watercolor tree painting lesson that focuses on using basic principles of value, and various simple watercolor techniques.
Materials Used In This Watercolor Lesson:
- Sketchbook (size 12" x 16")
- Cold press watercolor pad (140lb, size 12" x 16")
- 2B Pencil
Paints (Holbein Artists' Watercolors)
- Permanent Green #1
- Permanent Green #2
- Viridian
- Prussian Blue
- Crimson
- Amber
- Burnt Umber
Brushes
- Round brush (no. 12)
- Round brush (no. 8)
Step 1: Sketch Your Tree
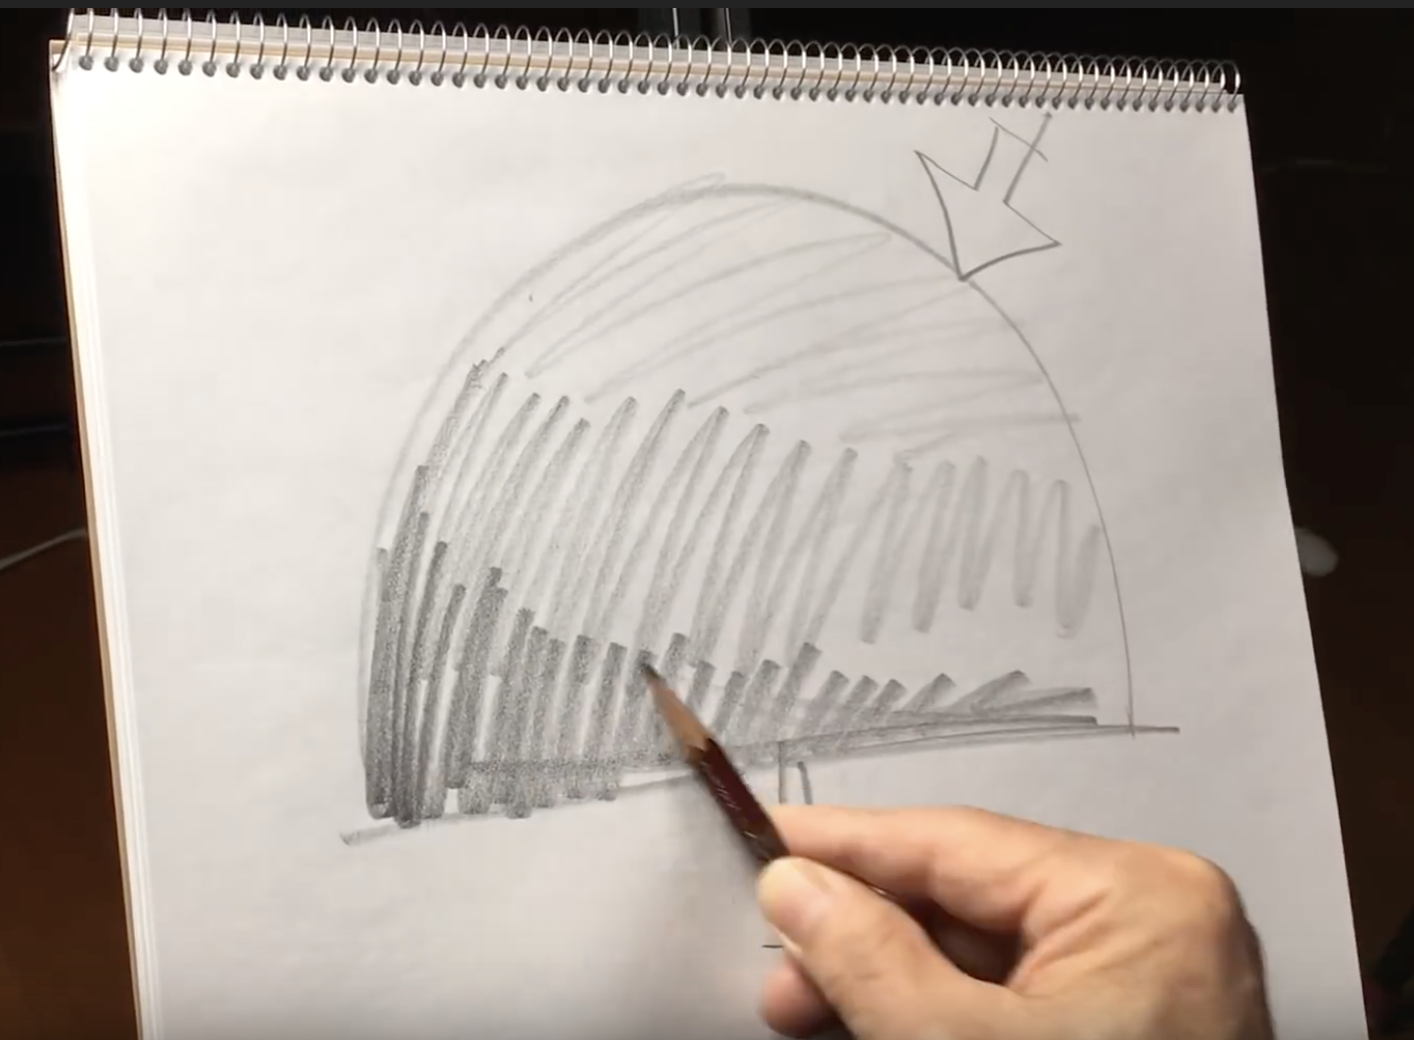 You can start your watercolor tree painting by practicing with sketching the outline of your tree. In this tutorial, the artist draws a broadleaf tree. To bring life to your tree painting, consider where the sunlight will hit the tree. Shade your drawing according to how the light will hit it. This will help you understand the basic values - i.e. light versus dark areas - of a tree. The top right part of the tree is where the light hits directly, so shade it lightly. In the middle section, less light will reach this portion, so you can shade it a bit darker. And the bottom to bottom left part is where the light will hit the least, so this area should be the darkest. This shading of your sketch will guide you later when you add color to your watercolor tree painting.
Step 2: Dabbing in the Leaves
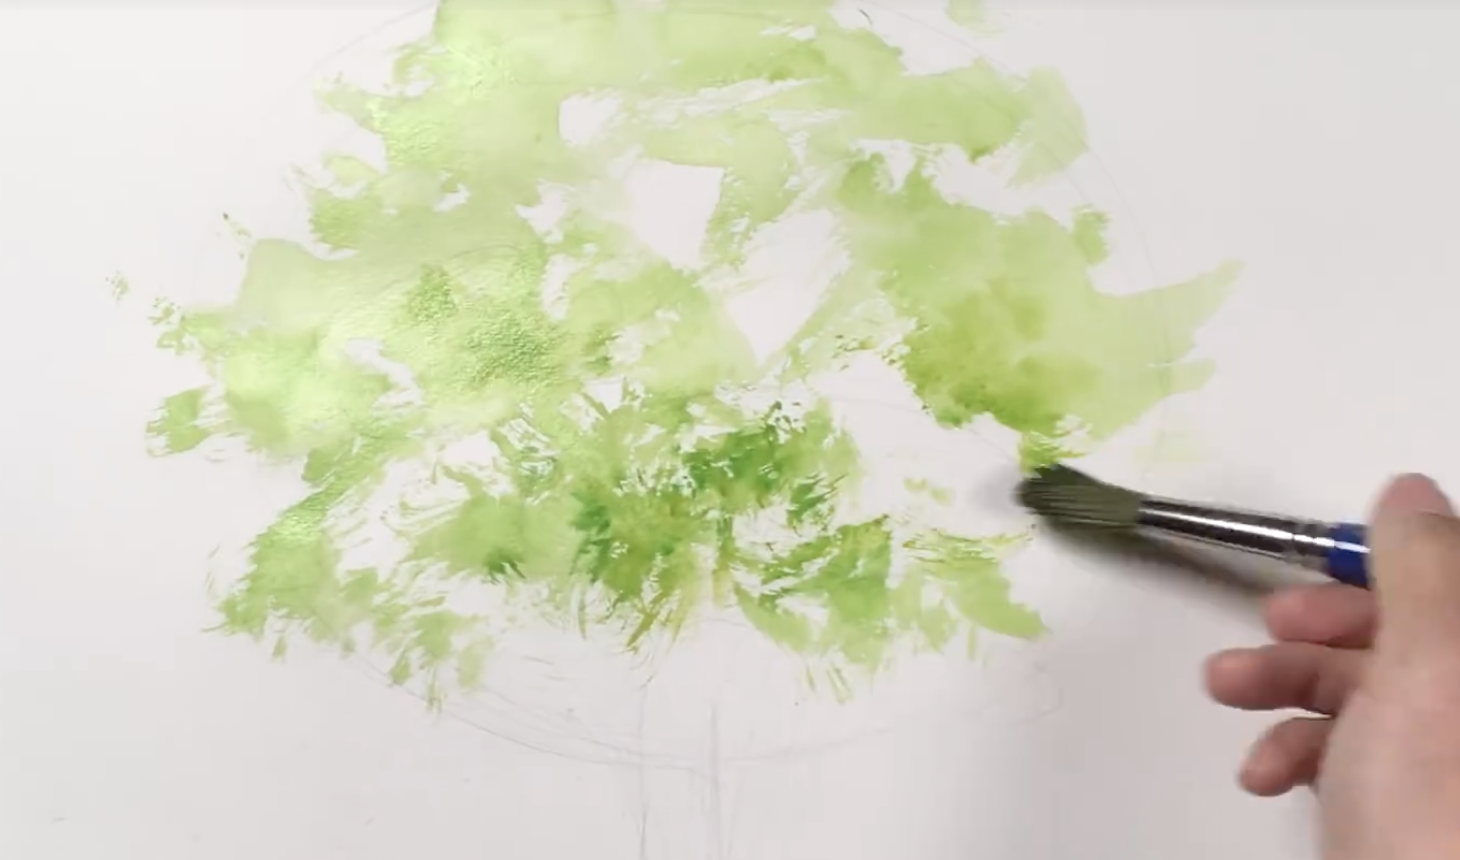 Switching to a watercolor paper pad, do a very simple, light outline of your tree. Next, using the dry-brush technique and a no. 12 round brush, dab some light green paint on. Use a mix of Permanent Green #1 and #2 for this. You can paint the majority of the tree with this color since we will be adding the darker shades later on. Going with the fan technique next, dab the paint, fan out the brush, and do light jabs to illustrate the texture of leaves. This technique will allow you to paint a more realistic and life-like tree, with leaves fanning out in different directions. Keep in mind the shading you established when you sketched a tree earlier. Gradually paint the leaves darker as you go to the bottom section, where the light can't reach. You can mix Viridian with a bit of Prussian Blue and Crimson to paint the mid-tones and shadows with a dark green hue. Use the same fan technique again for more leafy details, and mix it up with light jabs and flicks of the brush to paint leaves that look like they're sticking out. It will also give your tree painting more depth and life. With this, you will be painting a tree that looks three-dimensional and more believable.
Step 3: Paint the Tree's Trunk
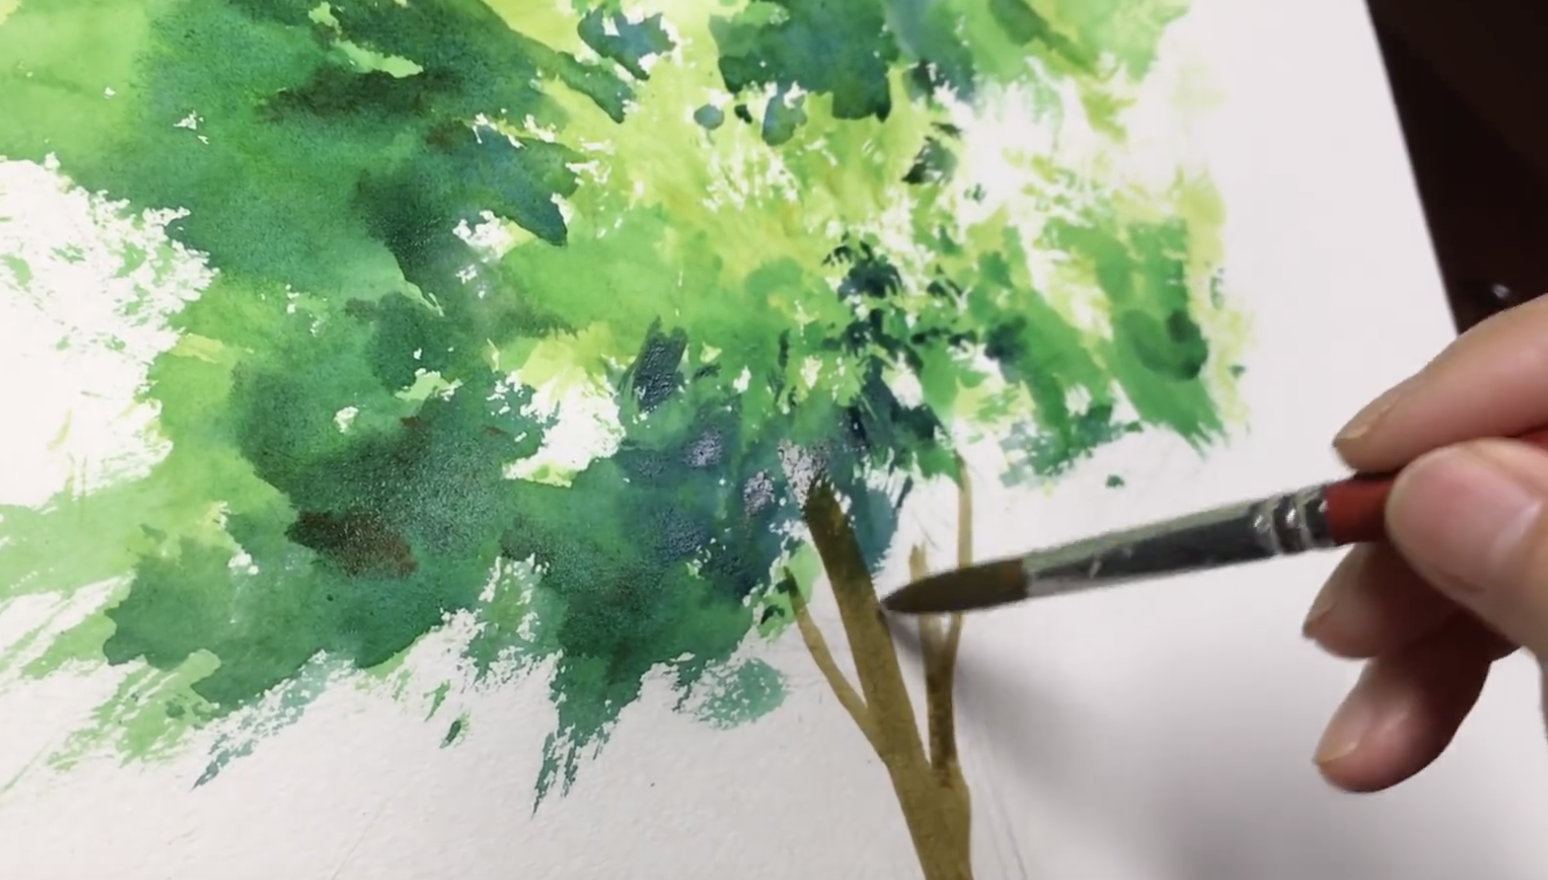 Mix some Amber into the dark green paint you just used to paint the branches and tree trunk. For the trunk, find the tree's center of gravity before painting, or else your tree will look off-balanced! Paint your trunk in such a way that the top splits off into smaller branches, while the lower part is slightly uneven for a more organic look. Follow the branches to paint the twigs where there are gaps in the leaves, to help give structure to the tree.
Step 4: Using the Lifting Technique For A Dappled Effect
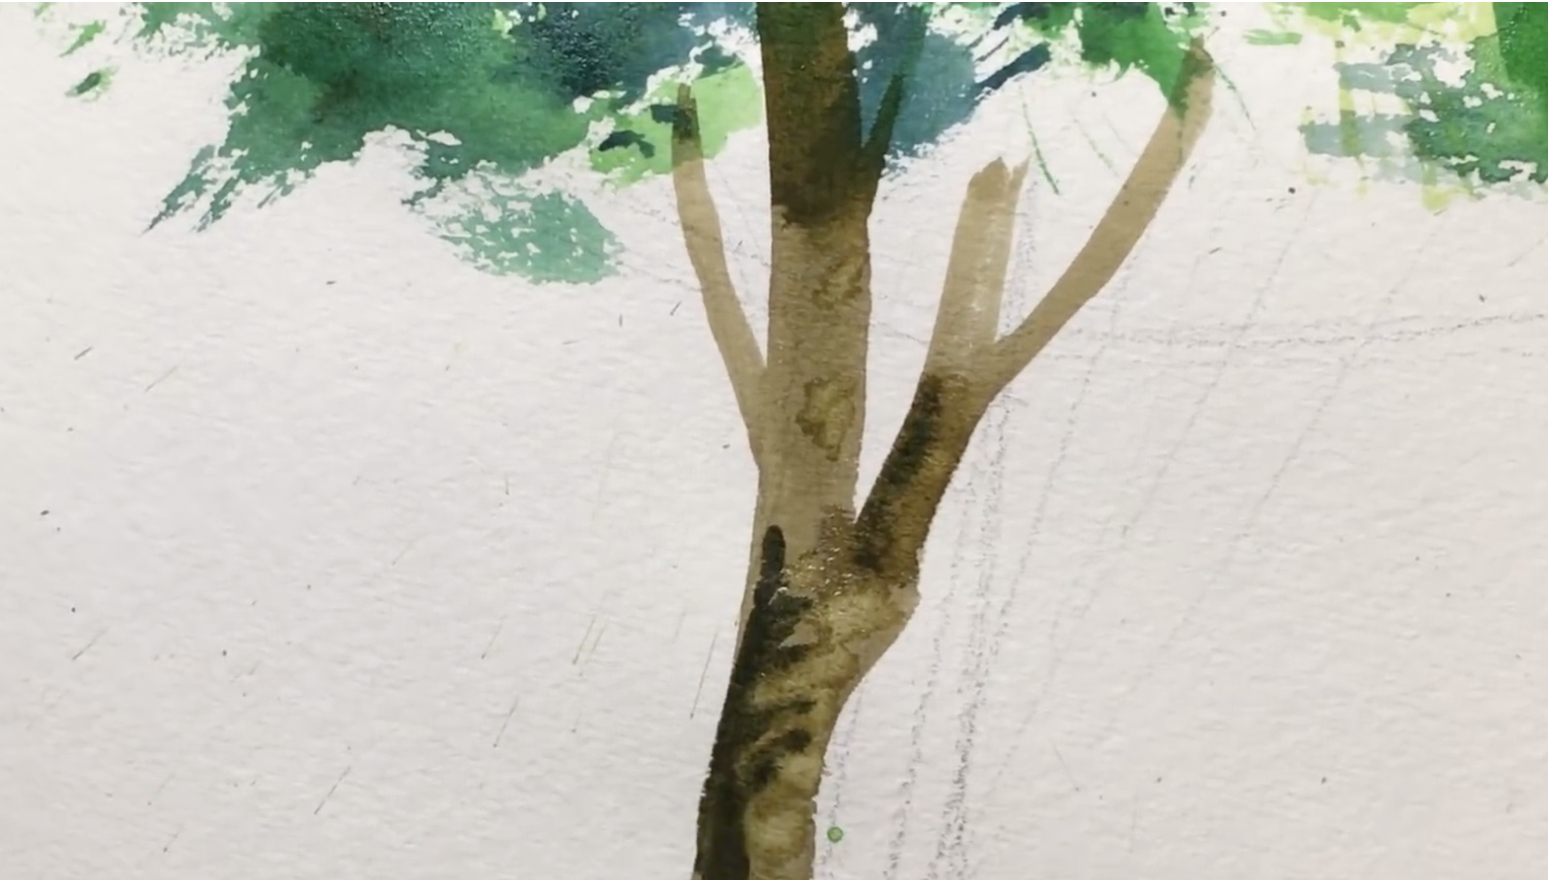 Using the lifting technique, absorb some paint off the main trunk of the tree so that it has a dappled texture caused by the sunlight being filtered through the leaves. Next, use a darker brown by mixing in Burnt Umber to your brown mixture to add shadows to the trunk and branches. This should give your watercolor tree painting more depth.
Step 5: Add the Finishing Touches of your Watercolor Tree Painting
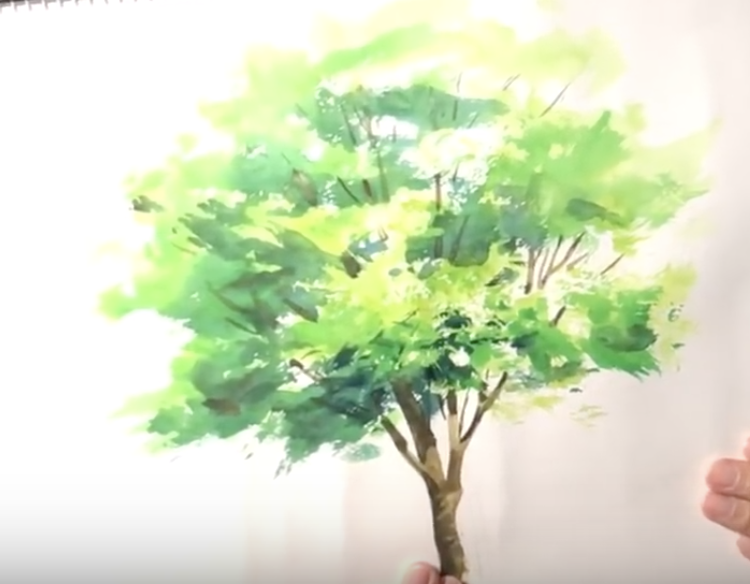 With a dry brush and a little green paint, add some more scattered leaves to the tree painting so that it will look even more realistic. There's no need to stress over painting the details of every leaf - just keep the big picture in mind, and let your colors and values come together to form your tree. The viewer's imagination will take care of the rest! When you're done, be sure to show off your wonderful masterpiece! And with enough practice, you'll soon be painting these 5-minute trees without breaking a sweat. If you want to view this tutorial in video format, just click the "play" button below. Don't forget to turn on the English captions!


