Follow award-winning painter Steve Curl in this classic watercolor figure painting course featuring Theodore Roosevelt in his signature roughrider uniform. This course is a good balance between using common watercolor techniques and working on a more difficult subject. Want to watch the video version? The full tutorial is available to members of our Beeblys WatercolorPainting.com.
Materials Used In This Watercolor Class:
- Reference picture of Theodore Roosevelt's full figure (click here for Steve's picture)
- A sheet of Arches cold press watercolor paper (140lb, size 12″ x 16″)
- Mechanical pencil with HB 0.5mm lead
- Kneaded eraser
- Ruler
- Painting palette for watercolor paints (with 26 wells)
- 2 containers of water
- Paper towels
Paints (Holbein Artists' Watercolors)
- Cadmium Yellow Light
- Cadmium Red Purple
- Quinacridone Red
- Permanent Alizarin Crimson
- Crimson Lake
- Phthalo Blue Yellow Shade
- Cerulean Blue
- Cobalt Blue Hue
- Peacock Blue
- Yellow Ochre
- Burnt Sienna
- Payne's Gray
- Neutral Tint
Winsor & Newton's Professional Watercolors
- Ultramarine (Green Shade)
- Winsor Violet (a.k.a. Dioxazine Purple)
Brushes
- Stratford & York Warwick Series: Round sable brush (size 8)
- Escoda Reserva Series: Round Kolinsky-Tajmyr sable brush (size 12)
- Flat Brush Fibonacci: Sky wash brush (60mm with 40mm bristles)
Step 1: From Figure Drawing To Figure Painting
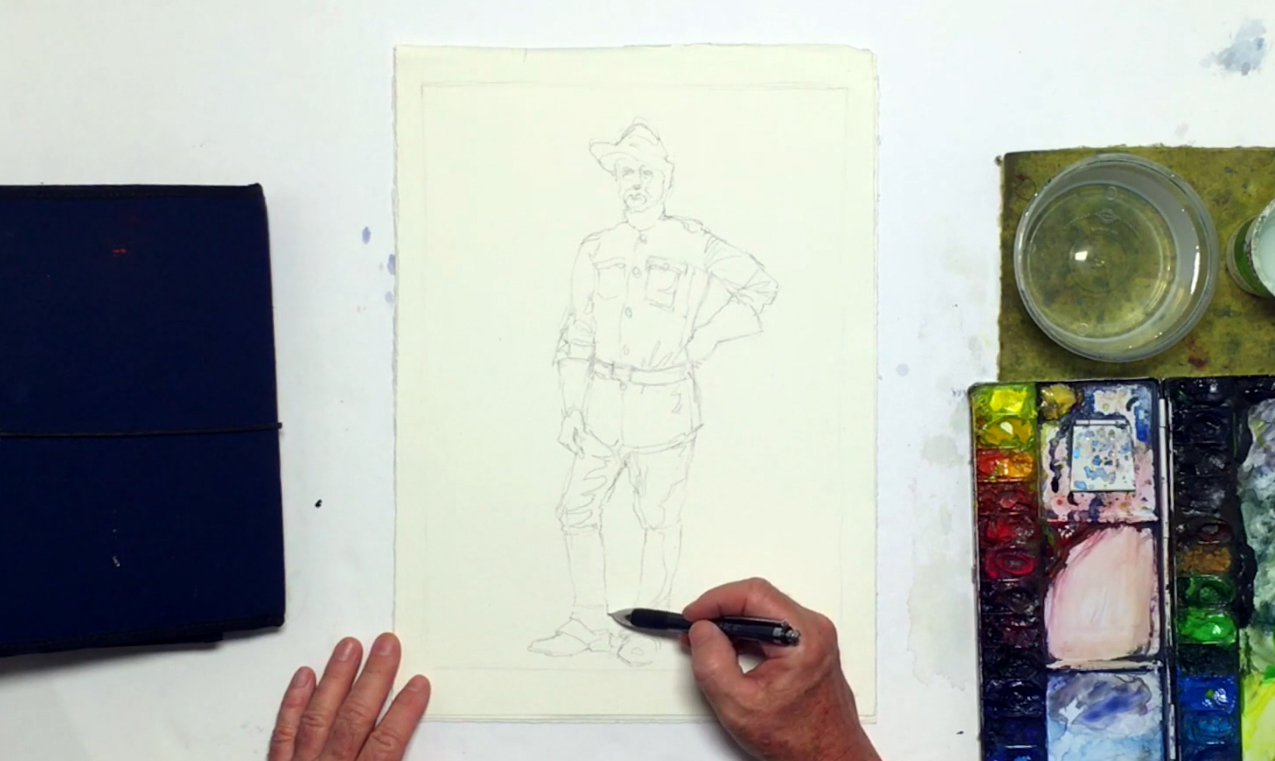 Choose a figure to paint. While Steve recommends doing a live sketch, for convenience's sake you can use a photograph with your model in a good lighting and position. In this particular course, Steve uses a full-body picture of Theodore Roosevelt. Draw a ½" border for a possible mat board for framing your figure painting when it's finished. Then, begin your sketch by marking where the top and the bottom of the body should be, and mark the midpoint as well for Teddy's belt. This helps keep the proportions consistent. Starting from the top, outline the hat and head, then make your way down to the shoulders and chest area. Be sure to study the angles of the arms and the overall proportions as well. Keep note of any wrinkles in your subject’s clothing, and both positive and negative shapes created by the figure's pose. When drawing the legs, study your subject’s posture: a person's head is always straight above where their weight is, so if they're leaning on their left leg, the head should be aligned with the left leg. While you're drawing, you can outline the shapes created by the shadows as well. Below is a close-up of Steve's sketch:
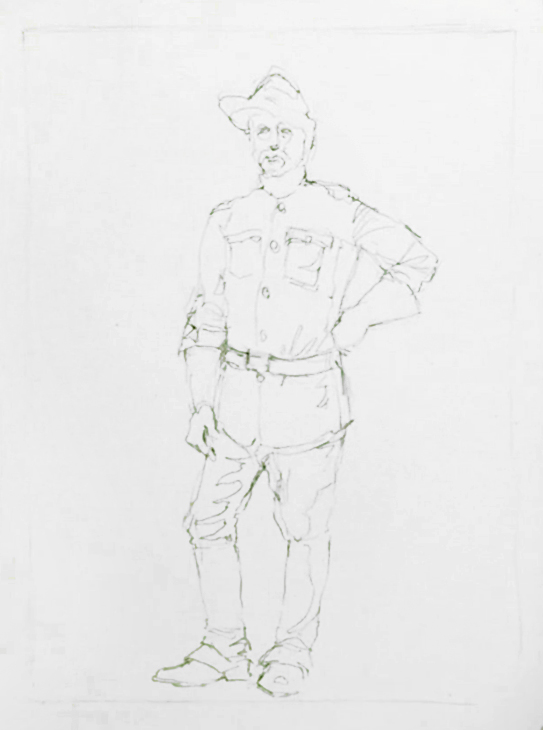
Step 2: How To Paint The Skin And Facial Features
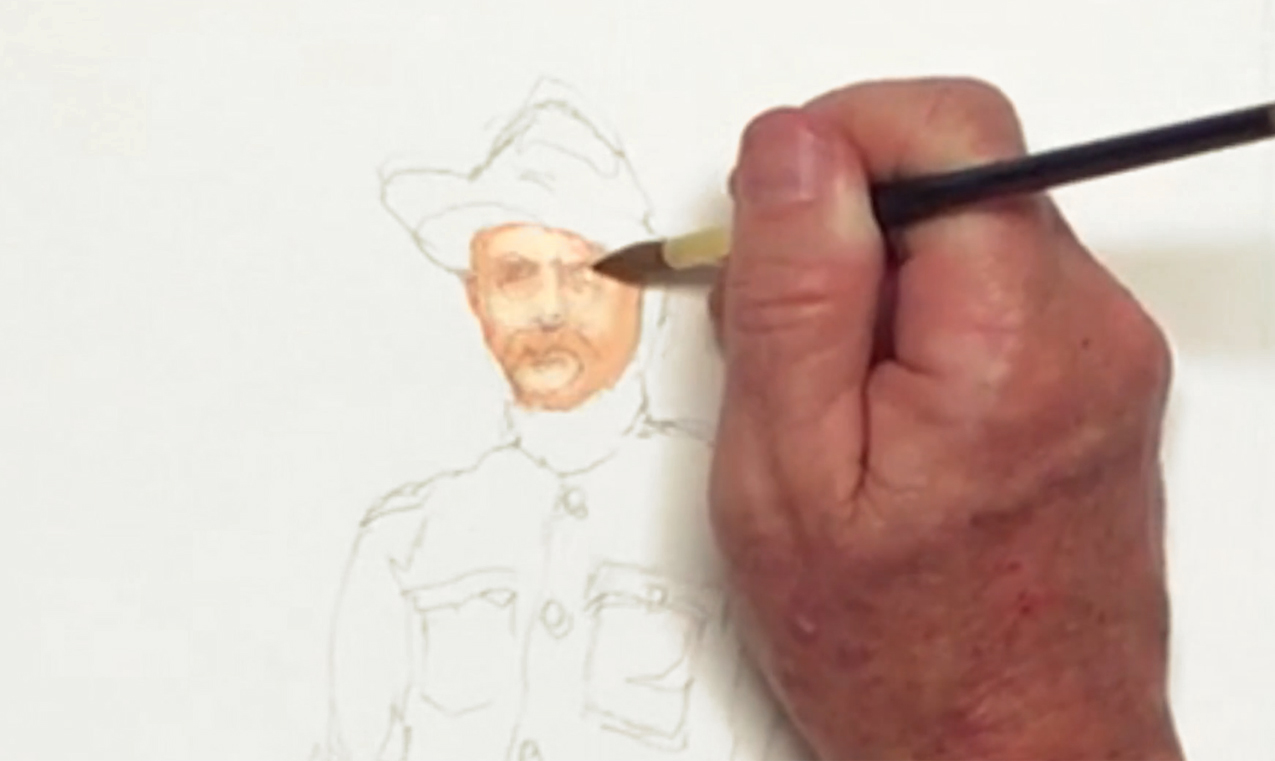 Once you're done, start the figure painting process by using the round sable brush (size 8) and mixing Yellow Ochre with Cadmium Red Deep for a skin tone. Use this color to paint Teddy’s face. Keep the paint light and diluted, as the lighting on his face is bright. You can also paint over any facial features since you will be adding darker details later on. For the highlights, wipe off the paint in your brush on a paper towel, then gently lift out paint on the nose, cheeks, forehead, and chin.
Step 3: Fleshing Out A Figure Painting By Painting Clothes And Shadows
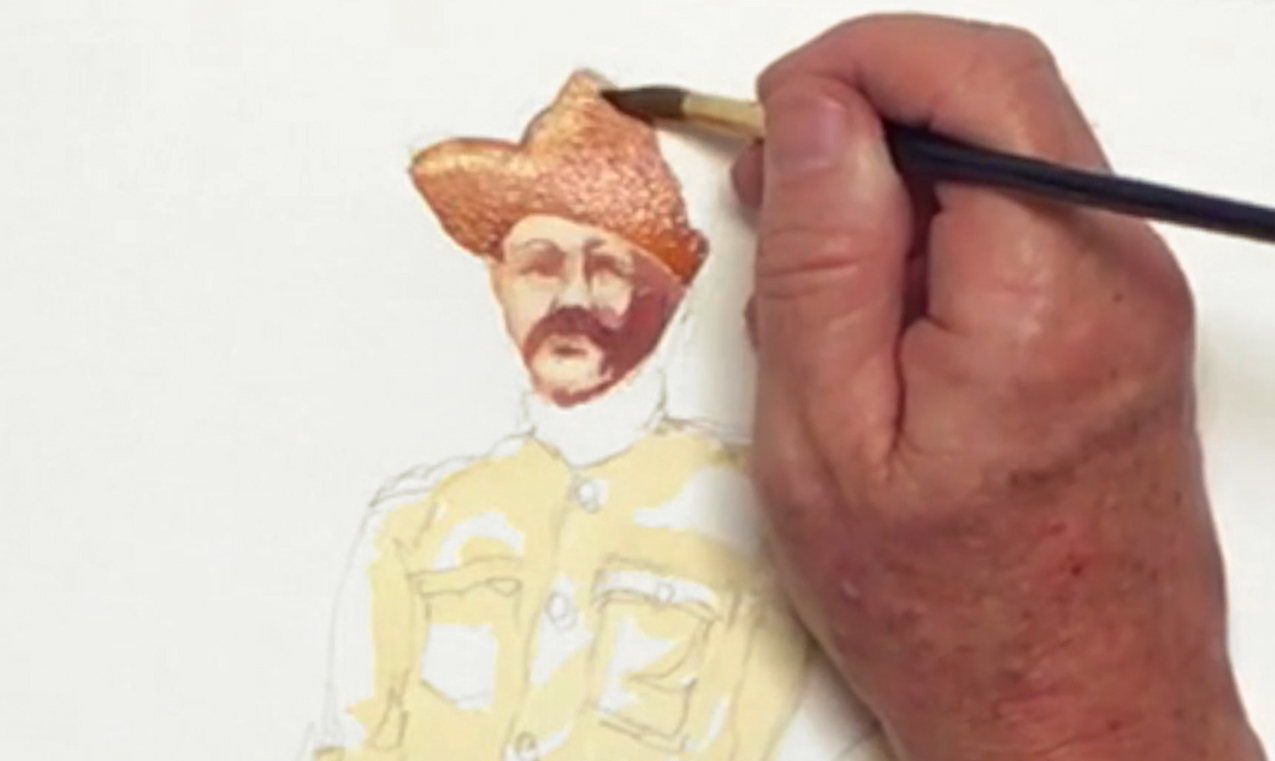
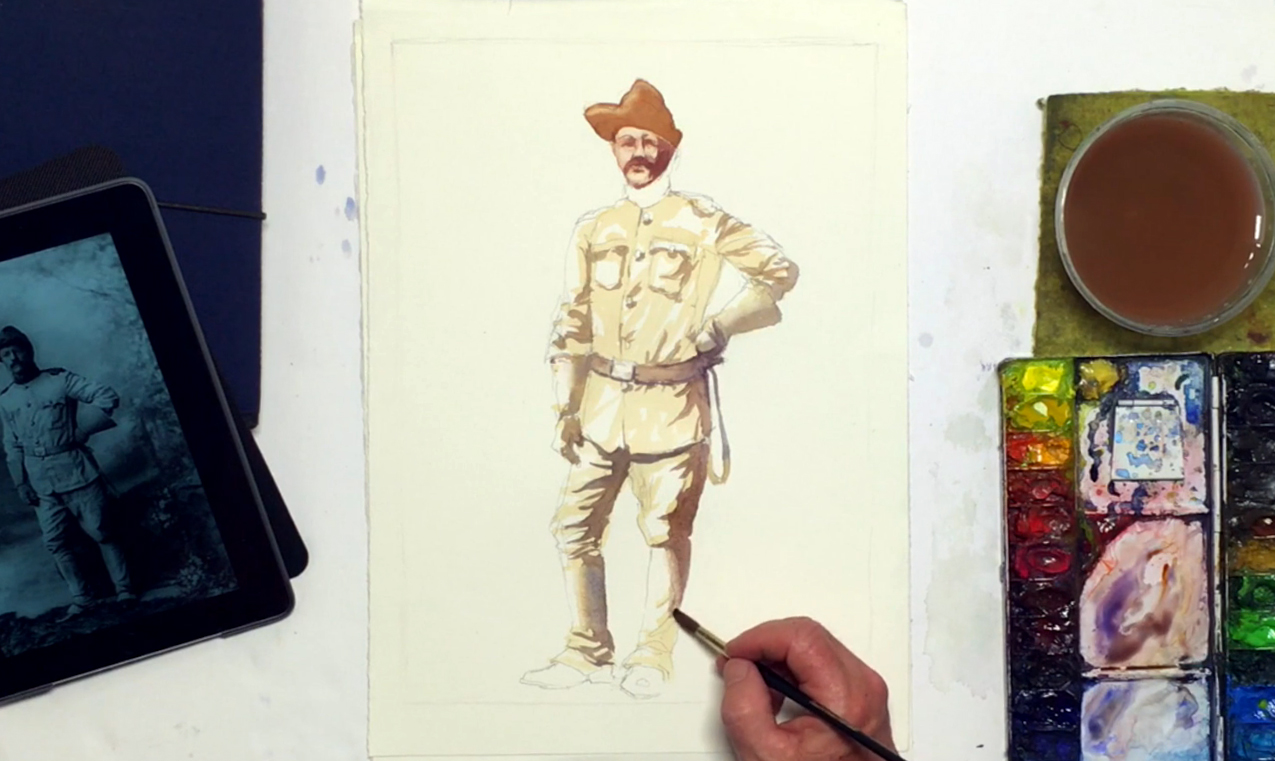
 Next, use diluted Yellow Ochre to paint the base layer of Teddy’s uniform, leaving white areas for the lightest highlights. The tan will be the clothes' underlying layer, which will help bring together the military look in your figure painting. Work quickly to prevent any "streaking" of paint, and try to get a feel for how the wrinkles in the clothes follow the angles of the body. Make sure to add the tan color on his hat and gloves as well. When you're done, mix Quinacridone Red with a touch of Burnt Sienna and Yellow Ochre, and apply to the shadows along the edge of the nose, the side of his head, and in the eye sockets.
Step 4: Darkening The Shadows And Lightening The Highlights
 Darken the shadows even more by adding Permanent Alizarin Crimson and Crimson Lake to the previous shadow mixture. This time, use a little less water to dilute it. Add a touch of Ultramarine and Winsor Violet as well to get a cooler shadow tone, and paint in the darkest facial features for more contrast. Paint the mustache and under his bottom lip and chin as well to help define the facial details. As you return to work on the hat, mix in more Burnt Sienna and Yellow Ochre for a browner tone, then paint the shadows. Again, you can lift out some paints for the highlights on the hat by drying your brush and brushing over the necessary areas to take out the paint.
Step 5: Adding Wrinkles And A Turning Edge To A Figure Painting
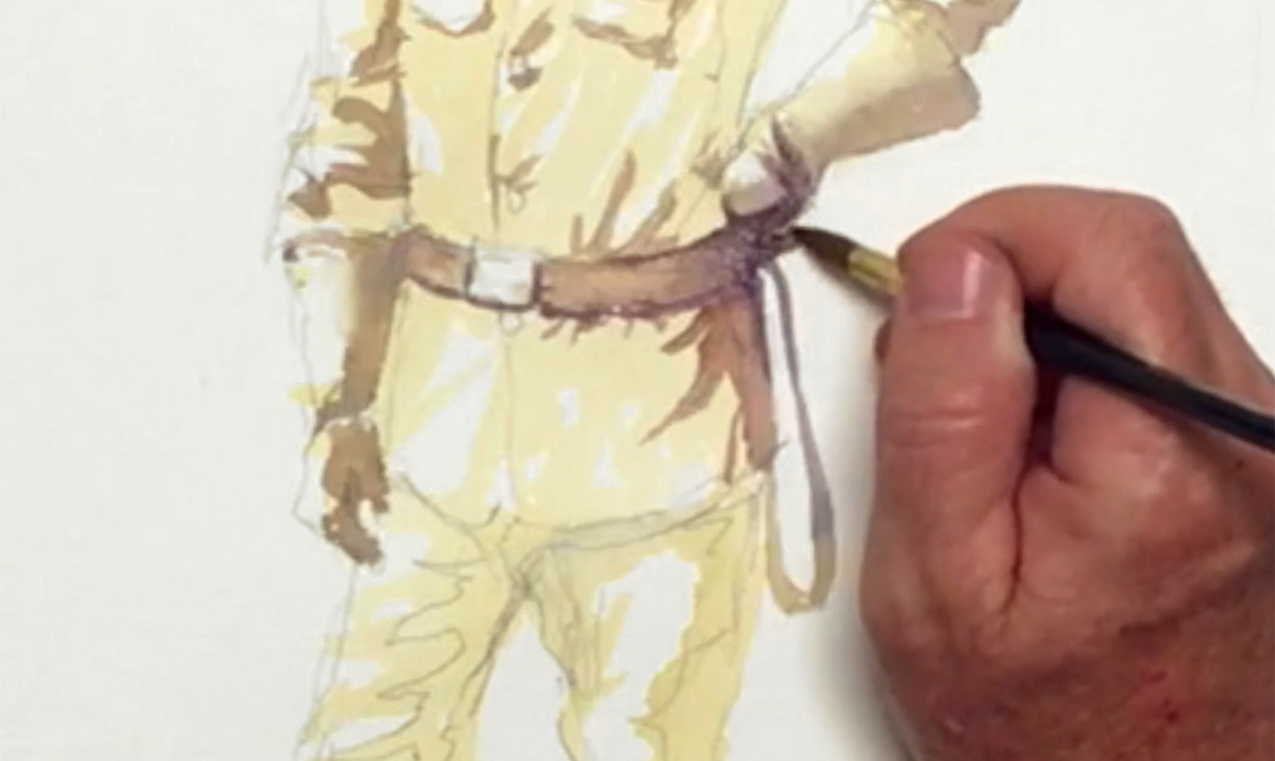 While the face and hat dry, start working on the denser shadows within his uniform. Add more Cobalt Blue Hue to the previous shadow mixture, then paint the shadow shapes around his jacket pockets, buttons, the edges of his jacket, and under the epaulettes. Deepen the creases and wrinkles as well, and color in the belt straps, leaving the buckle unpainted for now. Mix in more blue to cool down the shadow color, and use this color to help define some of the edges. Remember to soften the edges of any shadows to help create a "turning edge", which is a technique to make objects appear round. You can do this by using a clean damp brush to brush over the edge of the shadow, which helps create a gradated effect for the turning edge. When working on the belt, use the same technique to create that rounded effect, and don't be afraid to merge dark shadows together, such as tying Teddy's hand to his belt and riding crop. You can darken the shadows even more with more Ultramarine, Phthalo Blue Yellow Shade, and Permanent Alizarin Crimson, keeping the smooth transition to fade the dark into the lighter colors on the belt.
Step 6: Painting Pants And More Shadows
 Continue downwards to paint the pant's shadows, mixing in more Burnt Sienna for an earthy-purple color for more variation in the overall figure painting. Don't forget to paint the creases, and to apply the turning edge technique to Teddy's roughrider leggings. Use the same color for the rest of the darker shadows in the upper body, especially the whole of Teddy's left side that's angled away from the light source.
Step 7: Coloring The Collar And Adding Depth
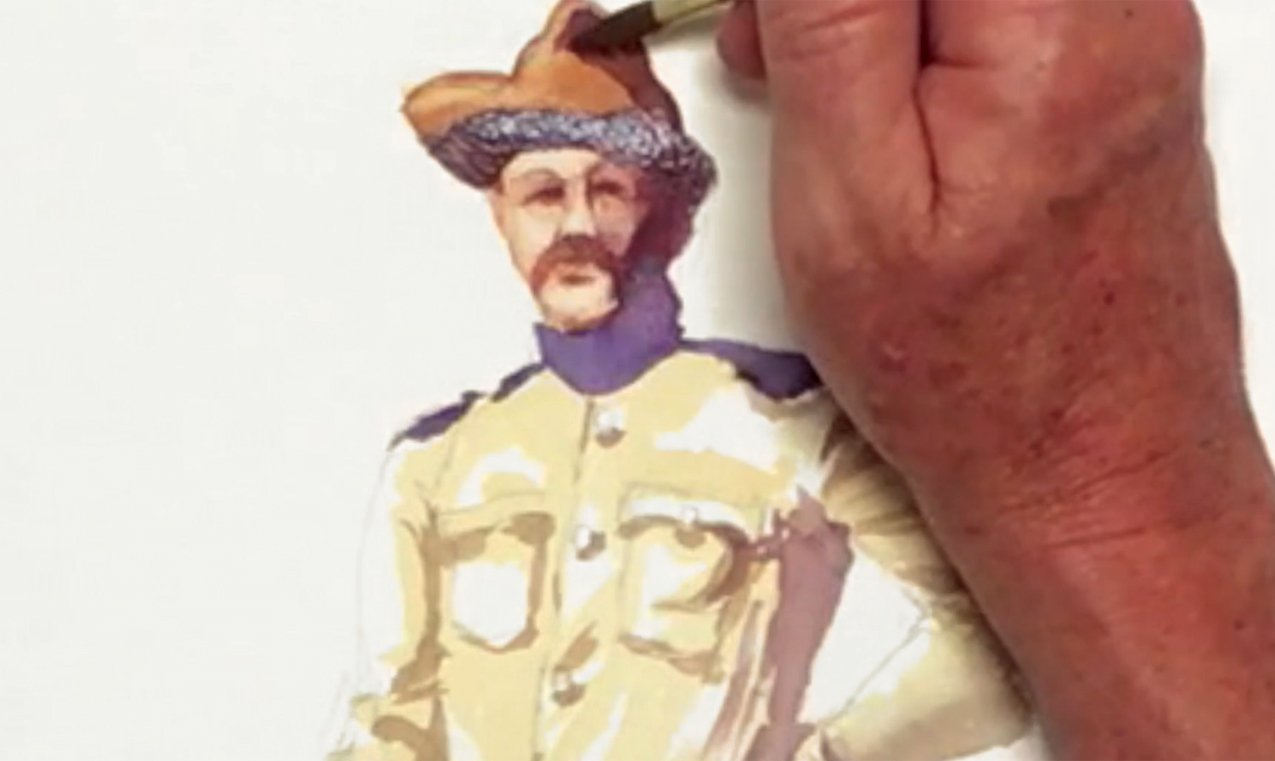 Shift to a more purple color by adding more Ultramarine, and paint the collar for extra contrast. This will connect to the color of his epaulettes. Merge the collar with the neck and the shadow on the side of Teddy's face, then soften the shadows around his cheeks. For the darkest shadows, mix Winsor Violet, Payne's Gray, and more Ultramarine, and use it to fine tune any areas that need more depth, especially for the facial features and the hat's shadows.
Step 8: Details And Fine-Tuning A Figure Painting
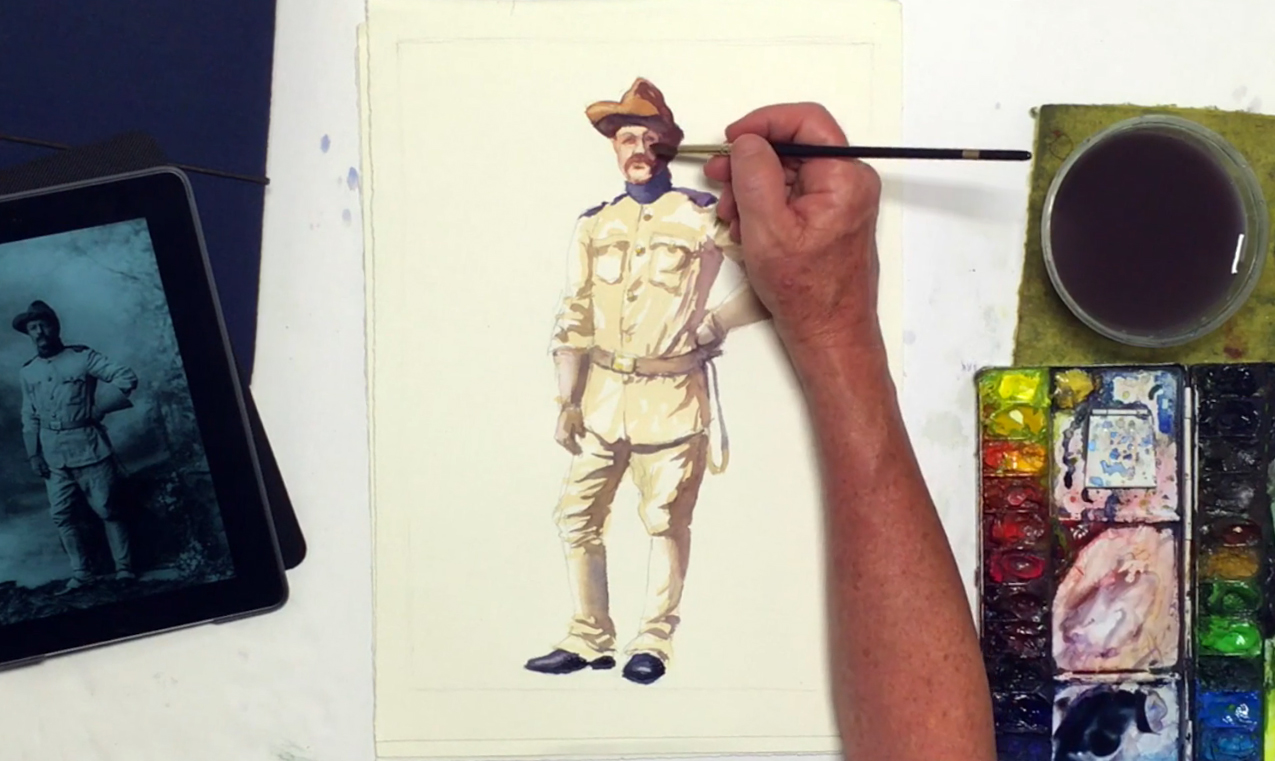 For the belt buckle and buttons, use pure Cadmium Yellow Light to get a hint of a brassy color, while the boots can be a very dark purple using a mixture of Winsor Violet, Ultramarine, Payne's Gray, and Neutral Tint. Leave white spots to create the "shiny" effect needed for metallic objects, white highlights can be lifted out later. Next, darken the soles with pure Payne's Gray, and fix the collar by adding a brighter Cerulean Blue to its lighter side. Add a diluted crimson-purple glaze over the gloves for a variation in tone, and touch up Teddy's facial features and anywhere that needs fine-tuning. Don't be afraid to create a sharper contrast for a more dramatic painting!
Step 9: How To Paint A Vignette-Style Background
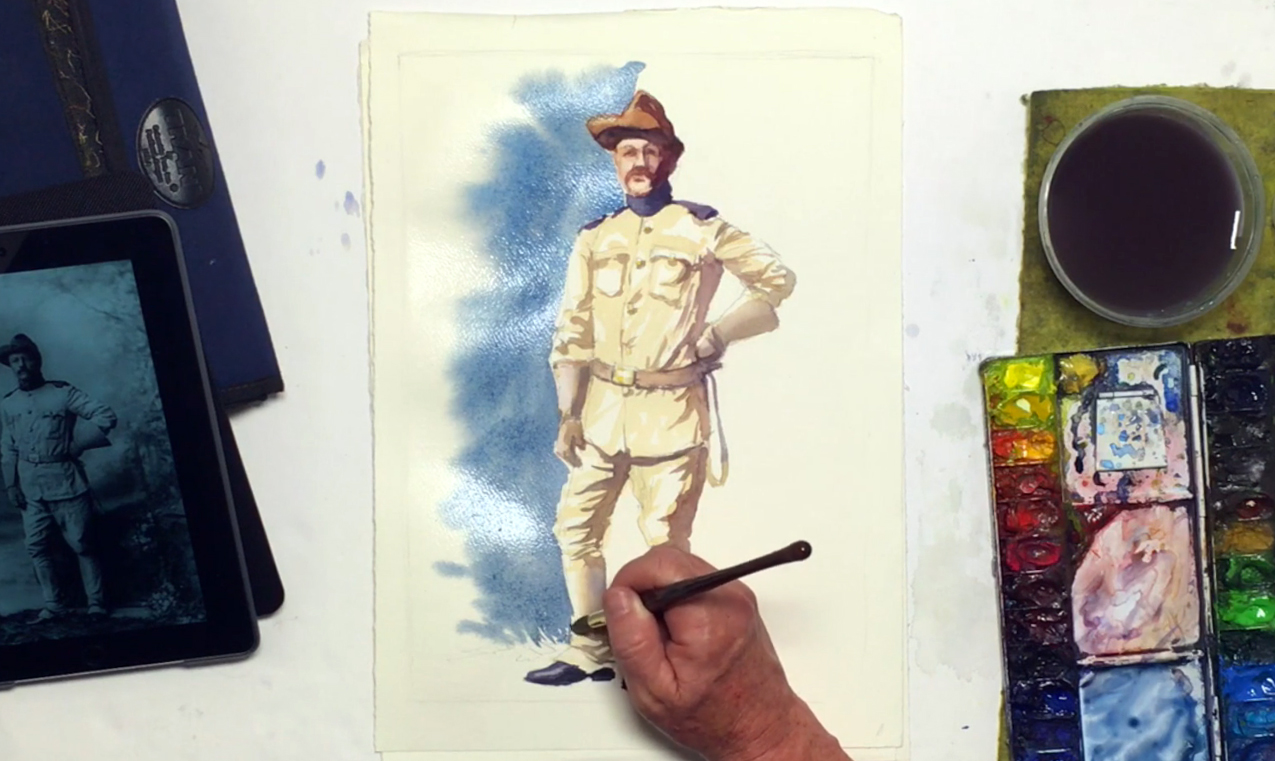 Once you're satisfied with the figure painting, leave it to dry and move to work on to the background. While it's possible to do a fully detailed background, Steve recommends doing a simple vignette here, as the focus should be kept on the "figure" part of "figure painting". To paint the vignette, quickly sketch in a grassy area under Teddy's feet to give an impression of his surroundings. Next, you'll be using the wet-in-wet watercolor technique. Do this by wetting the left side of the background with the sky wash brush, then switch to the size 12 round sable brush and mix the background color using Payne's Gray, Peacock Blue, and Cerulean Blue. Drop this color into the still-wet paper, being careful to avoid painting over Teddy and any highlights. Since the paper is wet, the paint will spread and fade into the edges of the painting, creating the barest suggestion of the atmosphere surrounding the former president. When you reach the bottom, taper your brushstrokes and paint towards the ground for a grassy effect.
Step 10: Finishing The Background Of A Figure Painting
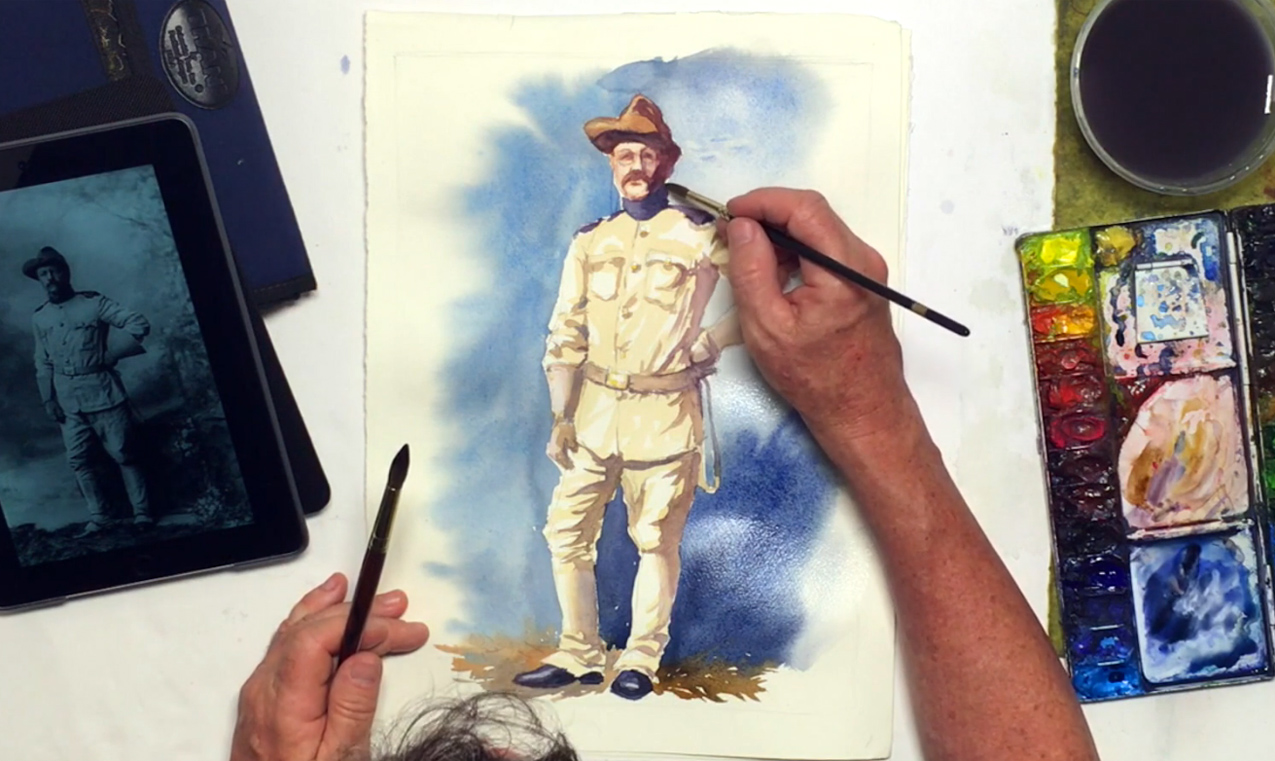
 For the ground, switch to the size 8 round brush and paint using Burnt Sienna mixed with the crimsons, letting the paint bleed into the area behind Teddy's legs to give the figure painting a forest-like atmosphere. Keep using tapered brushstrokes for a scratchy, grassy texture. Next, switch back to the size 12 brush, and continue to use the wet-in-wet technique to paint the right side of the background. Don't forget to paint the area between the legs, and that your blue tones can vary simply by using the same colors but at different ratios. You can also dilute the paint for lighter areas, such as the space next to Teddy's left elbow. Finally, complete the background by painting the rest of the ground (use the same color and method as before).
Step 11: Final Touches
 To finish off the figure painting, add the final touches and fix any areas if necessary. For example, Steve uses a diluted version of the dark purple mix to paint in Teddy's glasses, the glasses' cord, and touching up the lighter shadows. He also suggests using a kneaded eraser if you want to get rid of the pencil lines, but if the linework is good, it's fine to leave them in. Be careful not to overpaint or tweak your painting too much to avoid sabotaging your own work, and feel free to step back whenever you need to evaluate the overall effect of your figure painting. When you're satisfied, leave it to dry, and start working on your next model!


