Embellish your written words through the clever use of watercolor and calligraphy. We found this watercolor technique shared by Lindsey Bugbee to be a step-by-step crash course on watercolor calligraphy for beginners. Thanks Lindsey for sharing this technique with the Internet! Here's our review of the technique so you can get started, quickly.
Materials used:
- The Straight and Narrow straight calligraphy pen holder, or Rodger's Pen Box oblique calligraphy pen holder
- Nikko G pointed nib, or Brause 66 extra fine nib
- Small round paintbrush (size 0)
- Syringe fitted with a long needle, or an eyedropper with a fine gauge
- Container of water
- Tissue
- Strathmore cold press watercolor paper (11" x 15" size, 140lb)
Paints
- Greenleaf & Blueberry watercolor paint: Mayan Green
- Mayan Red
- Yellow Ochre (or orange)
- Mayan Yellow
Step One
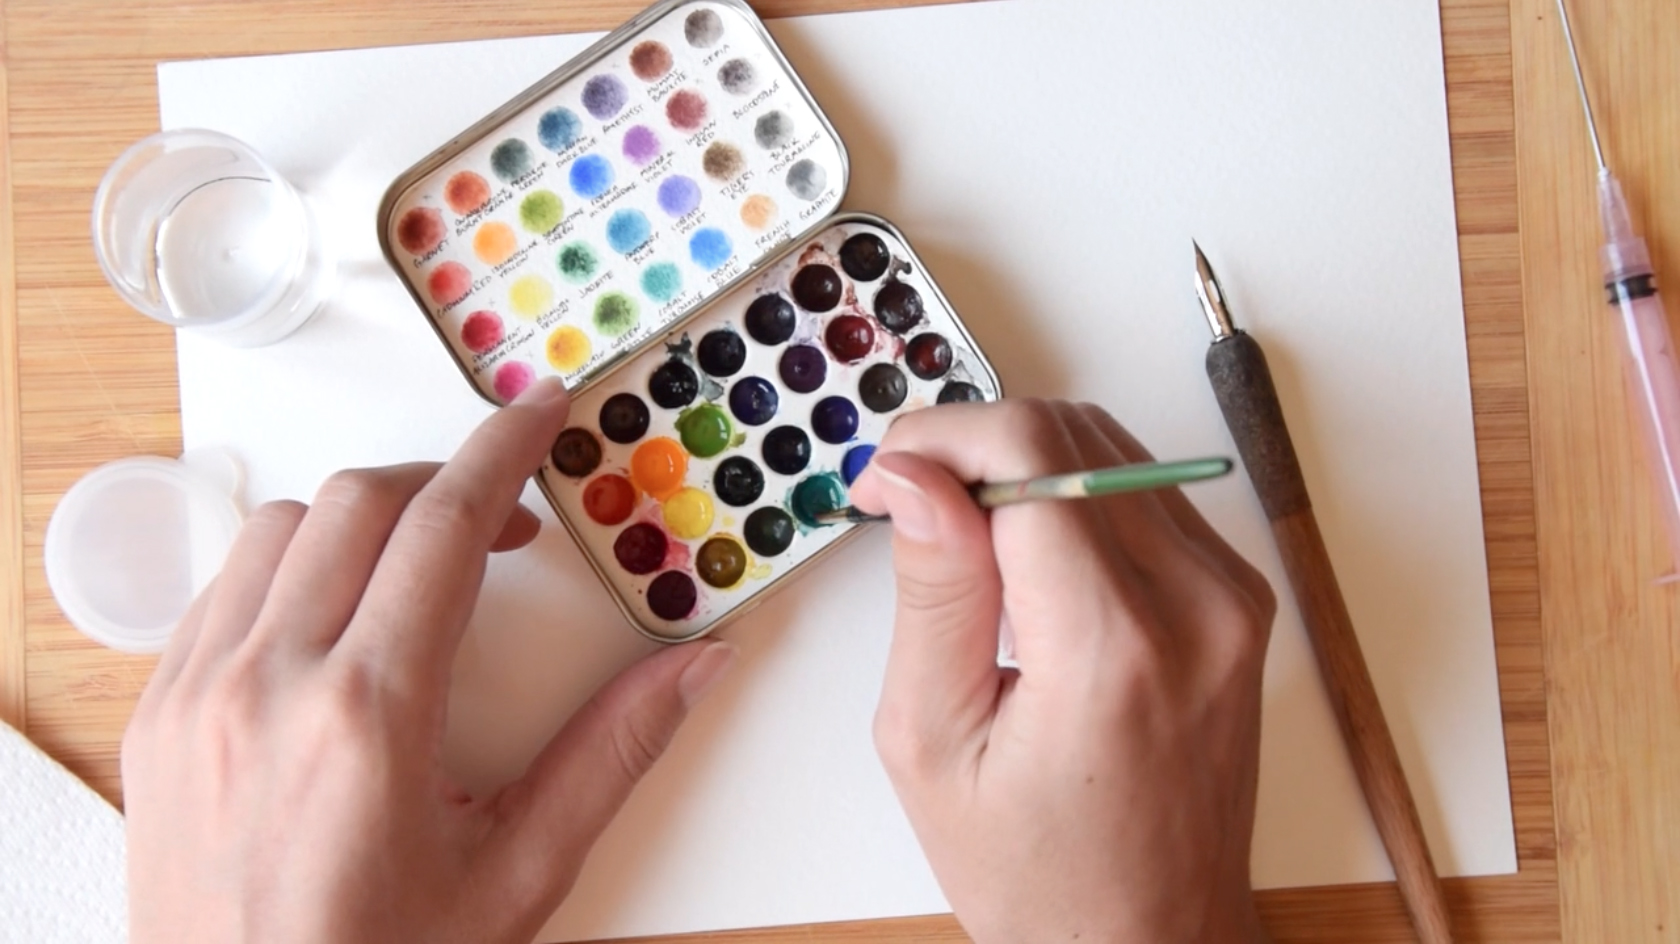 According to Lindsey, when applying this watercolor technique on single-colored text, first fill the syringe or eyedropper with some water from the container, and drop 2-3 drops of water into the Mayan Green (or turquoise) watercolor paint (note that you don't have to use professional grade watercolor paints; student grade paints are fine as well). Push out the excess water in the syringe back into the container, then wait for a few seconds for the water to soak into the paint. Use the small paintbrush to stir the water with the paint to get an inky consistency. Our tip? Don't do this over your working canvas (unlike the photo). Spills may mess up your blank paper. Instead, do this over a towel or separate surface far away from your canvas.
Step Two
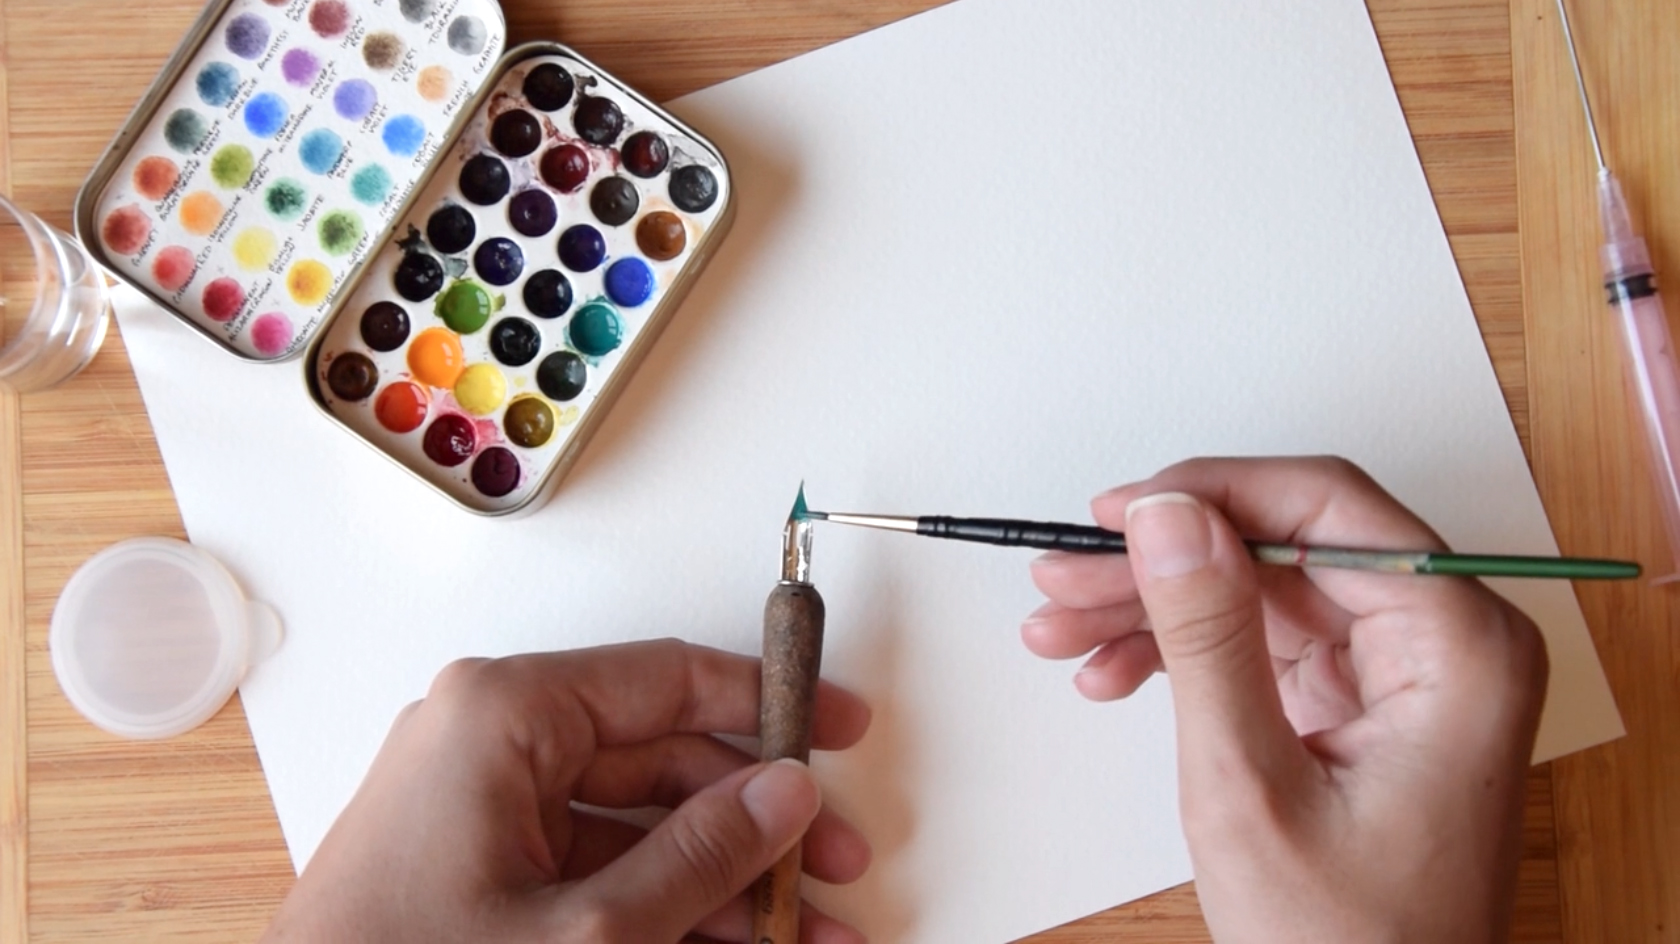 Using the paintbrush, Lindsey paints the watercolor onto the back of the nib of the calligraphy pen, using the edge of the nib to get the watercolor off the brush. Paint the nib up to the vent hole in the middle, then carefully check that the paint won't drip when the pen is held vertically. If you think it will drip, hold the nib over the water container and give one quick shake to get rid of the excess. The paint will create blobs on the paper if there's too much paint on the nib. Unlike the photo above, we recommend adding paint over some surface other than your working canvas. That way, you won't spill paint onto your canvas.
Step Three
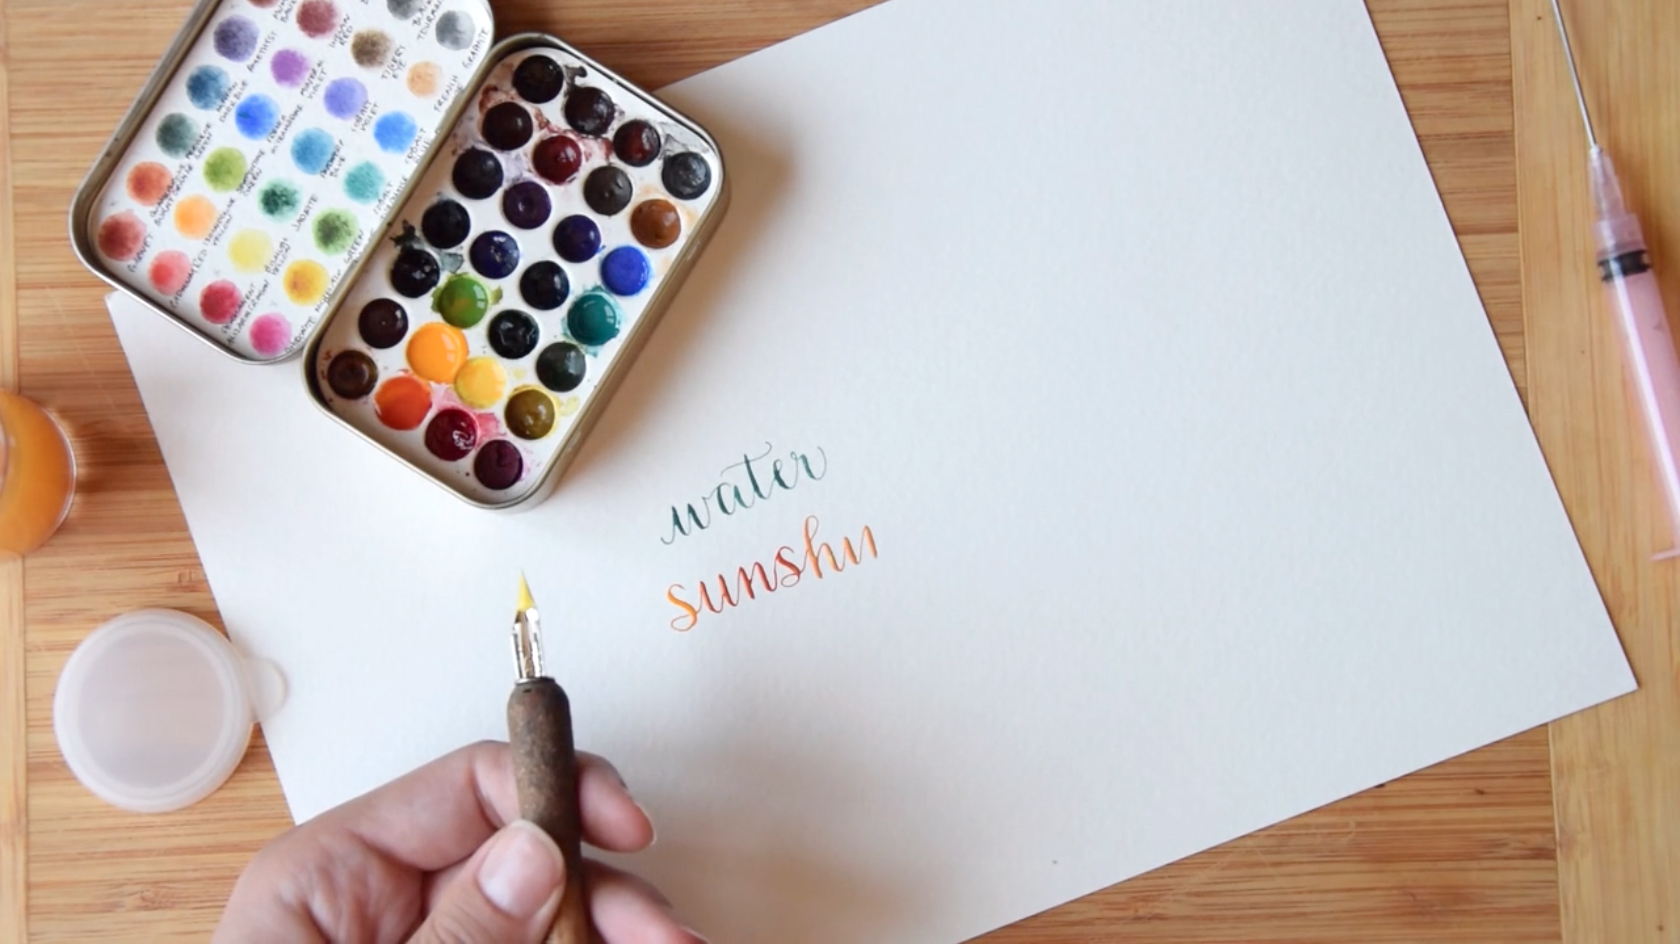
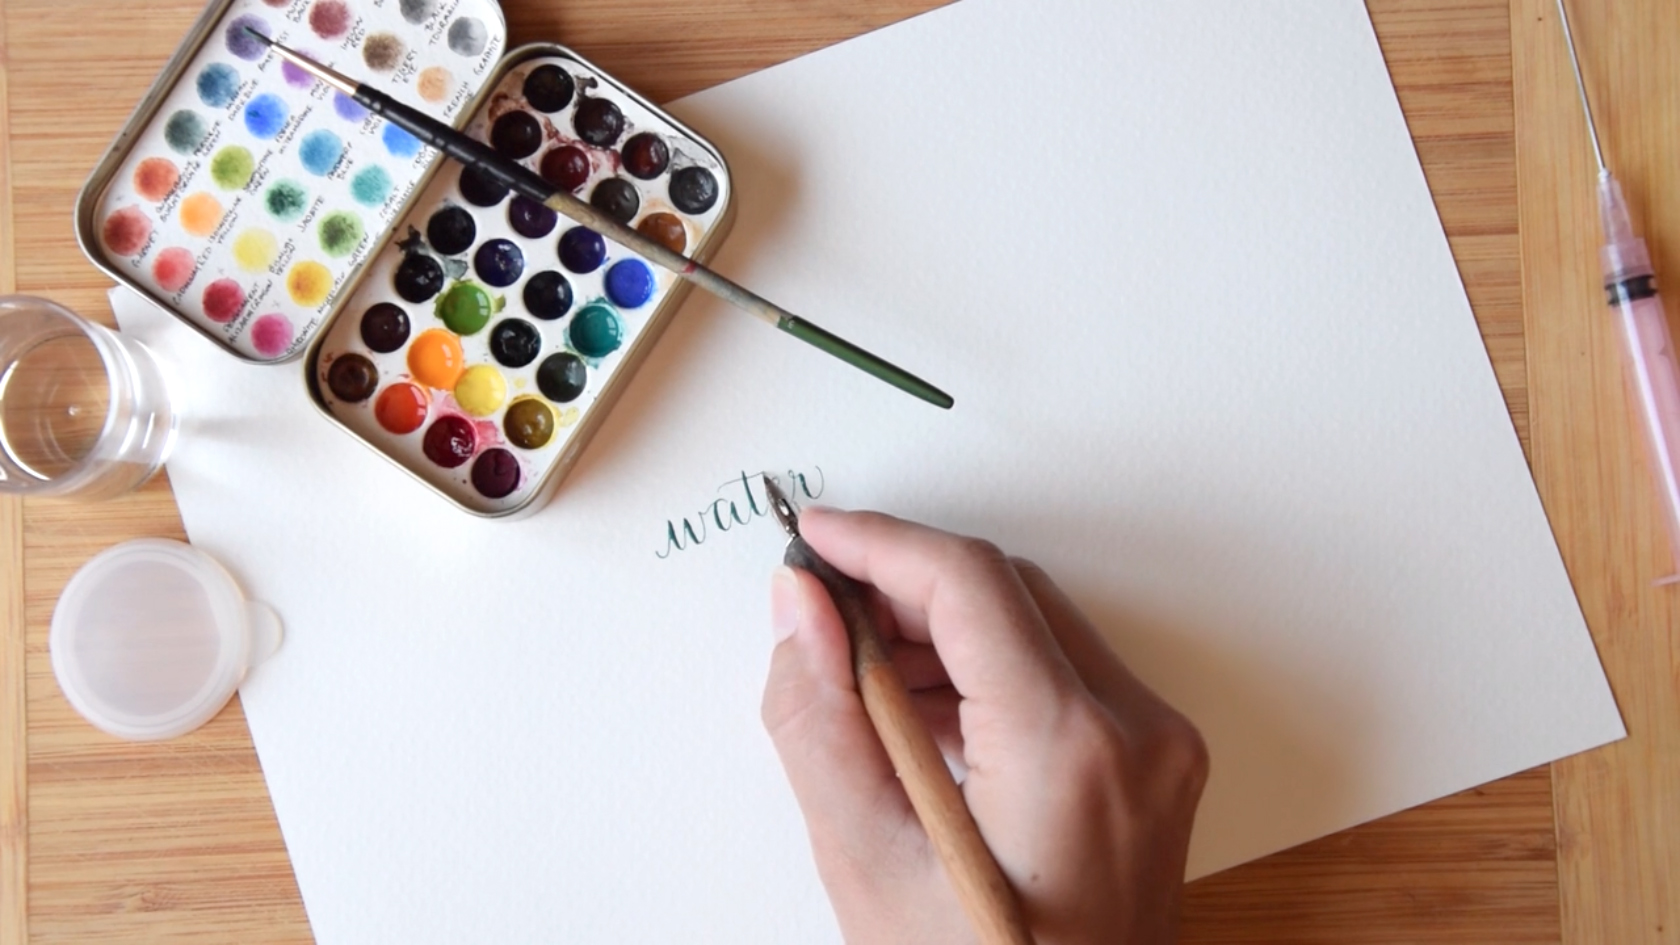 Start writing the desired word(s) with the pen the same way you would write with normal ink. Those with a straight calligraphy pen can try using Amy style calligraphy, which is a font style achievable through the use of calligraphy pens. If the paint runs out before you finish writing, refill the nib using the same method as step two.
Step Four
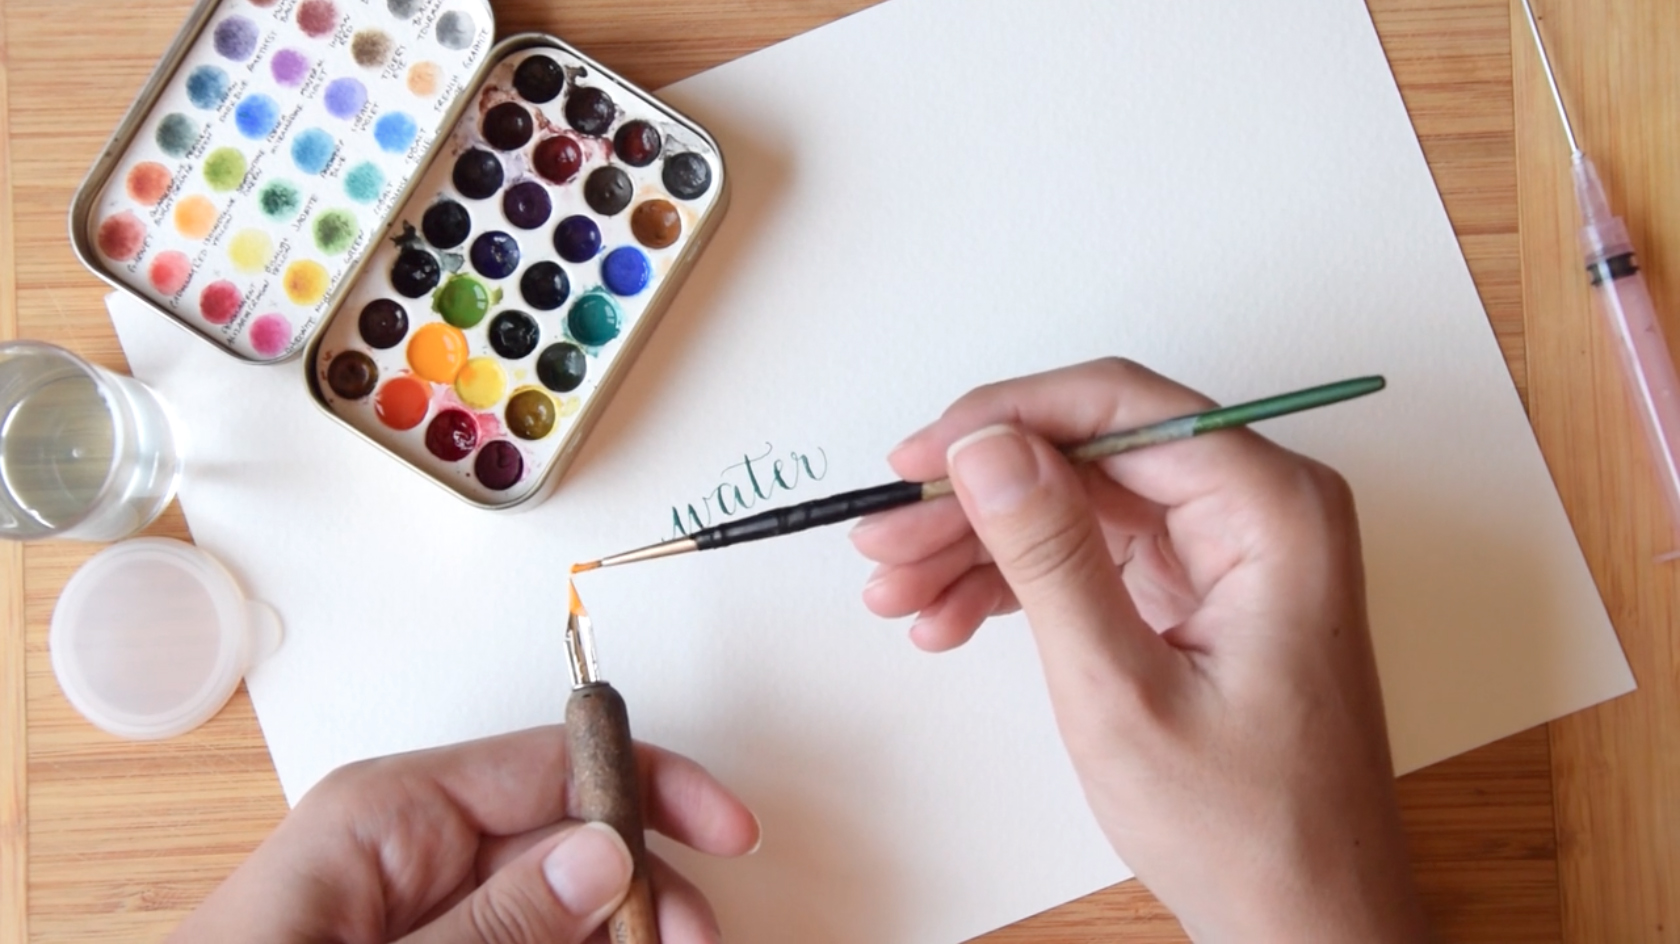 To create an ombré (i.e. gradient) effect with 2-3 colors, first wash off all the paint on the pen's nib in the water, then dry it using some tissue. Wash the paintbrush as well. For a "sunset" theme, start with the Yellow Ochre (or orange) paint, going through the same process as before when only a single color was used. Important: make sure to wash your brush after each color change!
Step Five
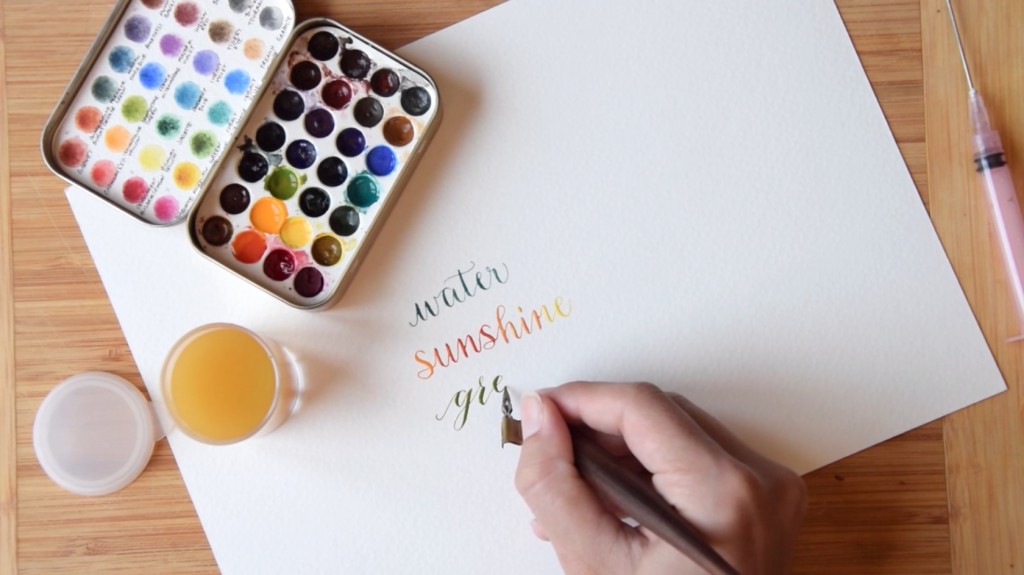
 Write the first 1-2 letters of your word, then place a bit of Mayan Red paint underneath the Yellow Ochre paint (i.e. on the side closer to the hole) using the same process as explained in step one and two. Gravity will help pull the red paint down so the red naturally blends in with the Yellow Ochre paint. We recommend experimenting with all sorts of colors before your final piece or coming up with a color scheme beforehand so the end result looks cohesive. Avoid clashing colors! That will ruin the effect!
Step Six
 For the third color, add some Mayan Yellow paint to the nib using the same process, and continue writing. To blend in a pure yellow color, rinse off the nib in the water and dry it with tissue before adding the yellow paint, again making sure that your brush is clean before mixing water with the paint and applying it to the nib.
Step Seven
 To blend in a pure yellow color, rinse off the nib in the water and dry it with tissue before adding the yellow paint, again making sure that your brush is clean before mixing water with the paint and applying it to the nib.
Step Eight
 If you're using an oblique pen, blending watercolor works in the exact same way. If you're using an extra fine nib, the paint will have to be refilled more often as the nib can't hold as much paint.
Step Nine
 If no paint is coming out, gently touch the nib to the surface of the water to get the paint flowing. Keep refilling and writing until your desired text is finished. Here's Lindsey's video of the entire process: You can learn more about Lindsey at her beautiful website, The Postman's Knock.


