
Before the Flood
MATERIALS USED: Arches cold press 140lb watercolor paper, a 1½" Winsor & Newton Series 965 wash brush, #8 round red sable. COLORS USED: Permanent Rose, Cobalt Blue. For this watercolor technique, I start by mixing a large wash of Cobalt Blue and laying in a large loose wash from the upper left corner on across the top of the paper. I used my 1 ½" wash brush for the color washes.
A Colorful Mix
Mixing a strong tint of Permanent Rose, I quickly covered the rest of the square with color. As I painted, I tried for an interesting mix of colors as they flowed together. This is the wash before any clear water has hit it.
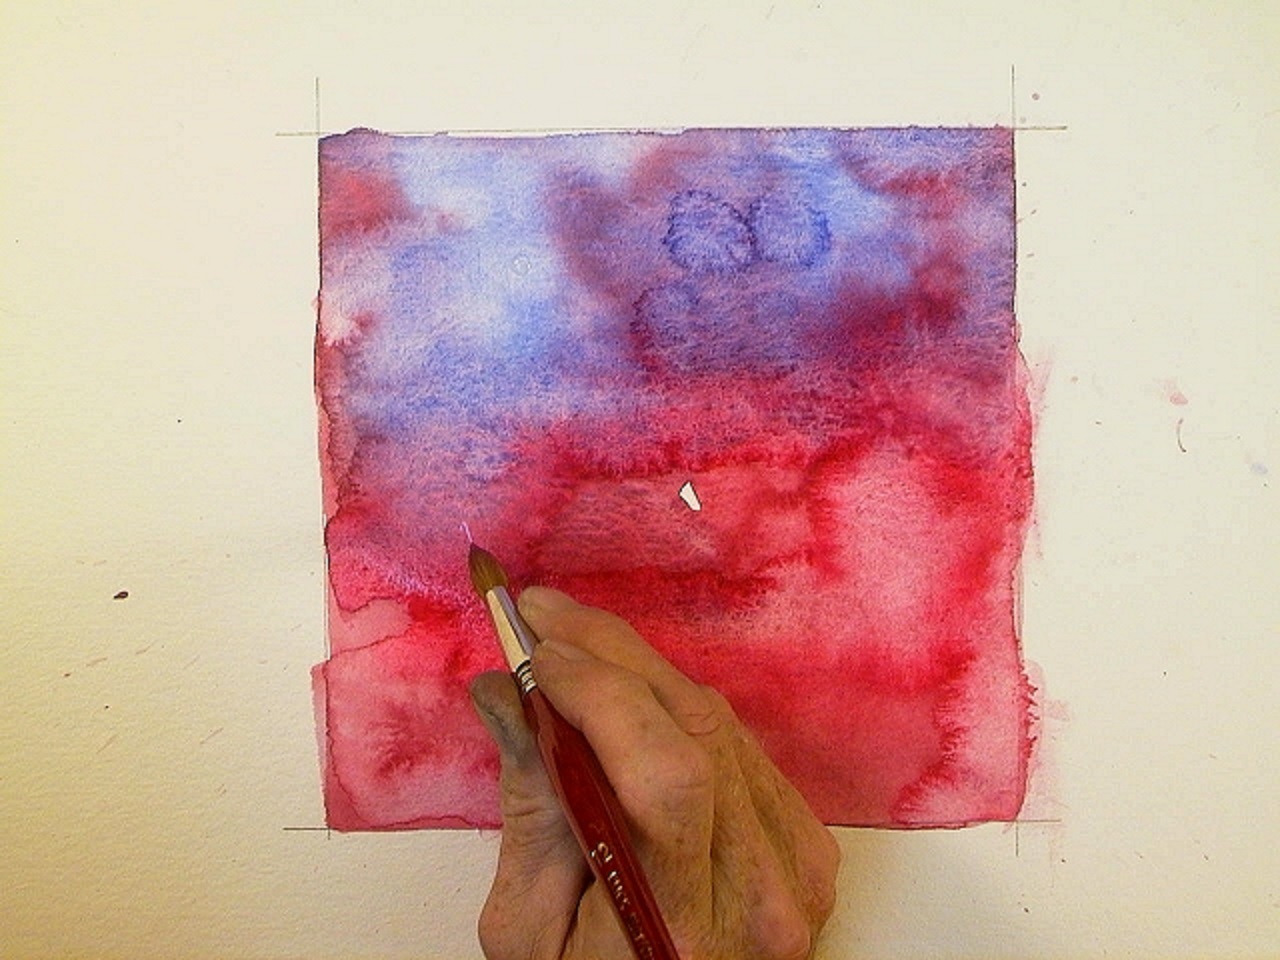
Flicks of the Wrist
I took my #8 round red sable, rinsed it in clear water, and left it full. With a few flicks of the wrist I started throwing some water on the wet wash.
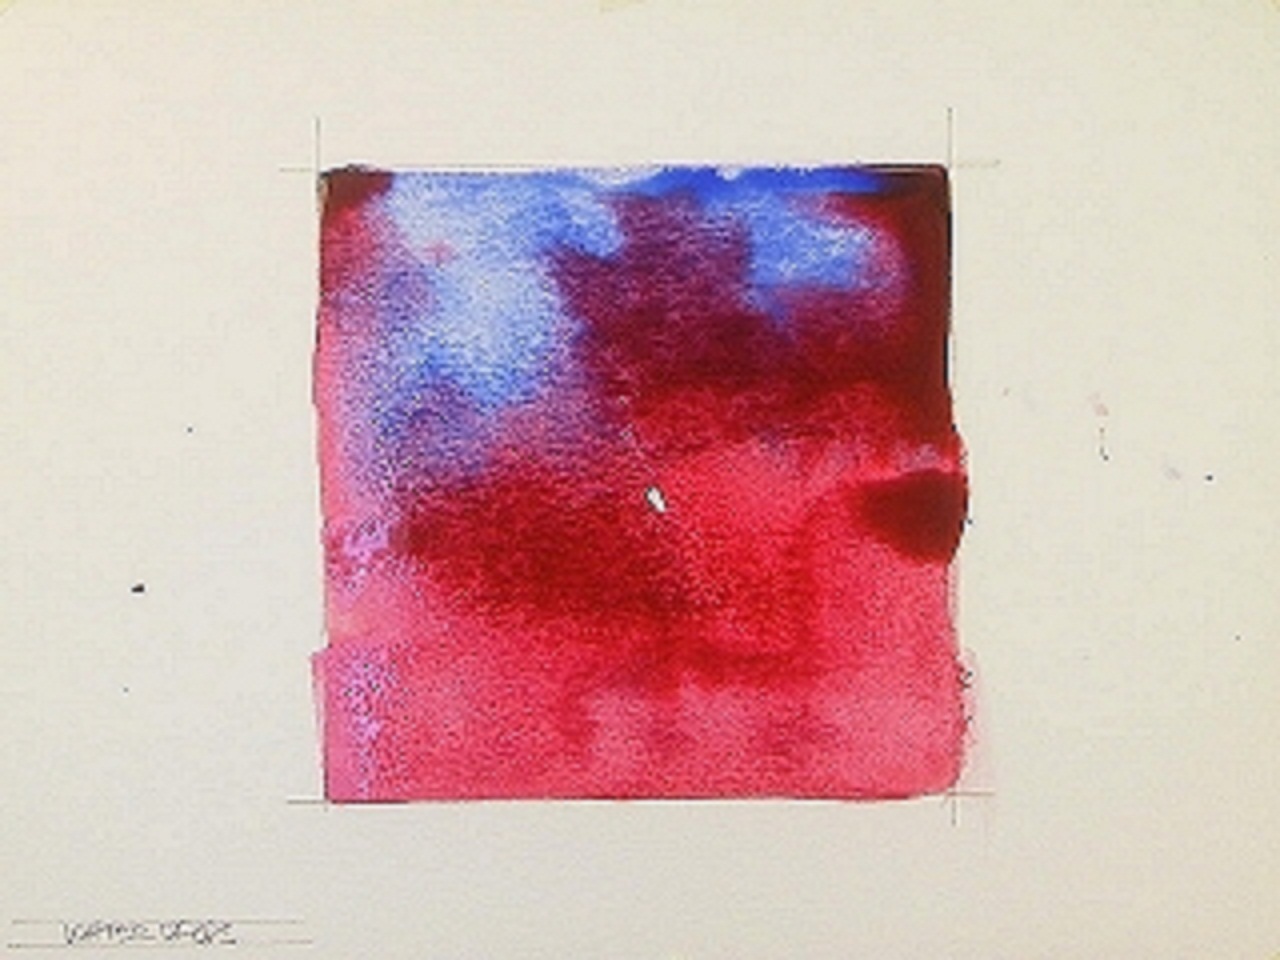
Spreading the Effect
As the washes continued to dry, I dropped clear water on different areas. The degree of dryness of the underlying wash determined how much the clear water affected the area. Click the image to enlarge. Notice the lighter areas within the Cobalt Blue areas and the Permanent Rose areas. Graining is becoming more pronounced in some areas.
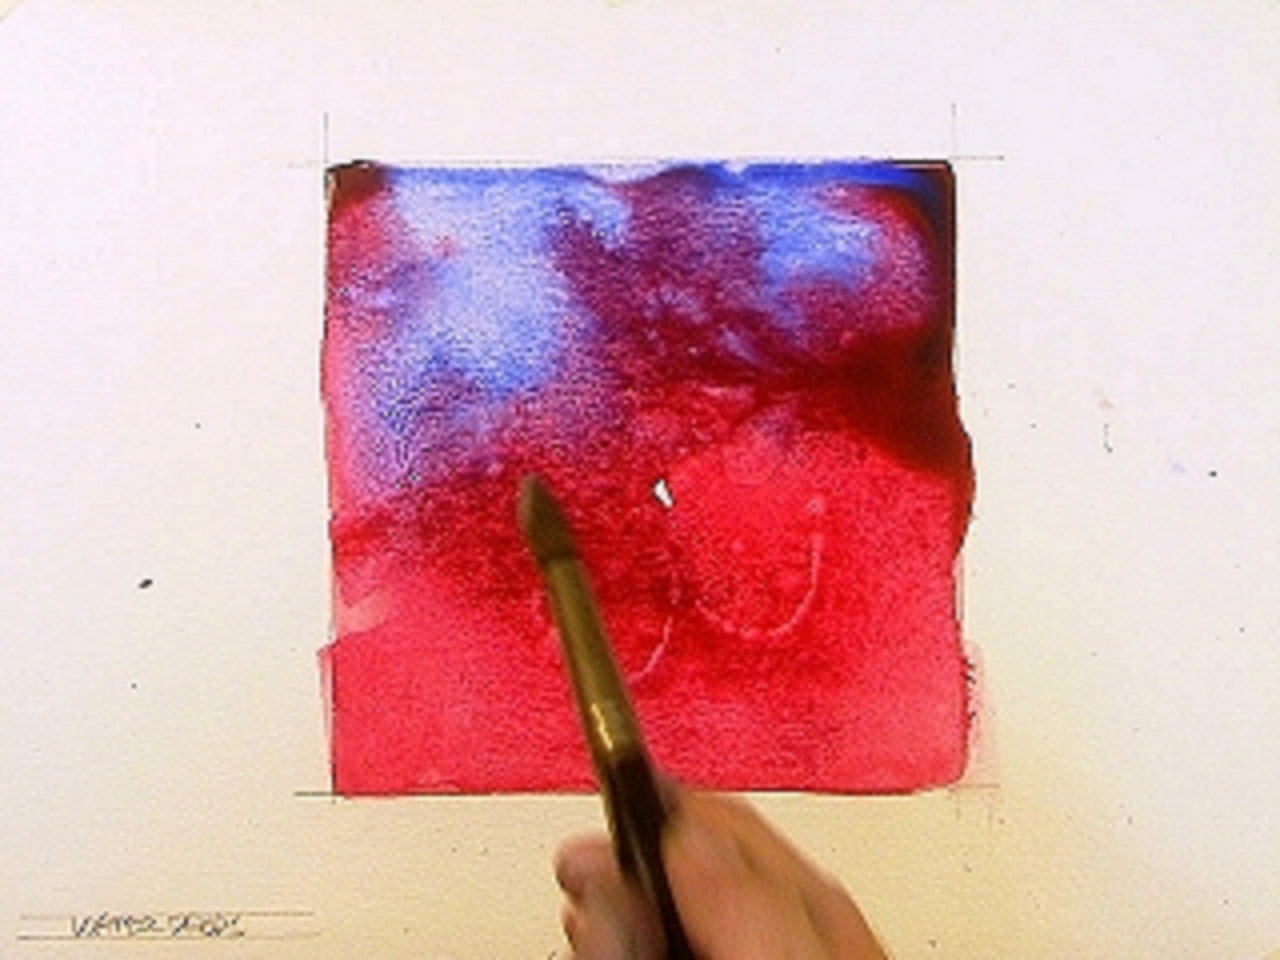
Inducing Backwashes and Hard Edges
As the example continued to dry, I worked the surface with clear water. Backwashes are usually accidental in nature. When you lay two different washes close together and one happens to touch the other, the wetter of the two will flow into other. These accidents can be of the "happy" kind or the "oh, @#!%#!" kind. After reinforcing the "forced" backwashes on the bottom edges, I dropped a little more clear water on the close-to-dry washes.
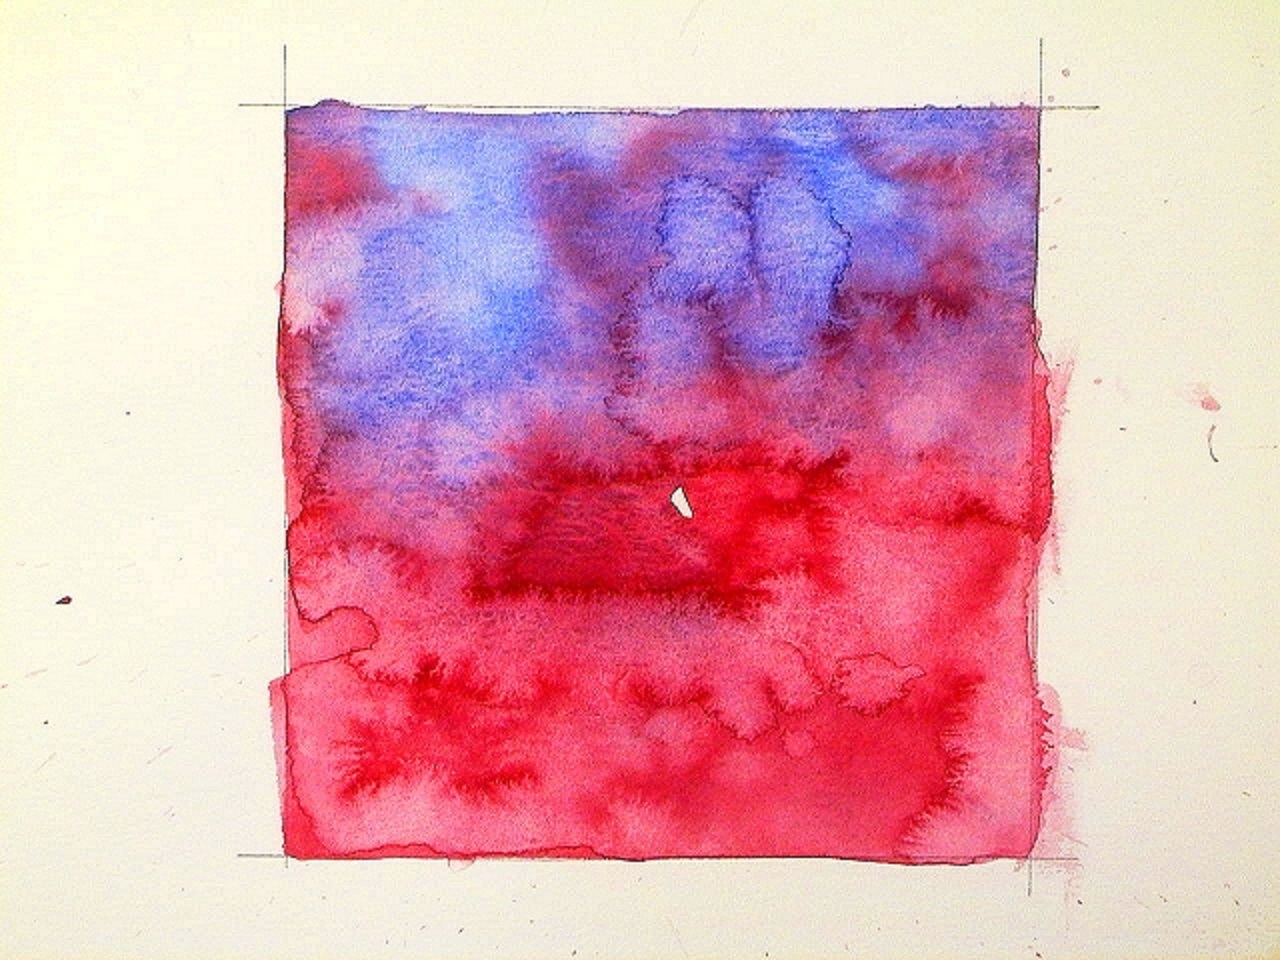
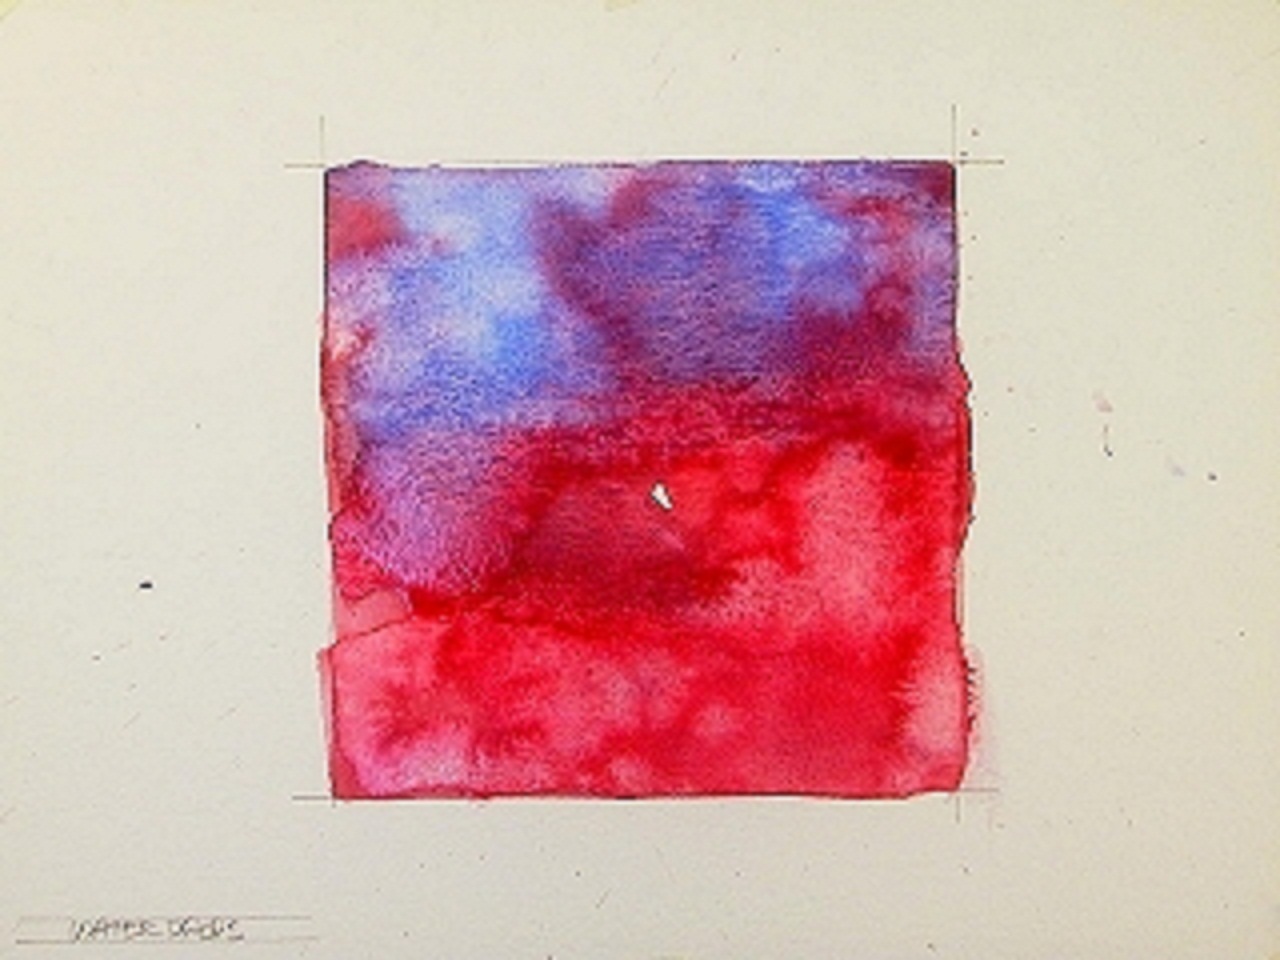
Water Drops and Backwashes
Click image to enlarge. Notice the degrees of difference in the upper Cobalt Blue wash. When the clear water was dropped on a very wet wash (left side), the effect is soft and subtle. When water is dropped just before a wash is dry, the effect is harsh and creates hard edges. The drier wash is less likely to flow back into the water to soften the edge. The bottom backwash areas were achieved by touching the very edge of the rose wash with a brush loaded with clean water. You can see the interesting shapes formed as the Permanent Rose pigment was pushed away and concentrated, leaving behind a "blooming" or "cauliflower" effect.


