Materials and Objective
MATERIALS: Arches 140lb cold press watercolor paper, iodized table salt, Grumbacher 1" flat red sable. A small square of dry cellulose sponge. COLORS (various manufacturers): Alizarin Crimson, Cobalt Blue, Sap Green.
Start With a Painting
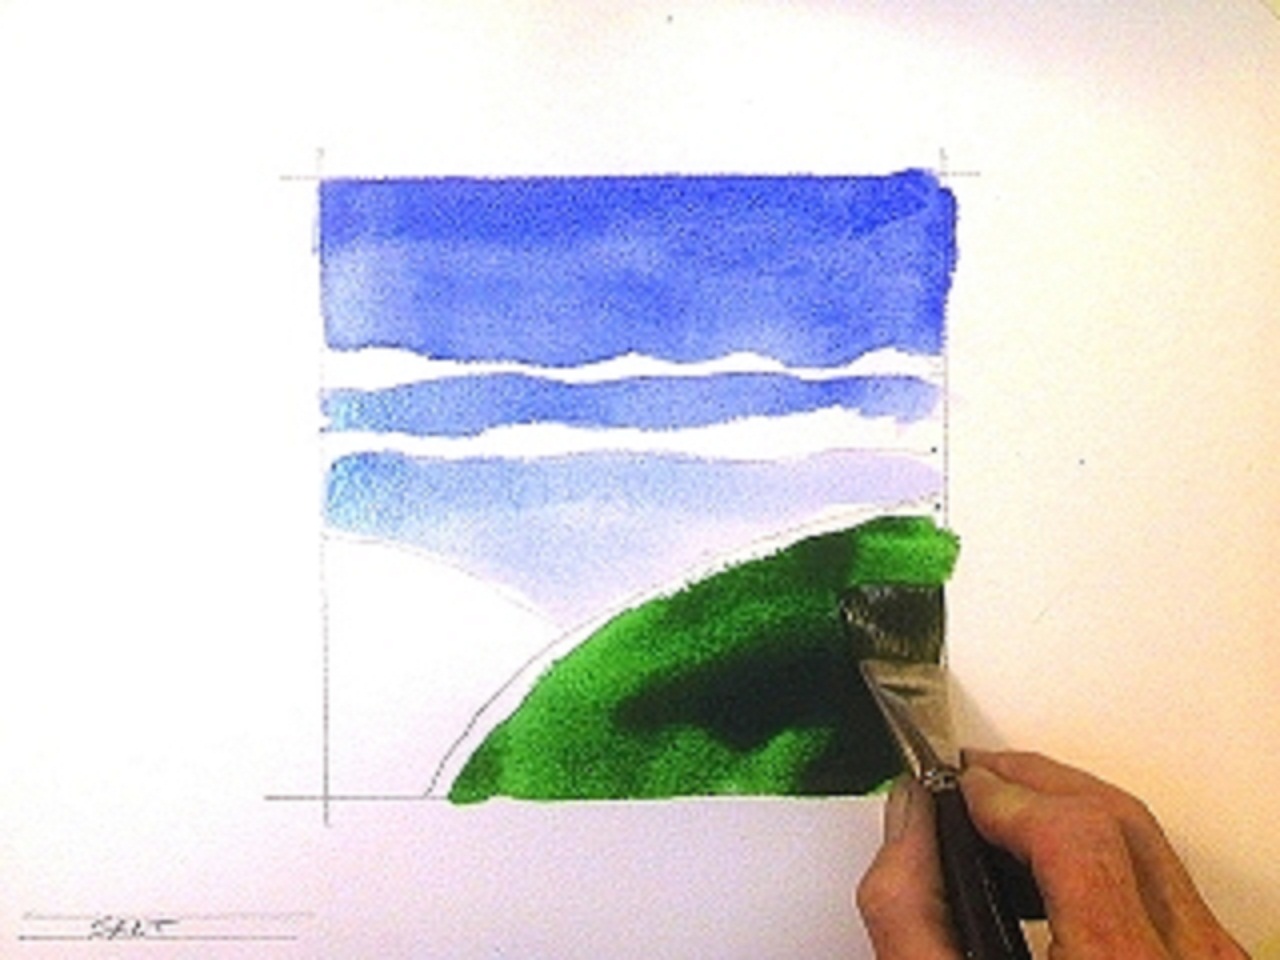
Using a 1" flat red sable, I use washes of Cobalt Blue to paint a sky area. I graded the sky using lighter bands of Cobalt Blue closer to the horizon. Using straight Sap Green, I blocked in the hill in the bottom right corner.
The Hills Ran Crimson
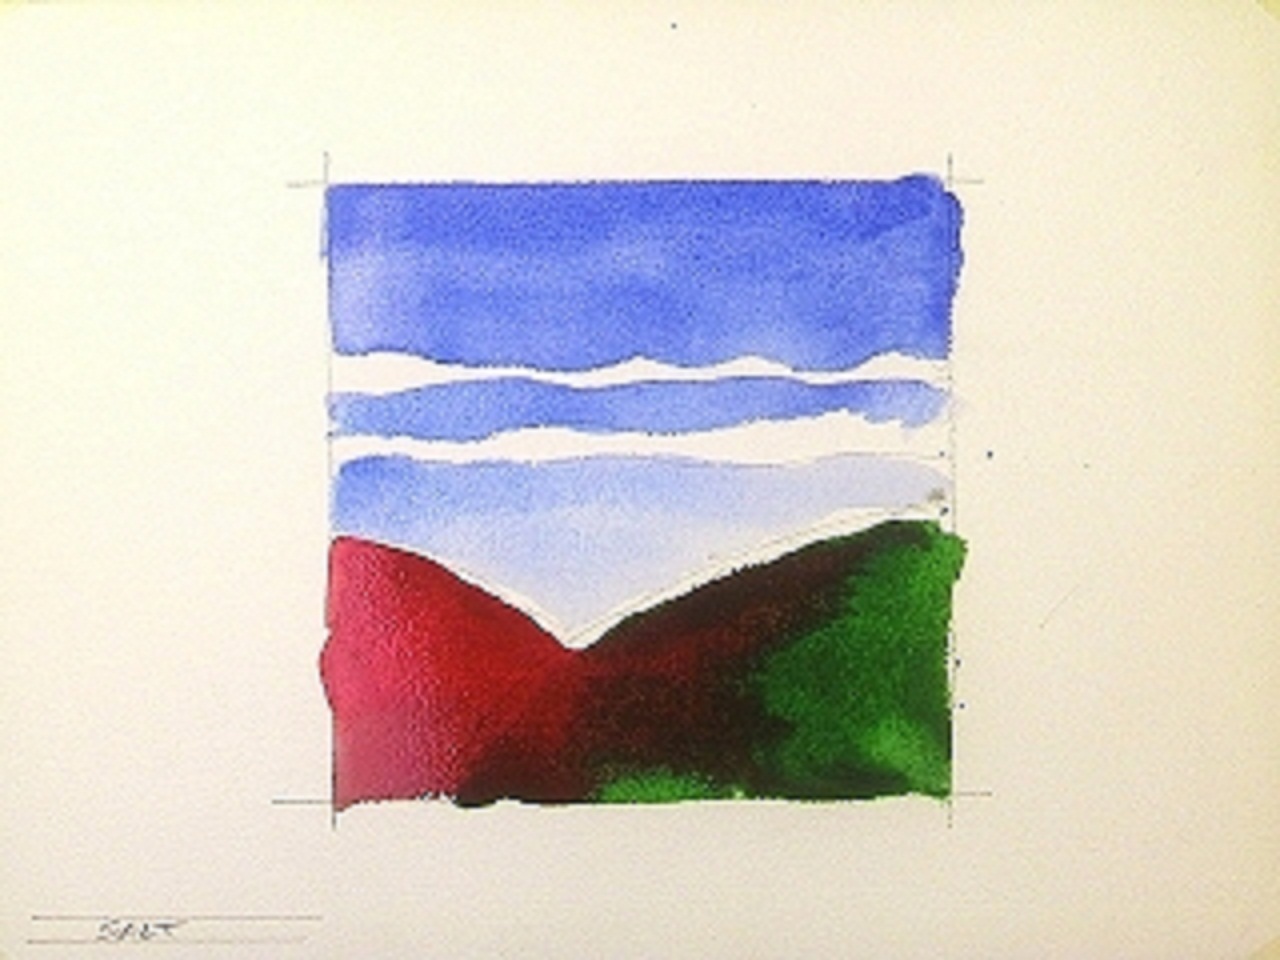
I washed in the Alizarin Crimson hill on the left and pulled a stroke up the top edge of the Sap Green hill a bit. I let the Sap Green and Alizarin Crimson battle it out where they met in the middle.
When it Rains...
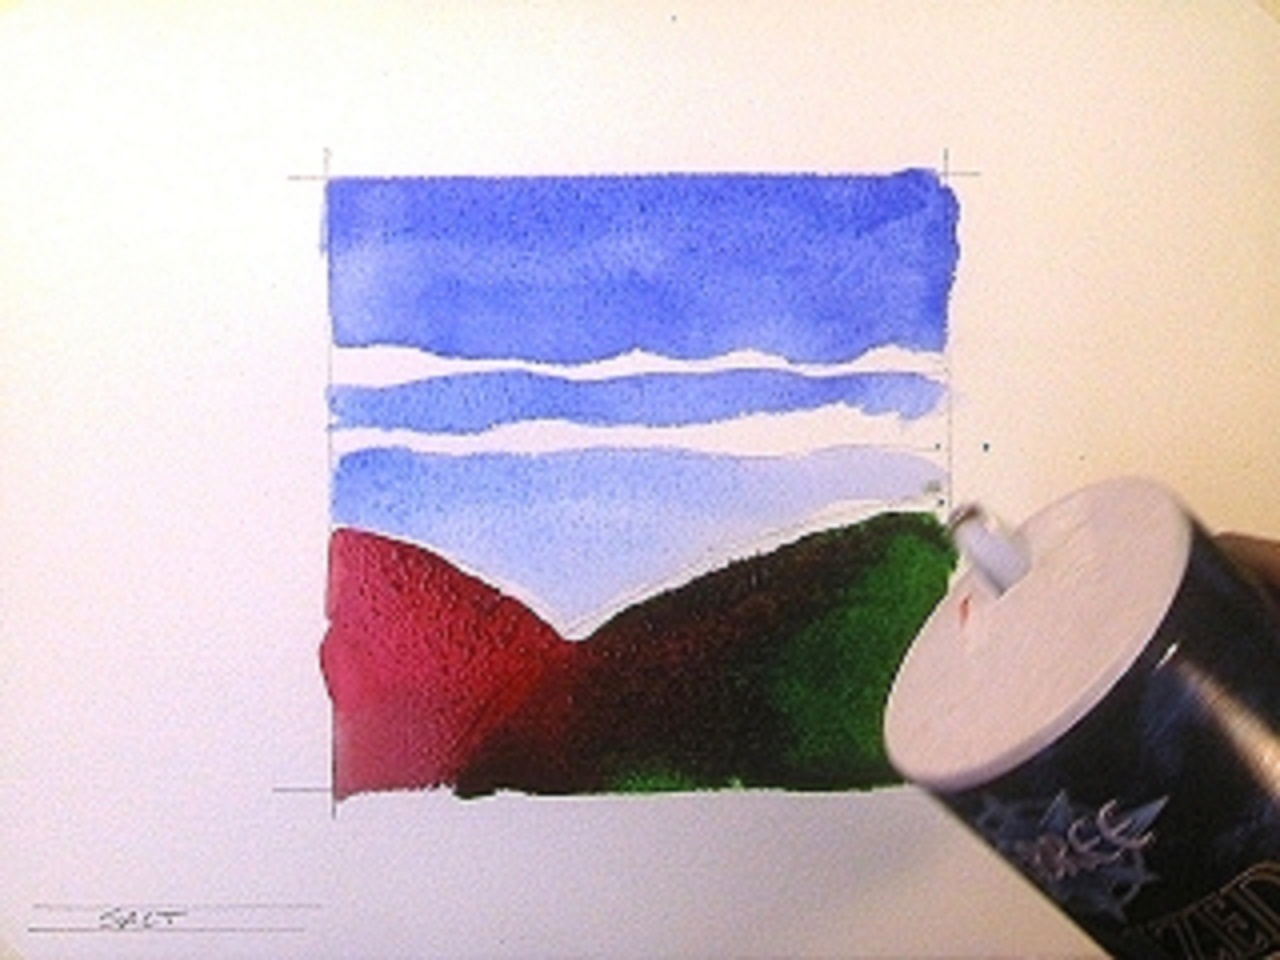
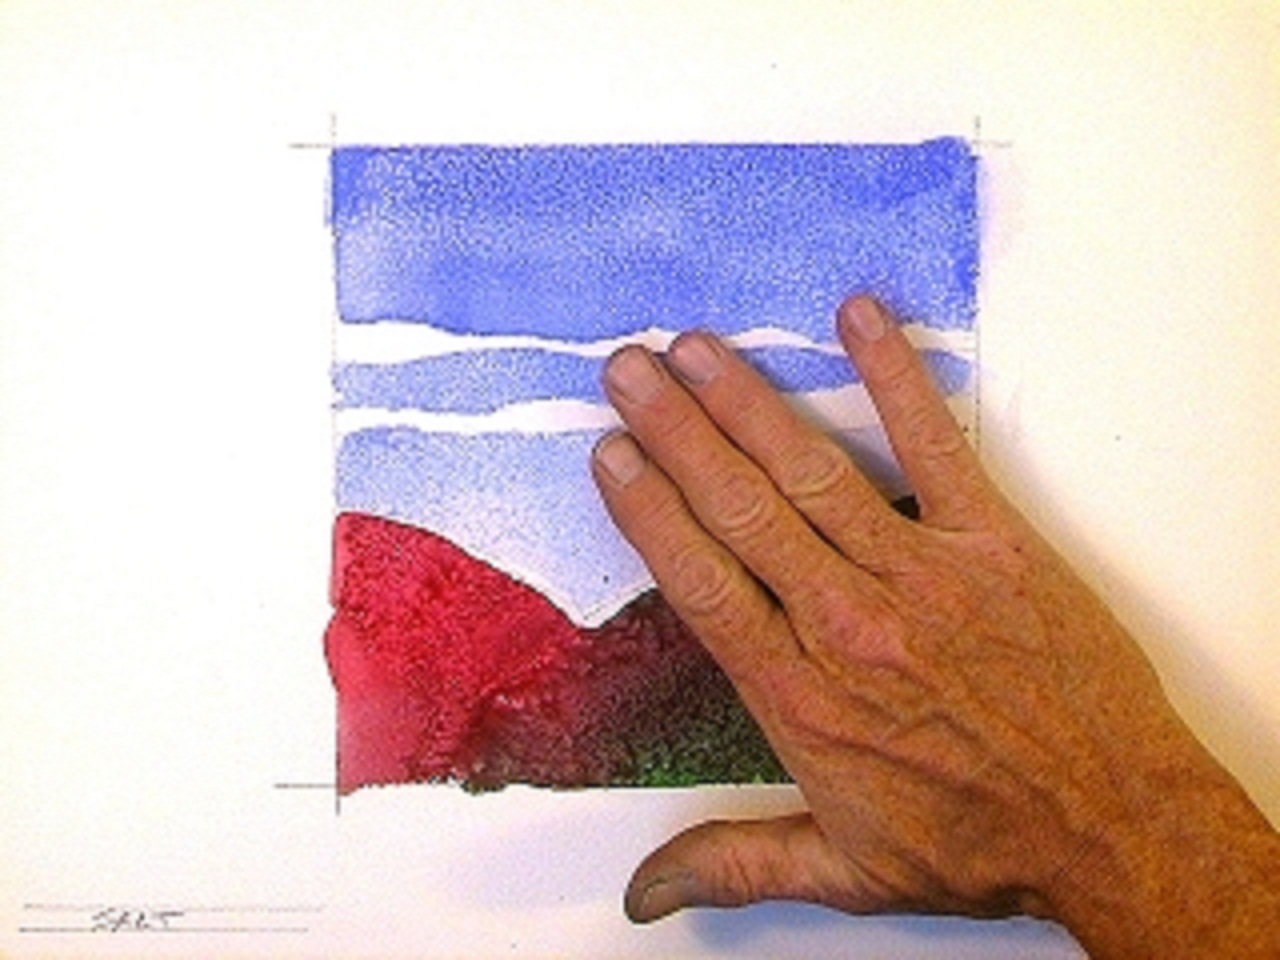
Holding my new tool, a canister of salt, I slipped open the metal spout and tried a few light dustings of salt and watched. Hmmm... there's salt sitting in puddles of paint. Looking like...salt sitting in puddles of paint. As the minutes passed, I decided to add a bit more salt to the heavier areas of wash on the bottom.
Wow, I'm Impressed!
There's not much happening at this stage. So now I watch the drying to see what happens. There were a few areas I'd left to drop the salt on when almost dry. I dropped a bit of salt in those areas. I set it aside to dry thoroughly.
Pass the Salt, Please
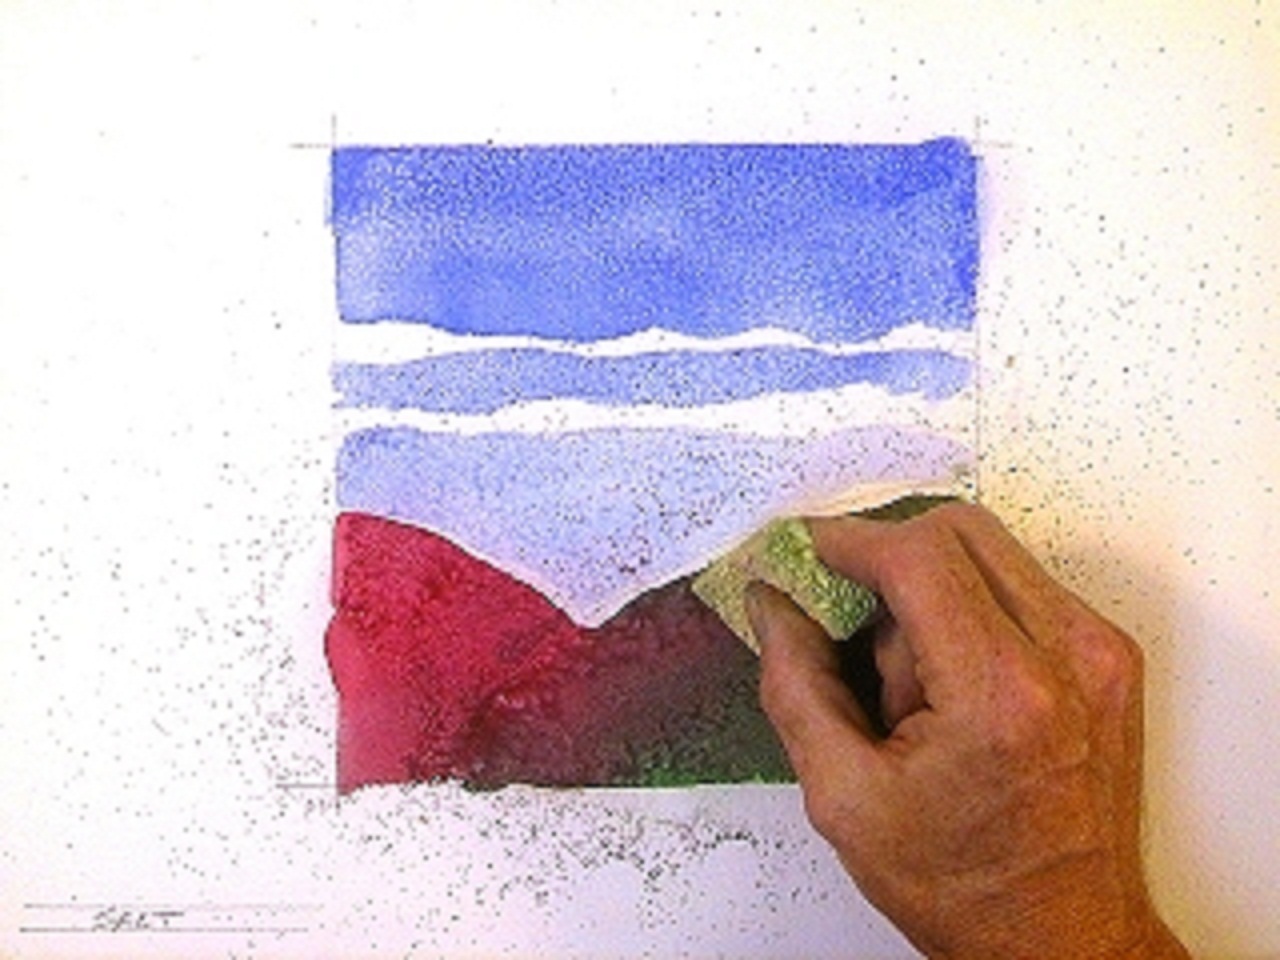
As the painting dried, the salt's effect on the watercolor washes became visible. But there was salt stuck all over my painting! Using a clean dry hand, I gently started brushing away the salt from the sky area. As I got to the hill sections heaviest with salt it felt like I was sanding my skin off! There was more available binder (gum arabic) in the more intense washes which held the salt tight. Change of plans.
The Proper Tool for the Job
I cut a dry cellulose sponge into a small square to uses as a surrogate for my skin. This enabled me to quickly and gently rub away the remaining salt. When removing any abrasive from your paint (salt, sand, etc.), take care not to scratch the painting's surface. Brush lightly.
The Salt Watercolor Texture Effect
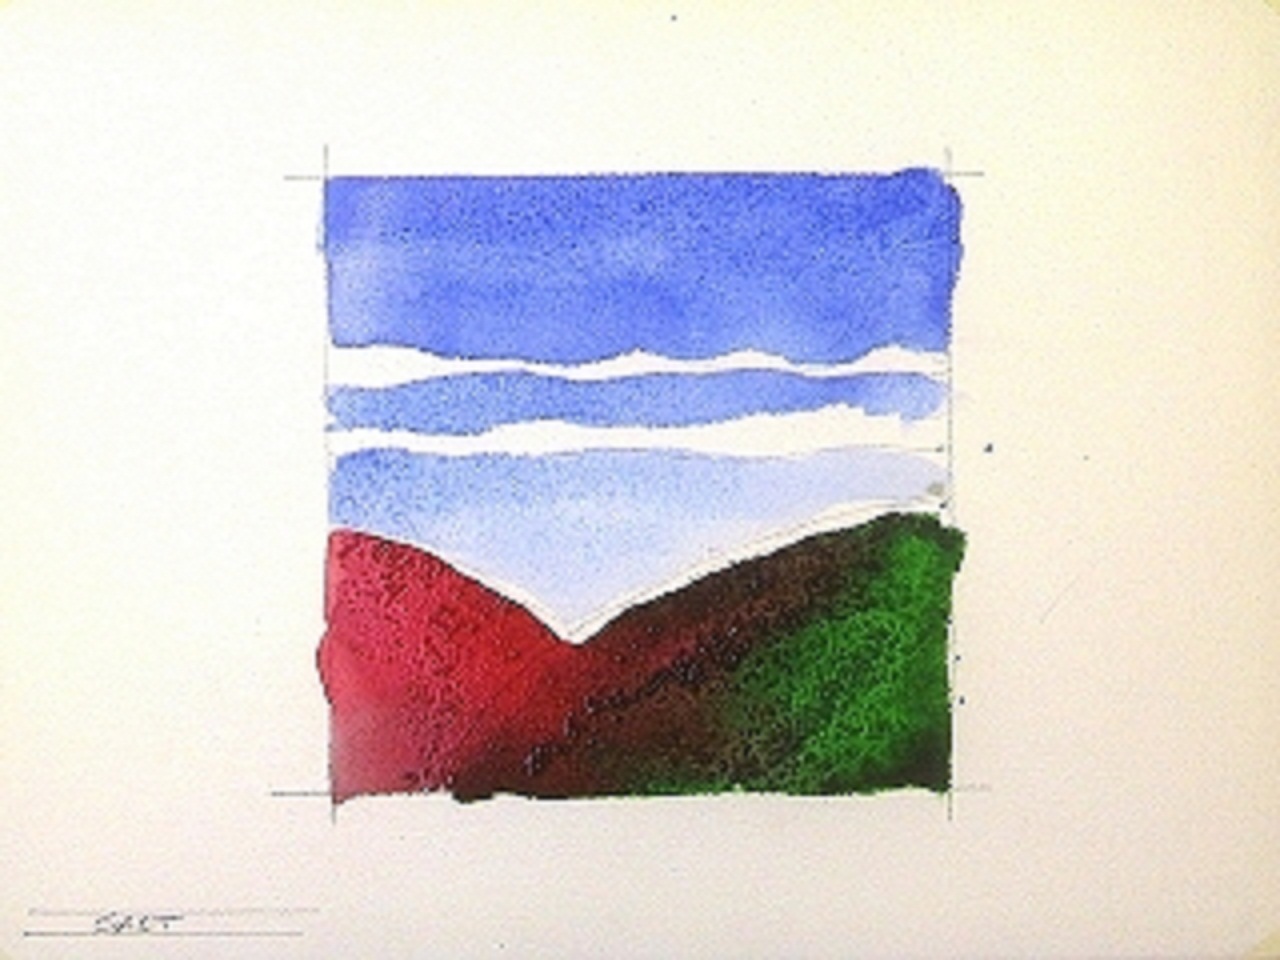
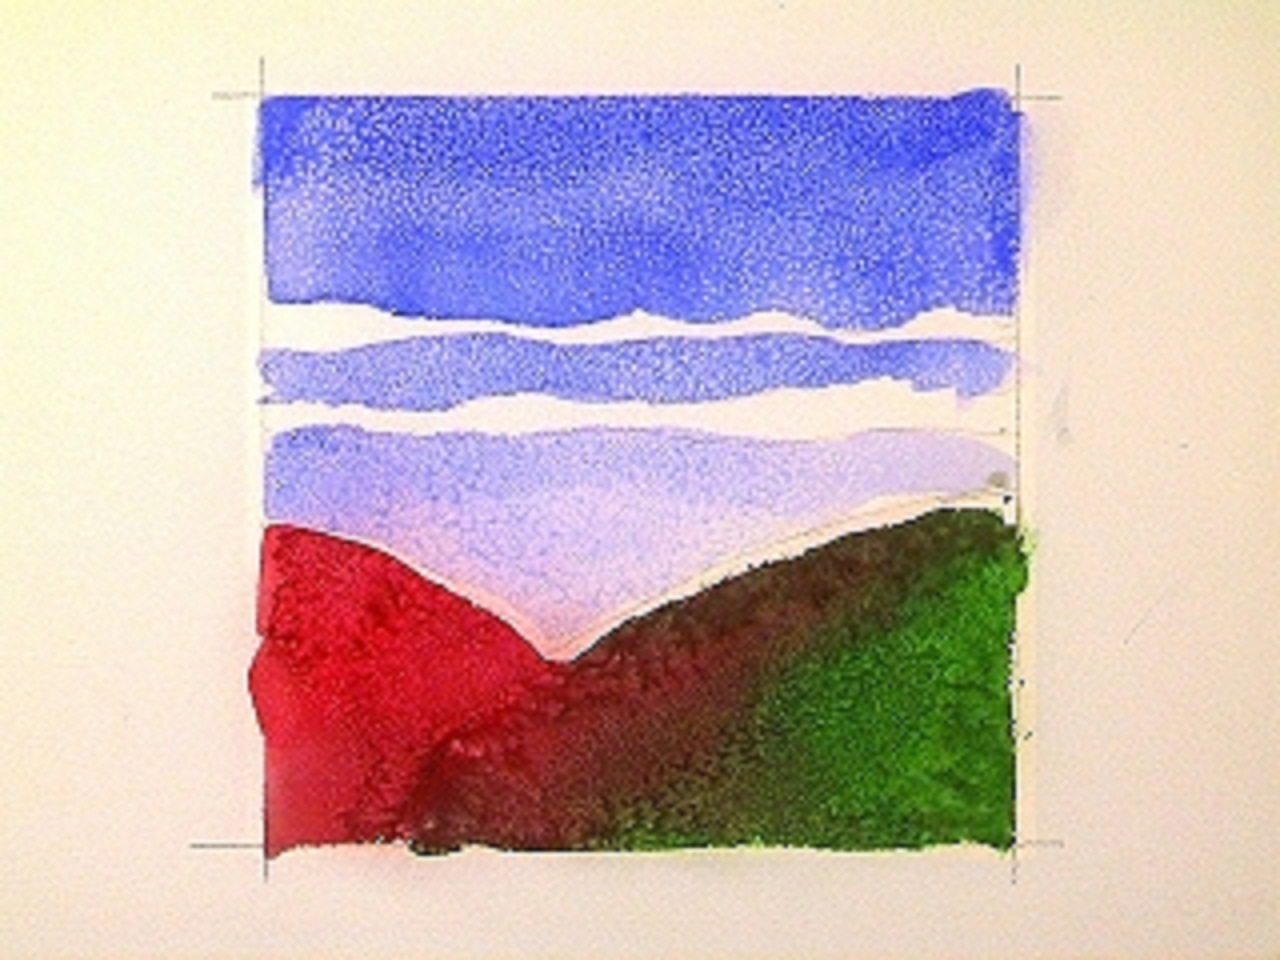
Click image to enlarge. As the washes dry the salt crystals suck up pigment gradually, creating a myriad of light star-like shapes. This is most noticeable in the sky areas and was less effective, and different, in the darker areas. Experiment with various types of salt: table salt (iodized and non-iodized), sea salt, rock salt, kosher salt, etc. Larger-grained salt will produce a larger, more pronounced starring effect. I have no idea how salt affects the longevity of your art. Considering salt's corrosive nature, I would think over time it may interact with pigments and natural paper fibers in an unintended way. For more on how to use this cool salt technique in real watercolor paintings, check out these examples: 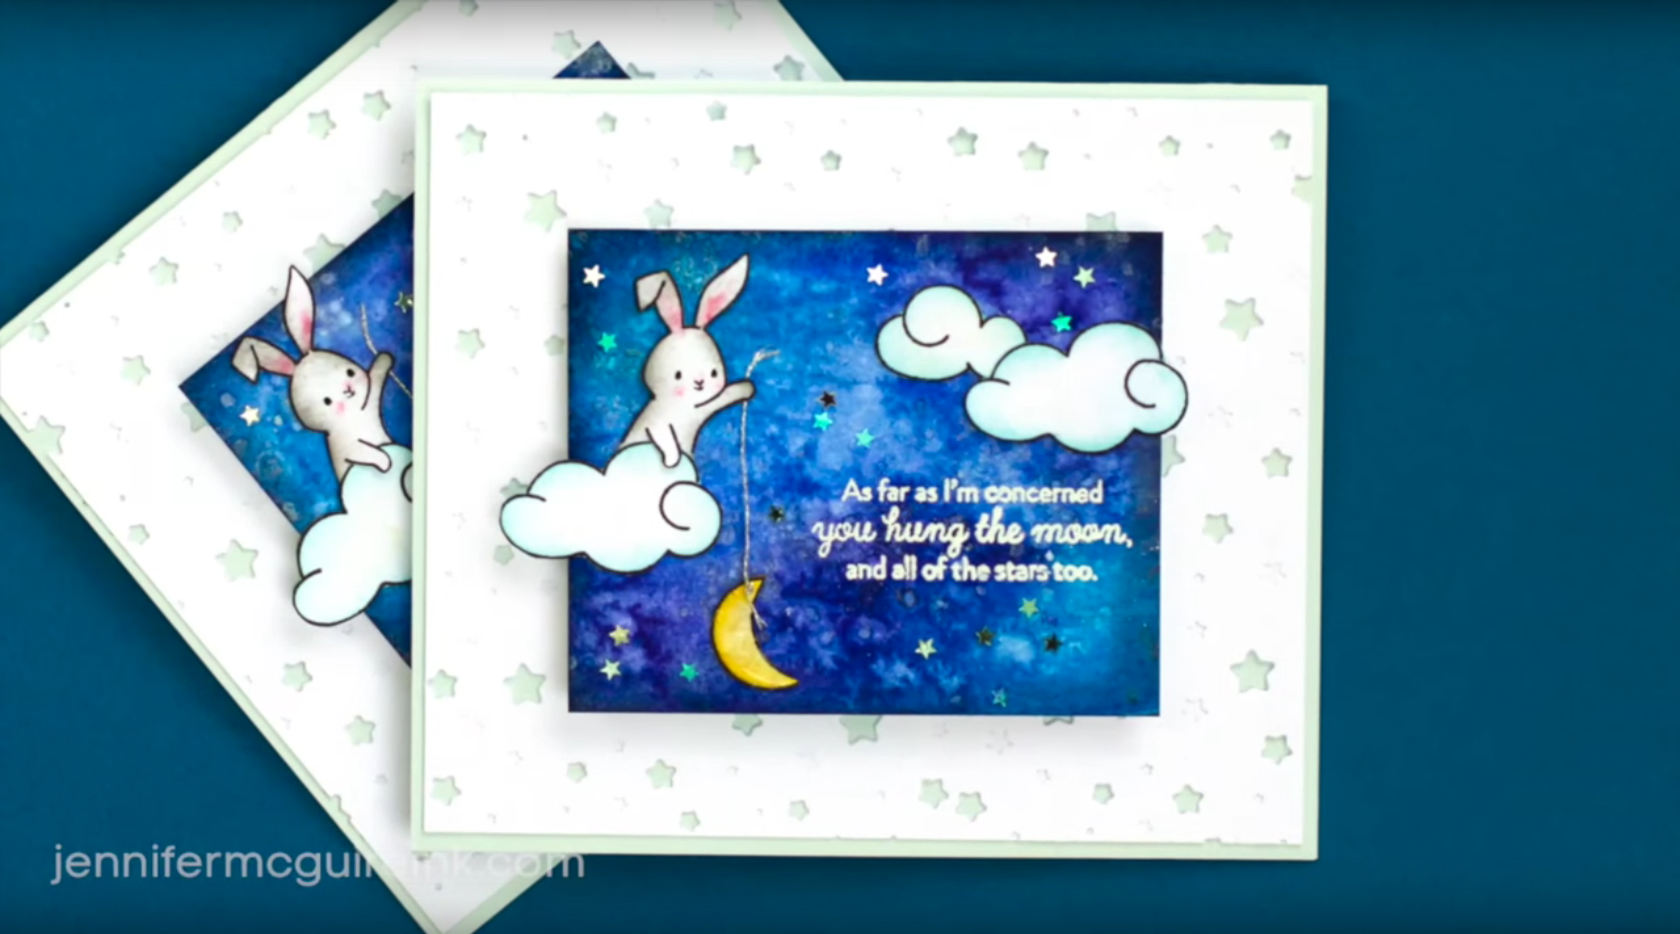 Creating a Watercolor Card Using the Salt Technique
 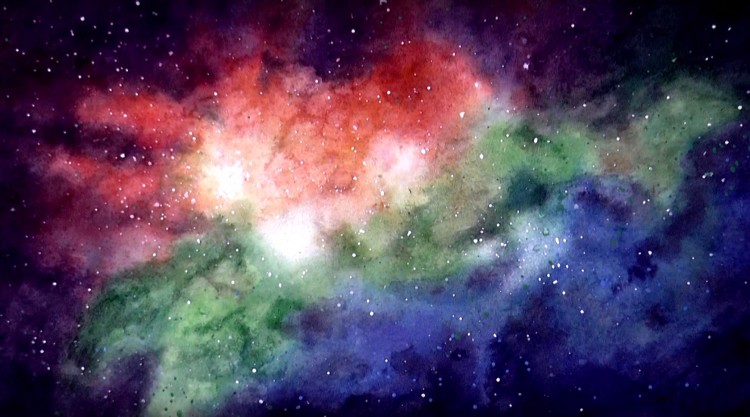 Step-by-Step Nebula & Stars in a Galaxy
