Materials and intentions
- Tracing Paper
- #1 or #2 (soft) Drawing or writing pencil
- Graphite stick - 4B or softer (optional)
- Ballpoint pen - (I used red)
- Plain Facial Tissues
- Masking tape
Requirements:
- A painting that's not quite "there" yet.
- The desire to finish the painting
- Some ideas to try

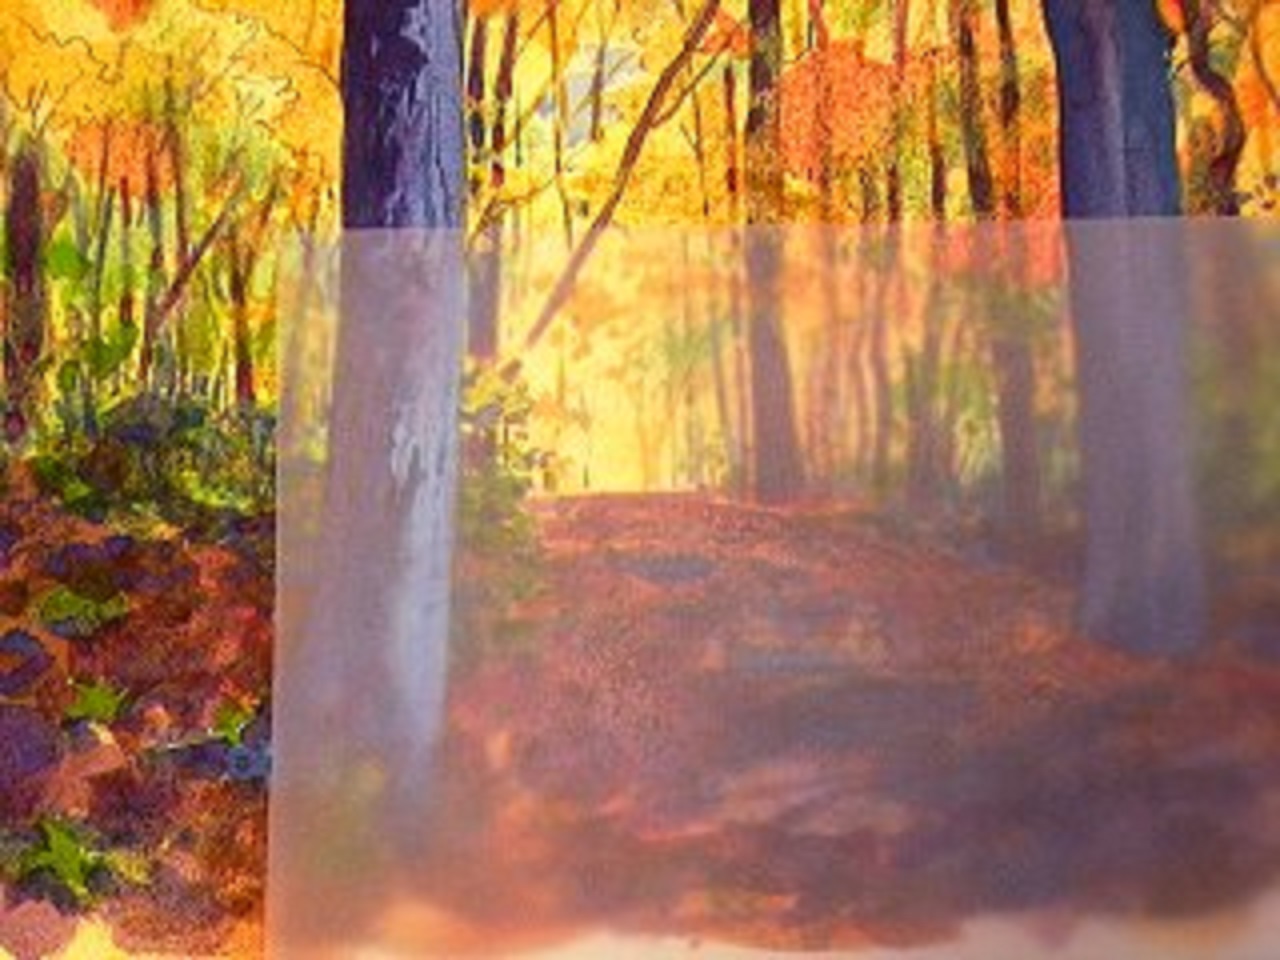
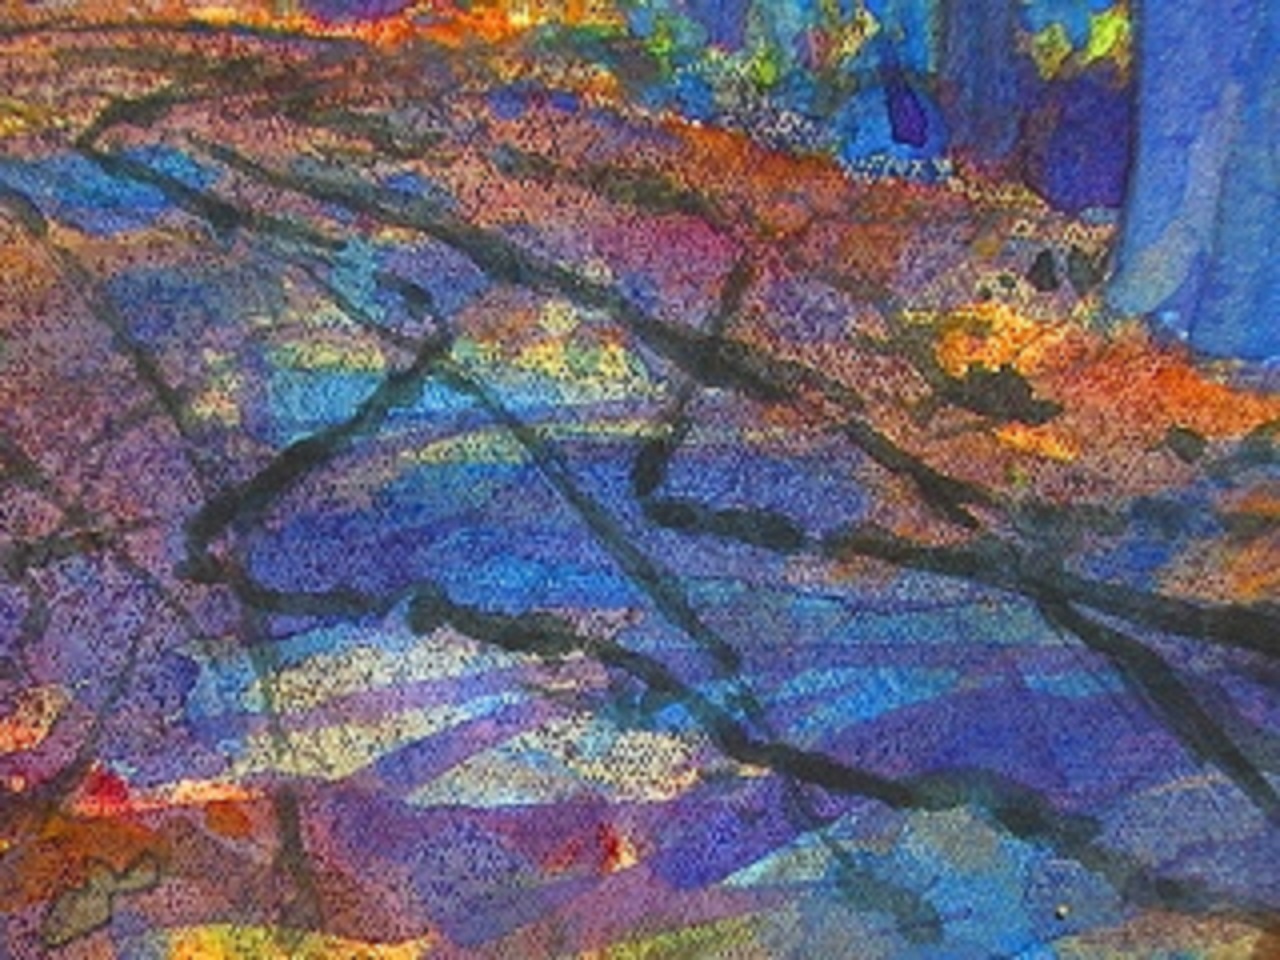
BEFORE: Focal point without a payoff
This painting (see above) had laid around the studio for a few months collecting dust and cat hair. It was an O.K. painting as it was, but after living with it for a time I decided there were some simple additions I could add to "complete" this painting. All elements in the woods scene were working to pull you straight down the muddy path to...what? An empty spot (see left.) And not a very interesting trip there either…
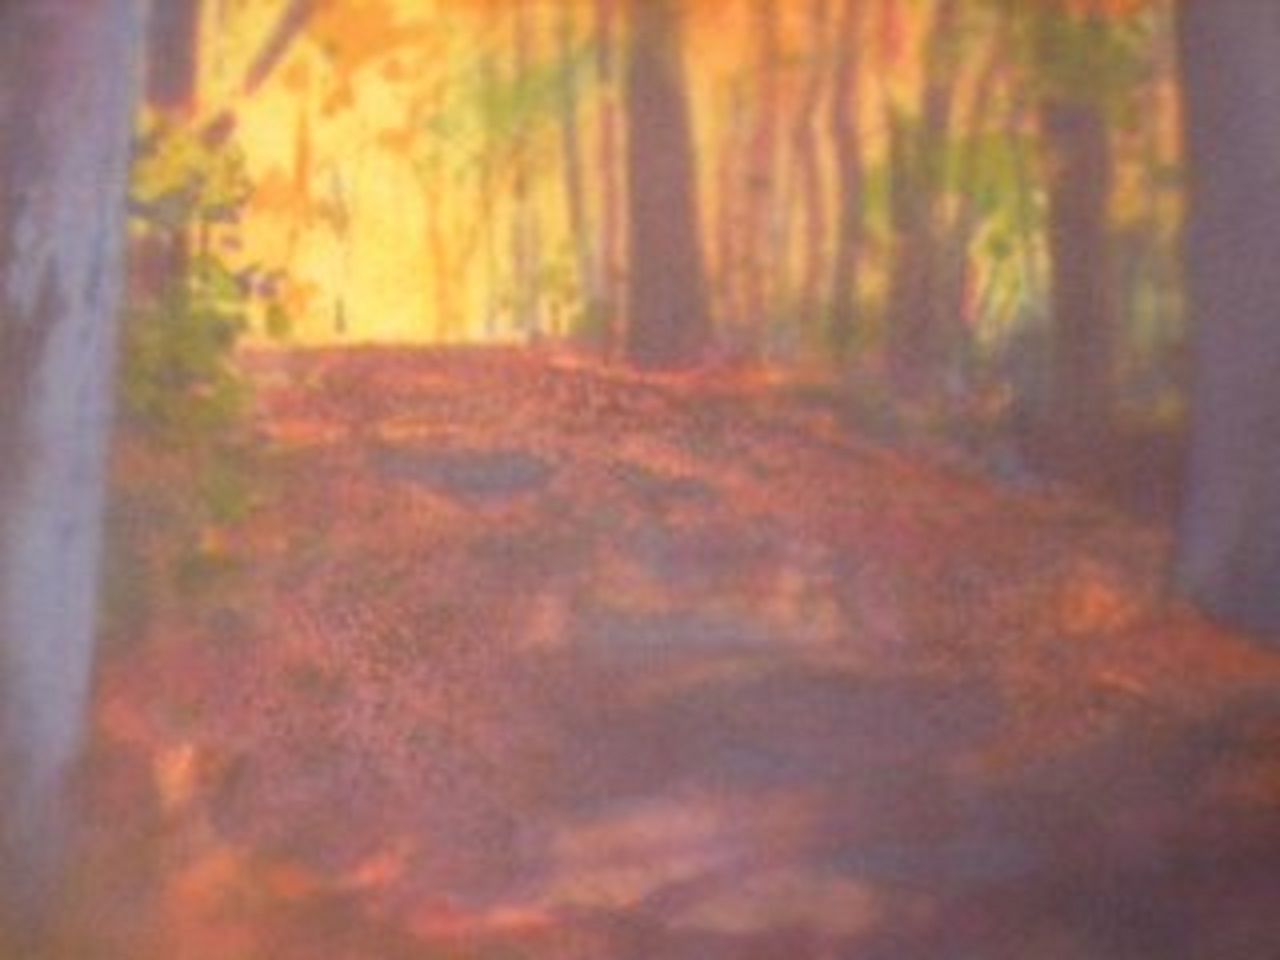
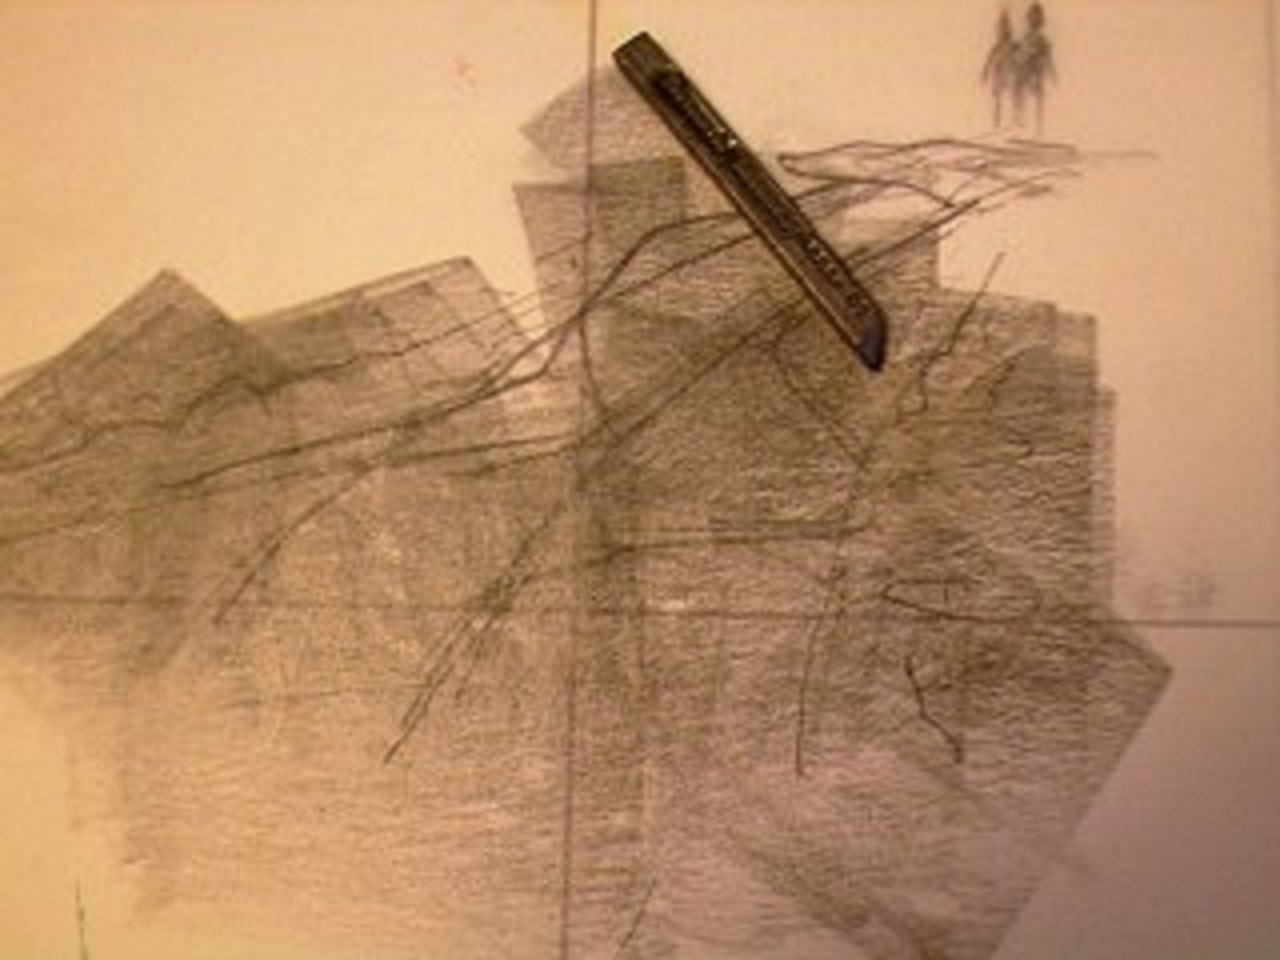
Laying down some paper
Something was missing. The setting looked rather ominous in spite of all the bright fall colors. I felt like anything could come tearing over the crest of the hill at any moment. Giving it some thought, I started by laying some tracing paper over the area I was going to work on. I used some masking tape to gently tape a couple edges down to keep the tracing paper in position.
Can you see what you're doing?
Your tracing paper should be translucent enough to see the basic details of your underlying painting. If you have a light box to work with, heavier papers such as layout or plain bond paper can be used in a darkened room..
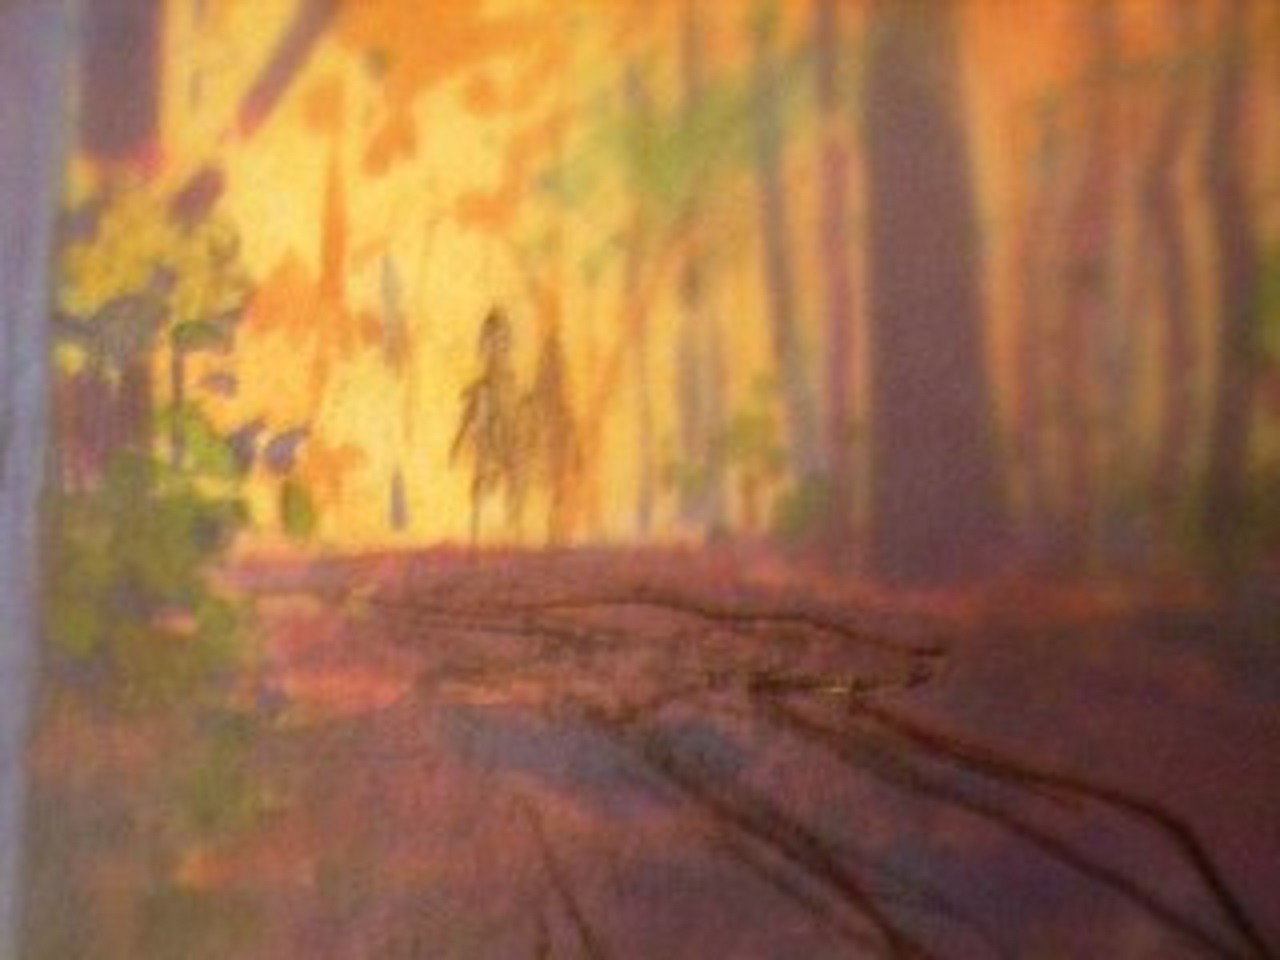
Elements of interest
By this time I had decided to add a strolling pair of figures in silhouette. With this watercolor technique, I can try on the idea without risking the painting. I loosely drew in some figures on the tracing paper. Just some basic human forms. I wanted to give the impression of the figures walking away from the viewer, but that was secondary to setting the scale of the scene by deciding on the height of the people in the distance. The middle and foreground seemed fairly non-descript so...
Maybe a little tracking...
To show evidence of others enjoying the park I doodled in some muddy tracks. The figures established that the path was just wide enough for an access road so I added some indications automotive tracks. I threw in some random bicycle or motorcycle ruts because that's what I usually trip on.
Flipping and rubbing
To prepare your new design elements for transfer you need to turn your tracing paper into transfer paper. Any soft lead graphite instrument will do. I use graphite sticks because you can cover large areas quickly by using the side of the stick. On a flat, smooth surface such as the back of a drawing pad or scrap foam board, flip your tracing paper over and rub graphite over the areas where your lines are. Remember, you are coating the BACK of the drawing with a fairly dense coat of graphite.
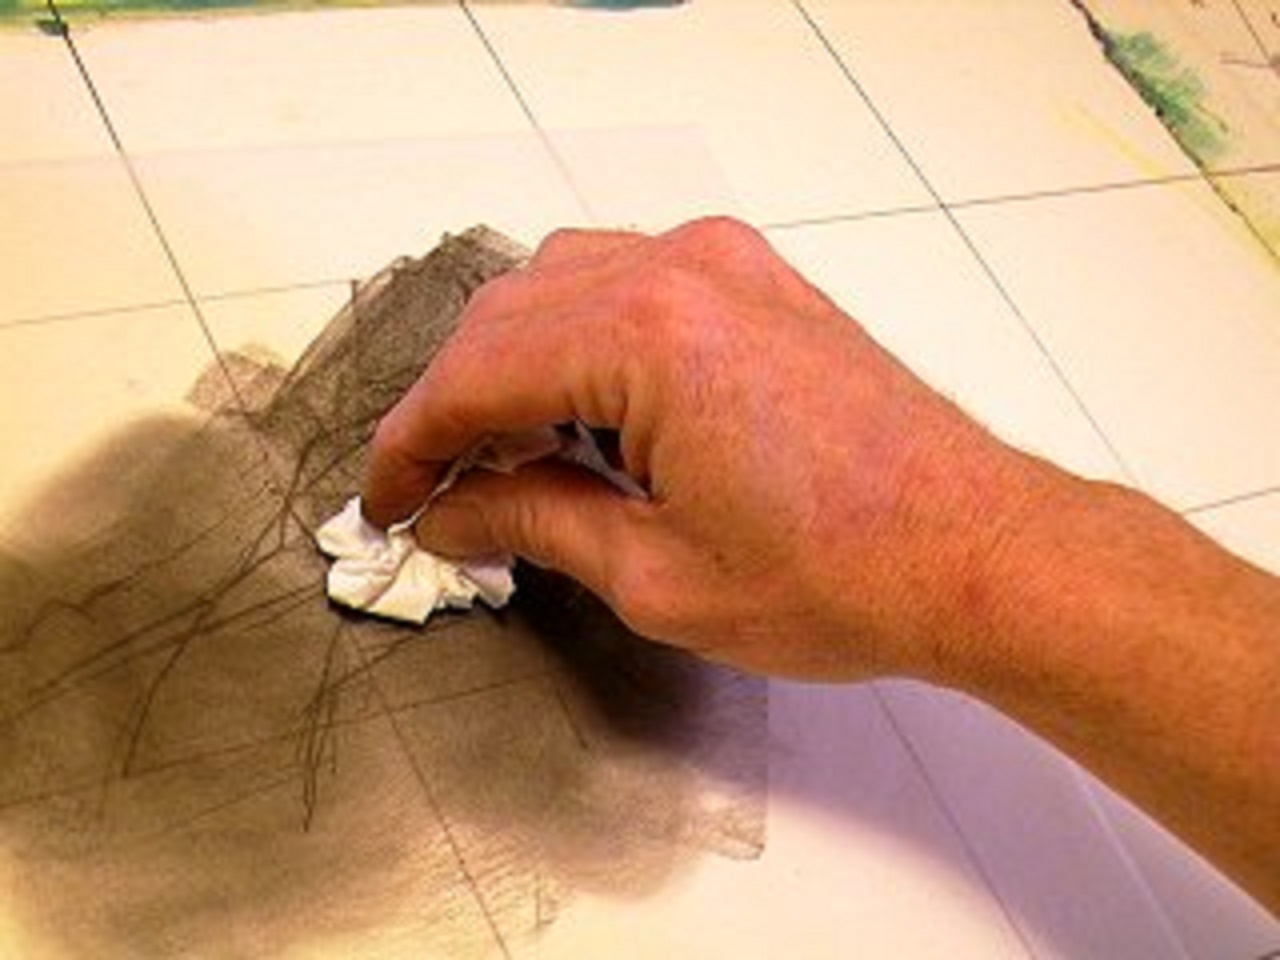
Distribute evenly
After you've coated the paper with graphite you need to even out the graphite coating and smooth away the graphite dust. Take a wadded tissue and, using a circular motion, smooth the graphite into the tooth of the tracing paper. Make sure all areas to be transferred to the painting are covered. Shake any excess graphite dust into the trash can.
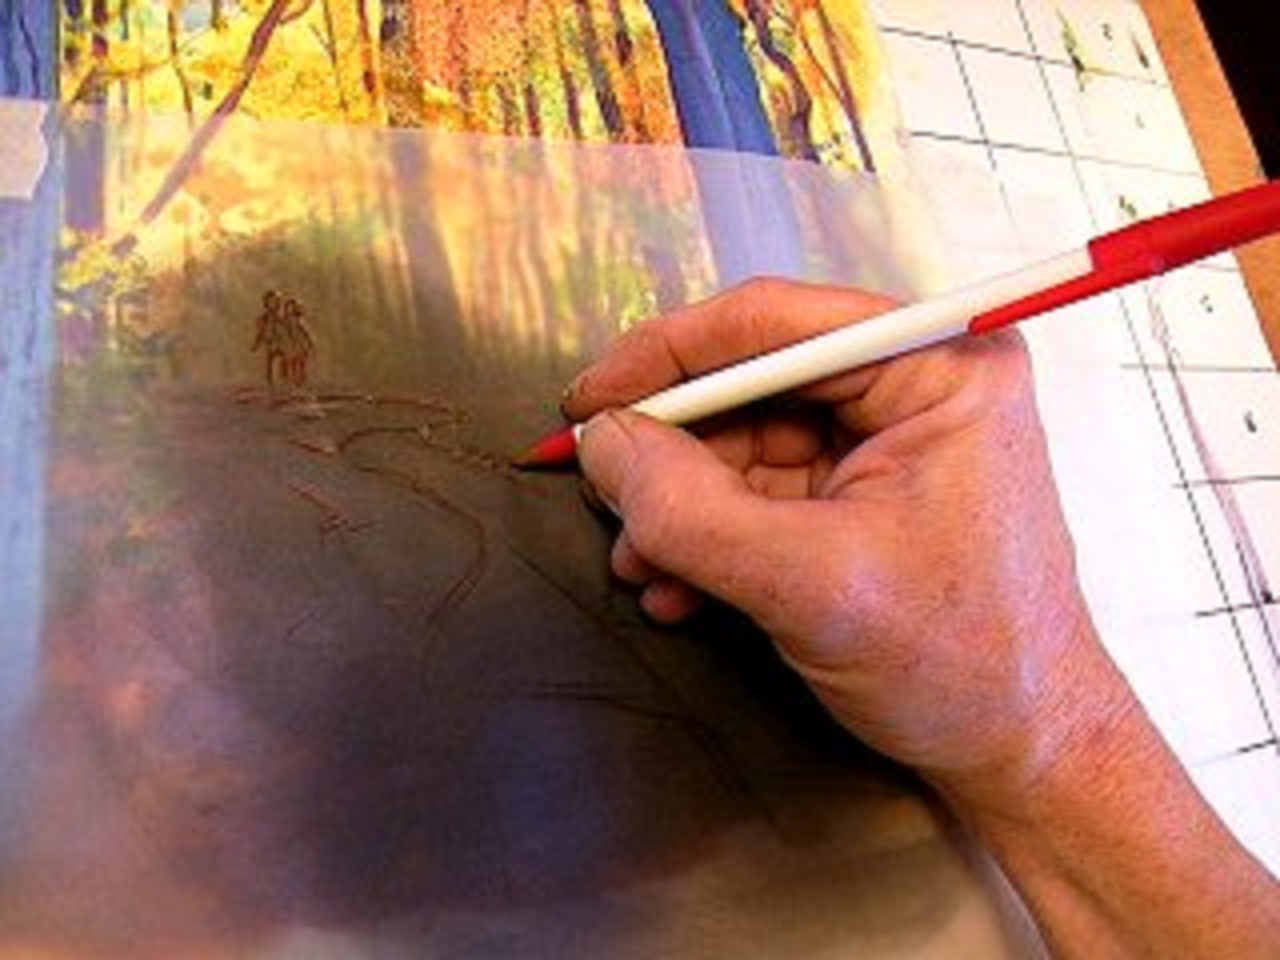
Getting it on the painting
Take your "cartoon"; and position it on your painting. Tape an edge or two down, gently. Trace your design using a ball point pen and a light touch. I use a red pen because it's easier for me to see. Use moderate pressure when tracing. Too much pressure can bruise grooves into the surface of your watercolor paper. The dents can show up as dark lines if painted over.
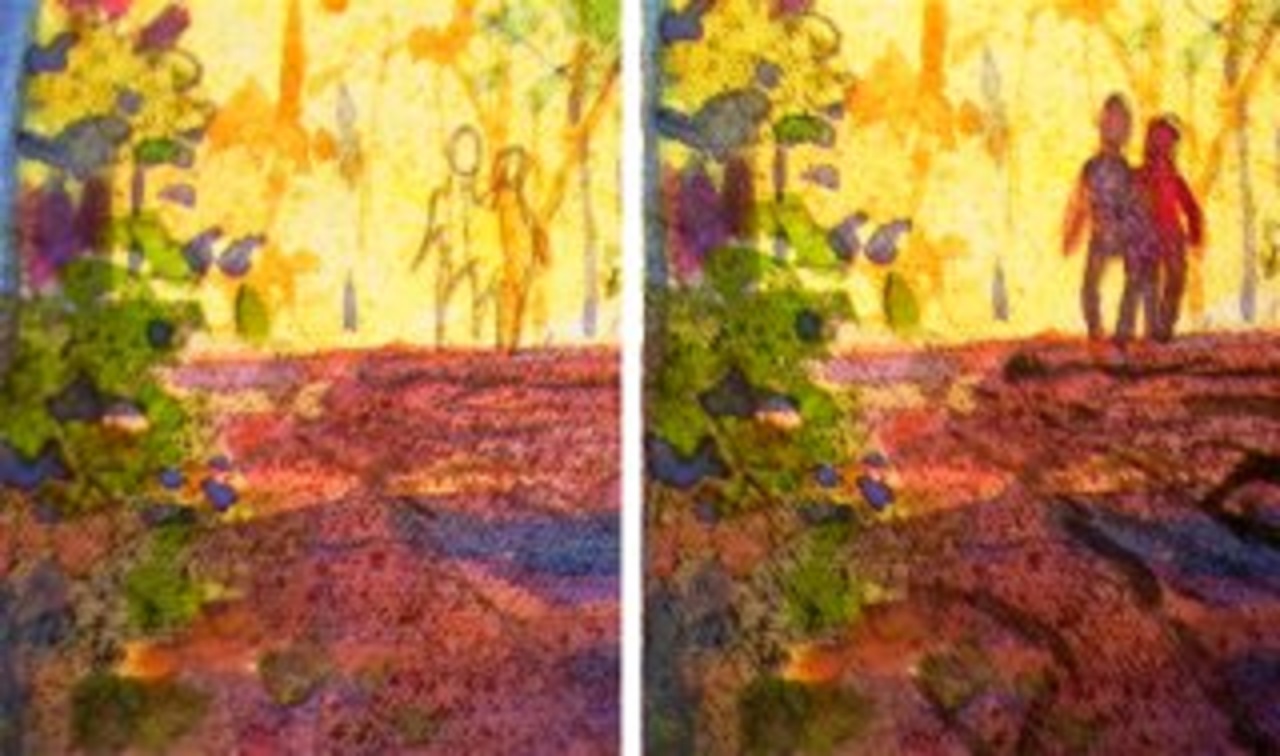
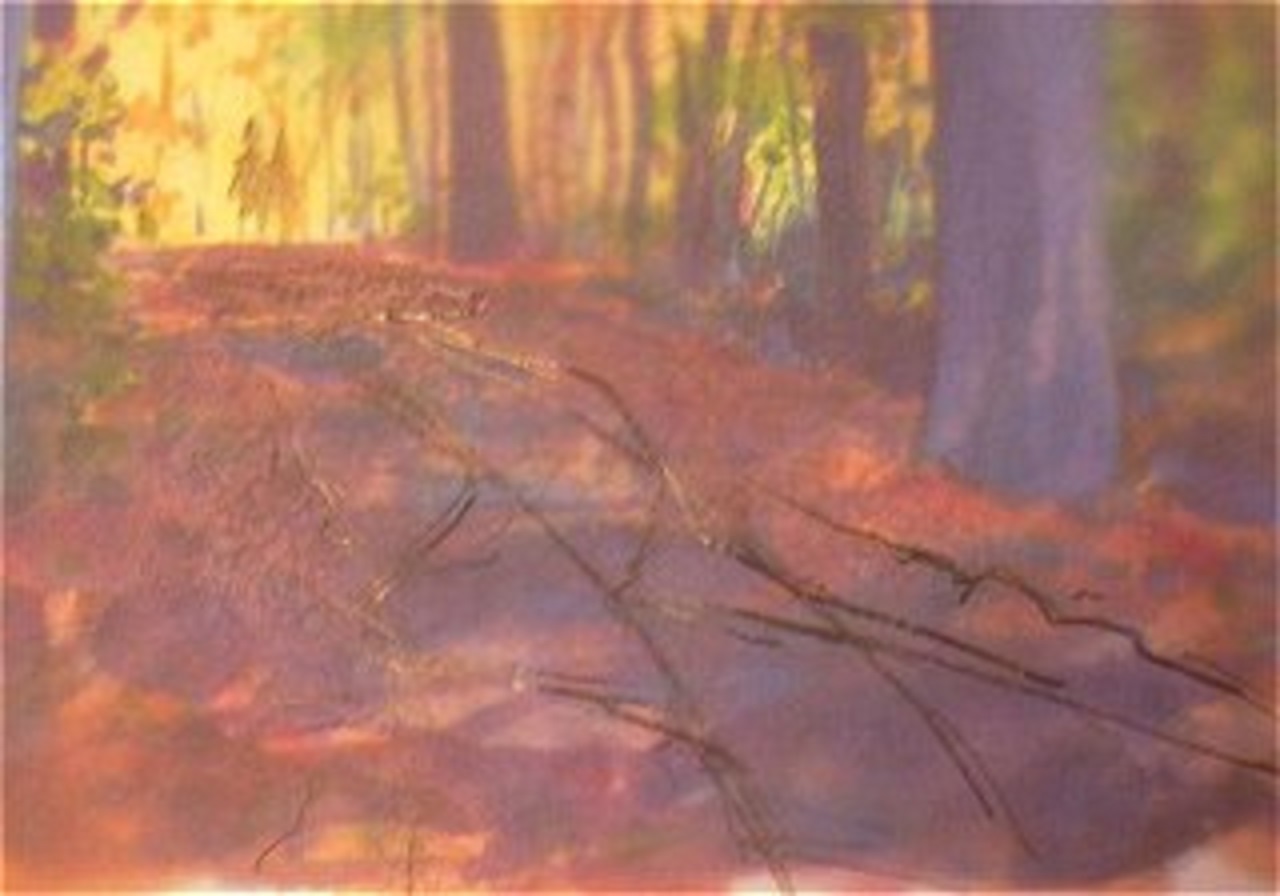
Interest added: background
On the far left you can see the transferred image of the figures. I refine the drawing at this point by working over the transferred areas with pencil. On the immediate left you have the finished figures. I used three colors, raw sienna, dioxazine purple, and cadmium red to quickly paint in the figures in a loose manner. These were painted with a #4 round sable brush. The figures are really nothing more than indications of people. People shapes. Although they are in silhouette, the colors suggest details that aren't really there.
Interest added: foreground and middleground
I decided to approximate the trail tracks left by previous mechanized hikers. I've seen them before, but I've never really studied them in depth. A ruts a rut, eh? A fairly dark mix of pthalocyanine green, alizarin crimson, and a little ivory black was used to get some interesting grays. I used a lighter gray to rough in the lines and then intensified the darks where needed. After the painting dried thoroughly I removed any excess pencil marks with a kneaded eraser.

AFTER: A different perspective
The visual flow of the original painting (click image below) reads vertically, right up the big blue tree trunk (left of center), off the page, and back down the tree on the right to the path, which leads you to the middle of the page. With the changes, the visual flow starts again up the blue tree trunk, you jump immediately to the people in the distance and pan back to the foreground. Which again pulls your eye up the tree on the right and sweeps left across the canopy of color. Notice how the addition of people draws your interest and implies a story in process. 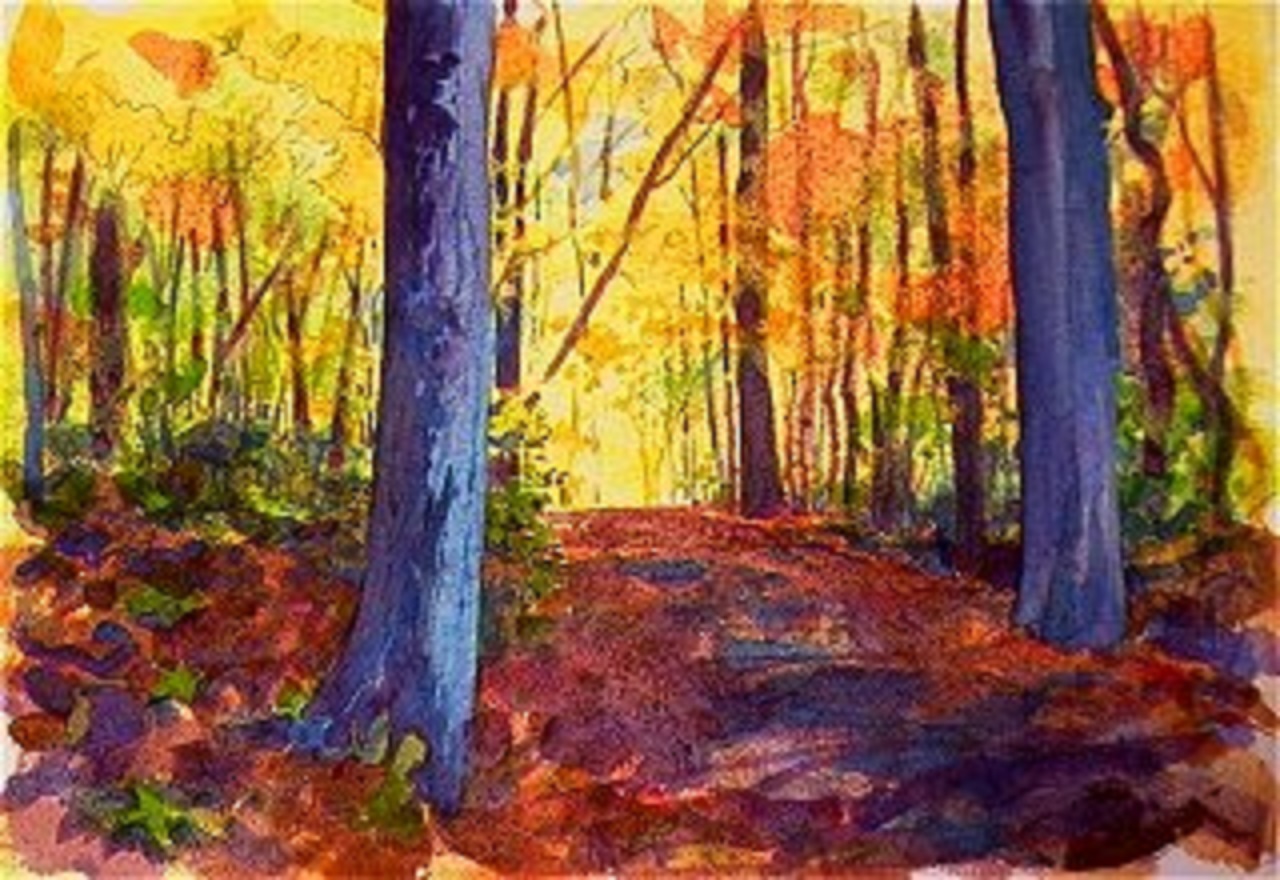 The original painting before introducing the changes.


