Step Seven: Altering reality
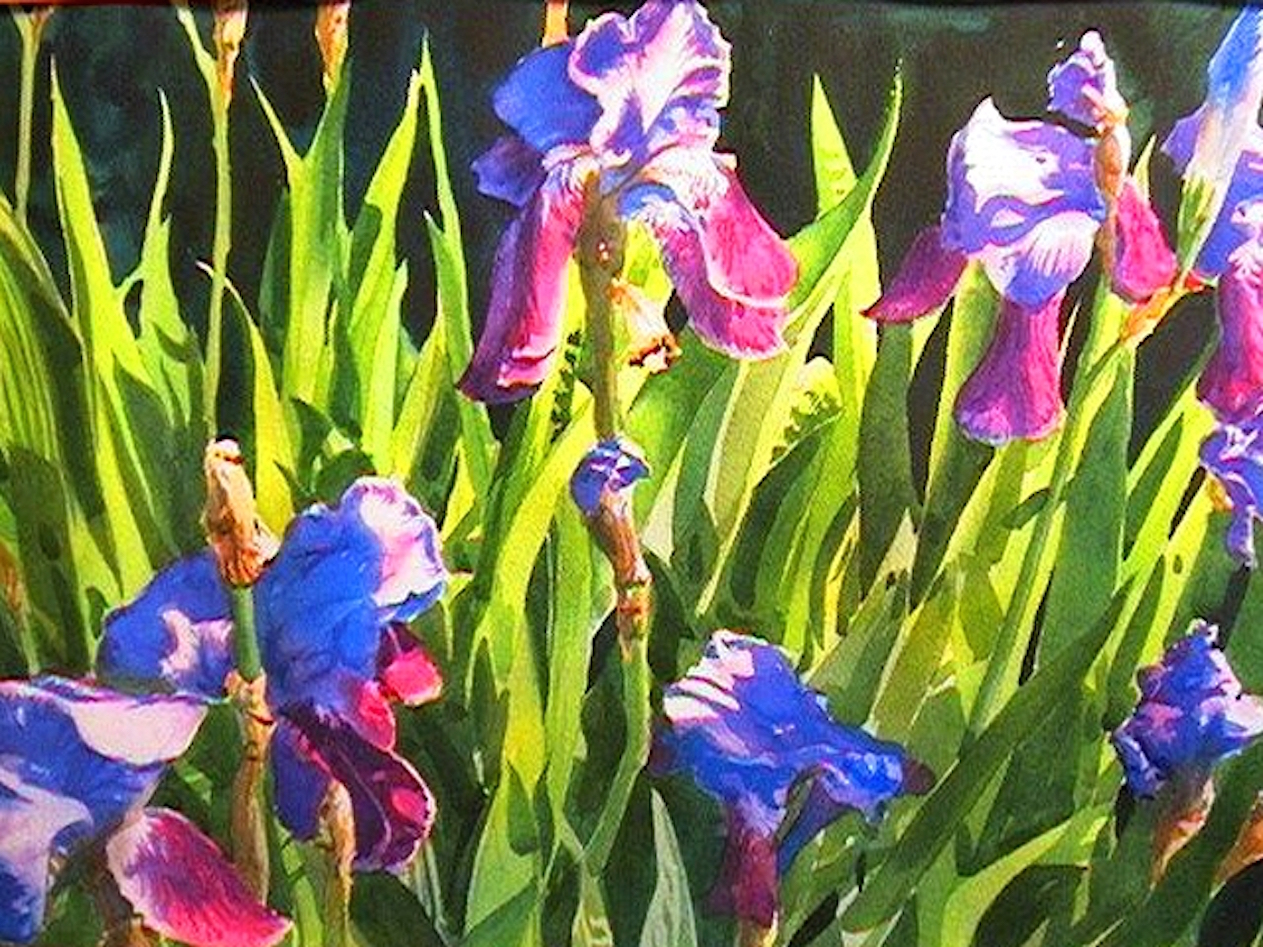
My original photo had a background of a sunlit brick wall. I decided the bricks would make the painting too busy and opted to use a dark mixture of Pthalocyanine Blue and Burnt Umber to indicate a deep shadow area behind the entire group of flowers and foliage. I varied the mixture as I painted the background. These two colors can give you deep dark blues, rich greens and warm dark browns as you mix them in different quantities. 
Step Eight: Chasing the light
I started to work intensely on the patterns of light and dark within the foliage. Using various mixtures of Cadmium Yellow Light, Sap Green, Hookers Green Dark, Pthalocyanine Green and Cobalt Blue, I modeled the leaves until I achieved the effect of sunlight traveling through them. It casts some in shadow, backlights some, and makes cast shadows across other leaves. All the while I was paying close attention to the photo so I could get enough of the detail to make it believable. I also worked on the stalks of the flowers with Sap Green, Raw Sienna and Burnt Umber. 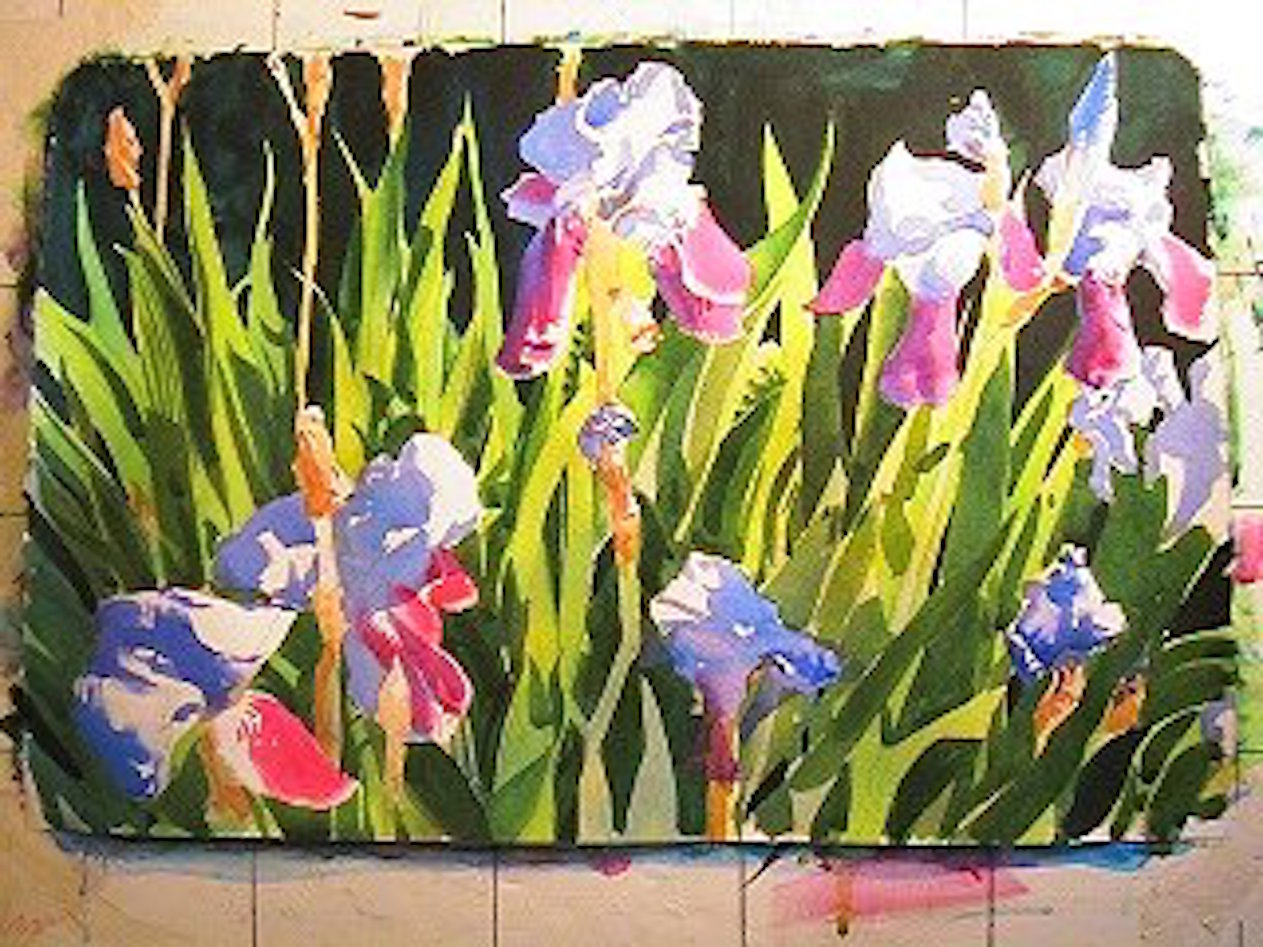
Step Nine: Making it real
Final modeling on each flower was done with Dioxazine Purple, Permanent Rose, and Cobalt Blue. I used the point of my #6 brush to add veining and texture to each flower. 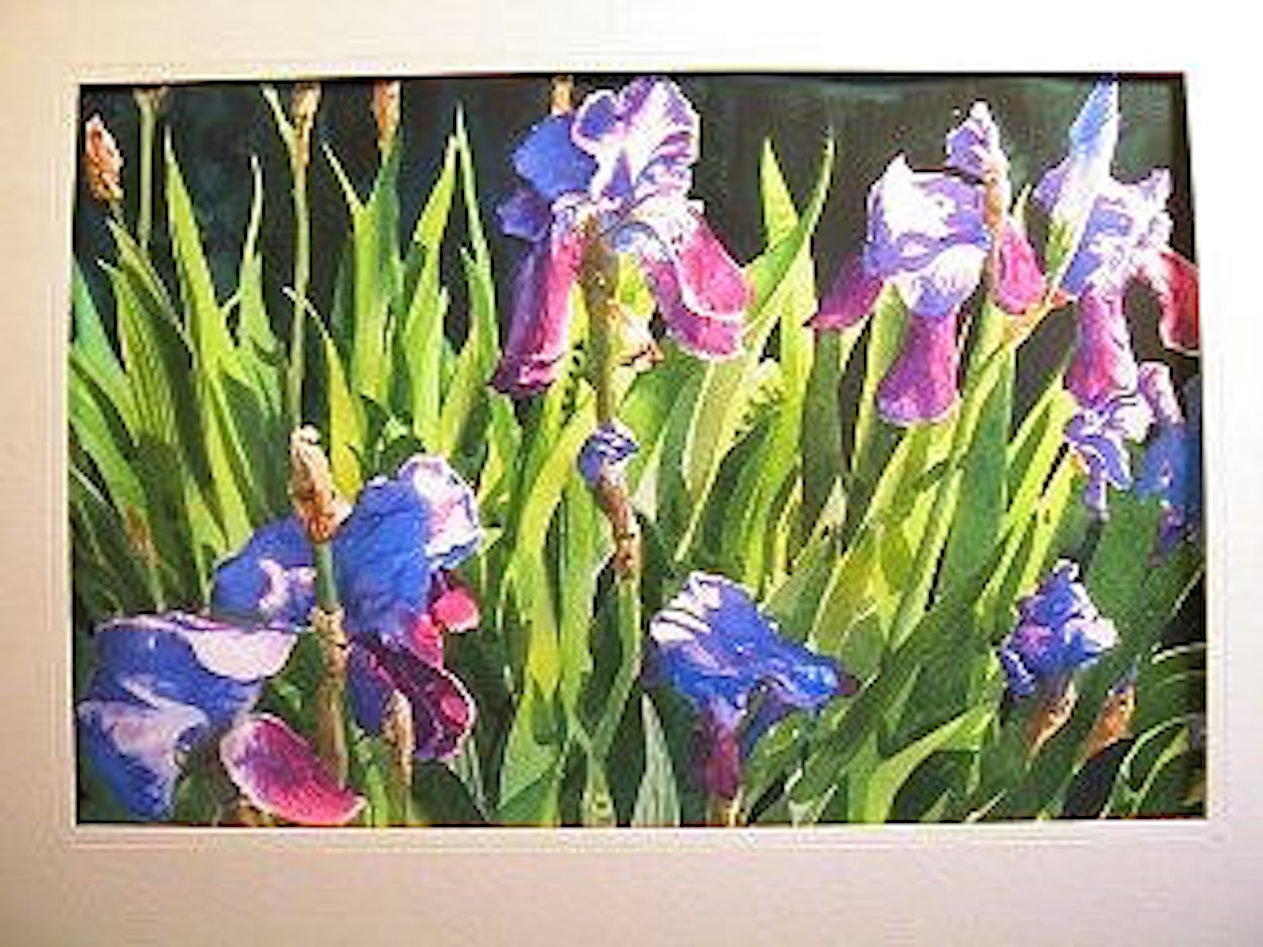
Step Ten: Take a step back
After letting the painting set for a day I brought it out again and looked at it with a loose mat. I saw a few areas that needed tweaking. After making some minor adjustments in contrast and shape, the painting was declared finished.
Painting the Purple Iris