Materials used:
Brushes
- 1 1/2" (381mm) Flat Winsor & Newton Series 965
- " Grumbacher Aquarelle Flat Red Sable
- #12 Winsor & Newton Series 7 Red Sable
- #10 Winsor & Newton Series 820 Red Sable
- #6 Grumbacher Watercolor Classic
Paints
- Sap Green
- Hooker's Green Dark
- Pthalocyanine Blue
- Cobalt Blue
- Dioxazine Purple
- Alizarin Crimson
- Permanent Rose
- Raw Sienna
- Burnt Umber
Paper
- Spiral Pad (11" x 14") Canson #140 cold pressed<
Miscellaneous
- #2 Pencil
- Kneaded Eraser
- Palette - Your choice. Mine is an old Robert E. Wood model.
- Water container (2) and water
- Hair dryer (optional)
Step One: Preparing reference art
After developing your composition into a working sketch, or selecting a photo for reference begin by drawing a grid on the reference art. (You can draw your grid on acetate and tape it to the reference art, or if you are using digital photos on your computer, import your photo into a page layout program, draw your gridlines on top of the photo and print out a reference print. Tape your paper to your support with masking tape on each of the four corners. Using at least #140 paper avoids any problems with warping as the paper expands and contracts from the moisture in your paints. Lightly pencil an enlarged version of your grid on your paper. 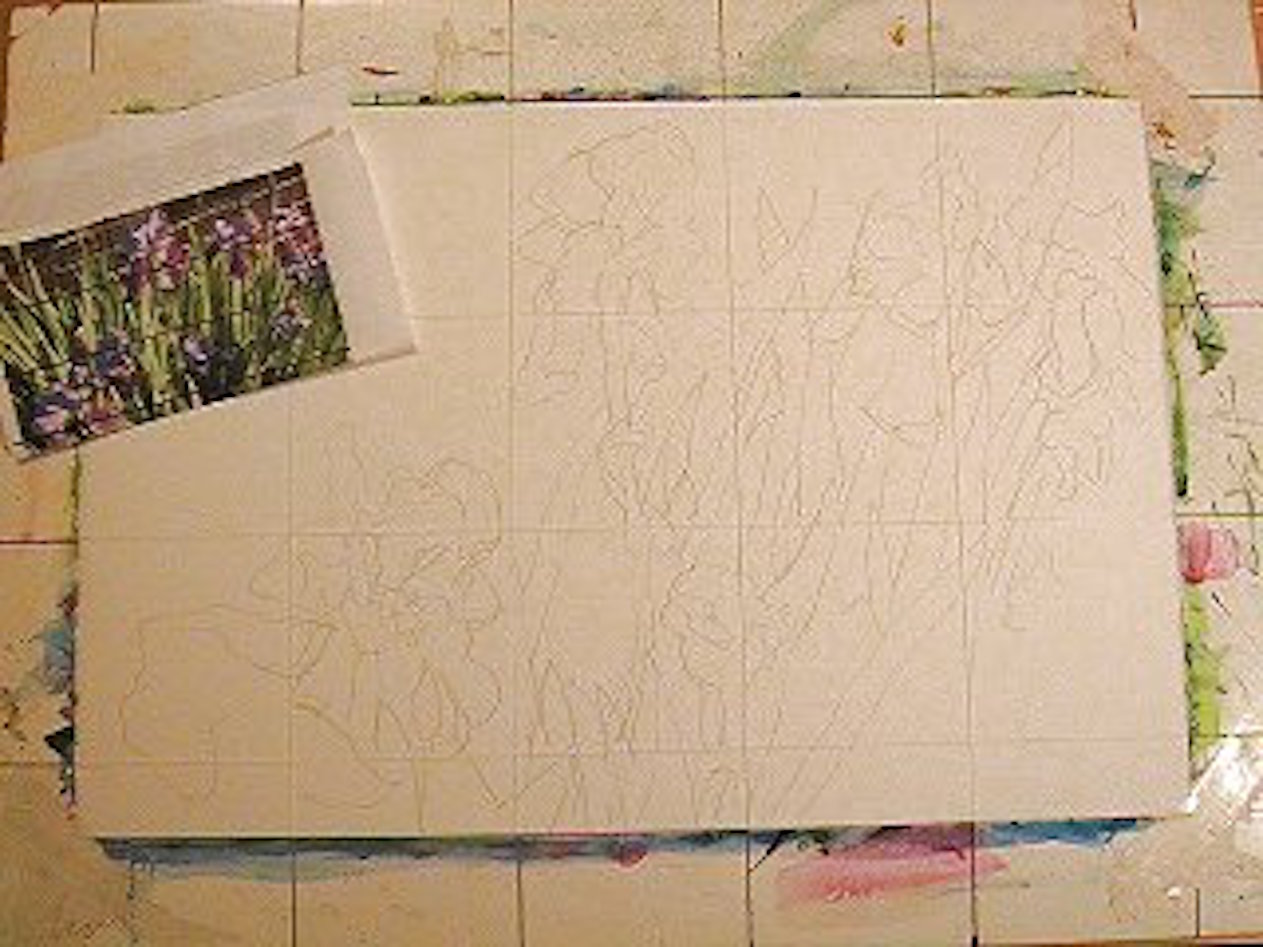
Step Two: Drawing on your watercolor paper
Following each square of your reference art, lightly draw the key elements in each square. Continue with each square until entire drawing is completely sketched. Use your kneaded eraser to remove grid lines after you complete your drawing. 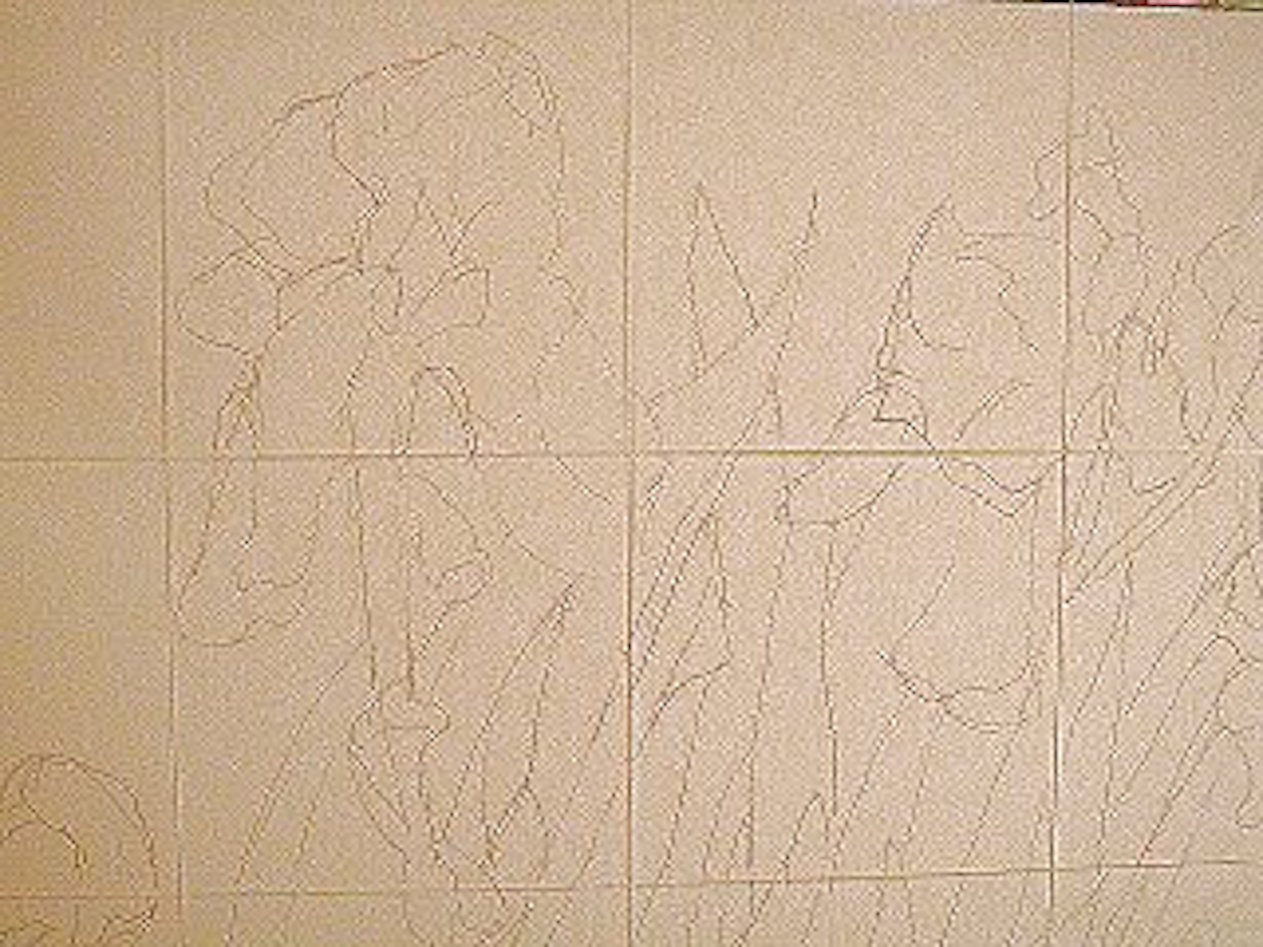
Step Three: Start painting!
I started by using my 1" flat to paint clear water over the entire paper, being sure to paint around the basic flower shapes. Into the wet paper I worked a mixture of Cadmium Yellow Light and Sap Green. While the first wash was still wet I flowed in darker tones mixed with Hooker's Green Dark and Cobalt Blue, using my #10 brush. 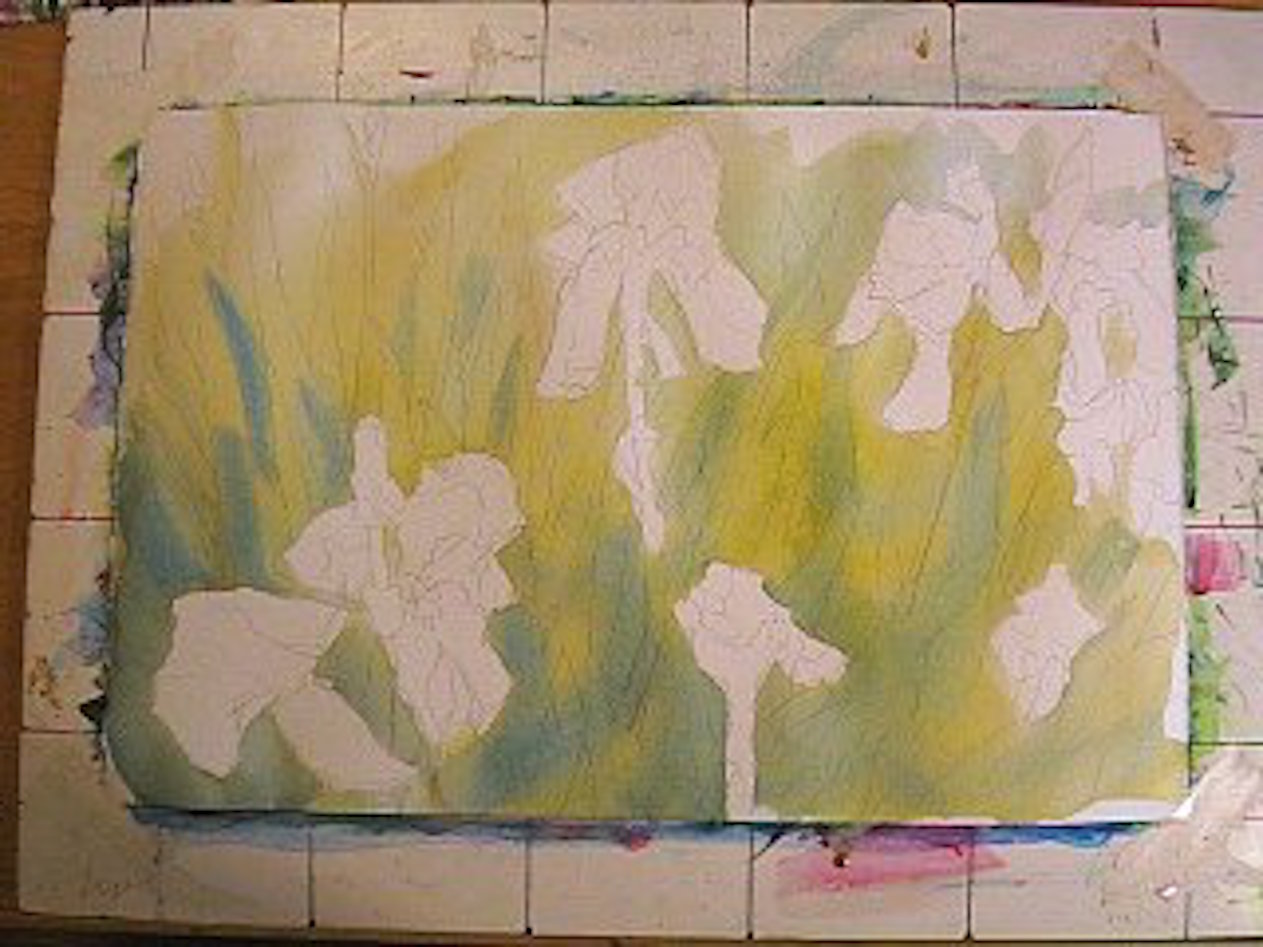
Step Four: Undercolor and accenting
After the background wash was dry (I used a hair dryer to dry the paper) I used small washes of Raw Sienna to indicate the browning portions of the irises. I then began adding some darks to the foliage with a mixture of Hooker's Green Dark and Cobalt Blue. 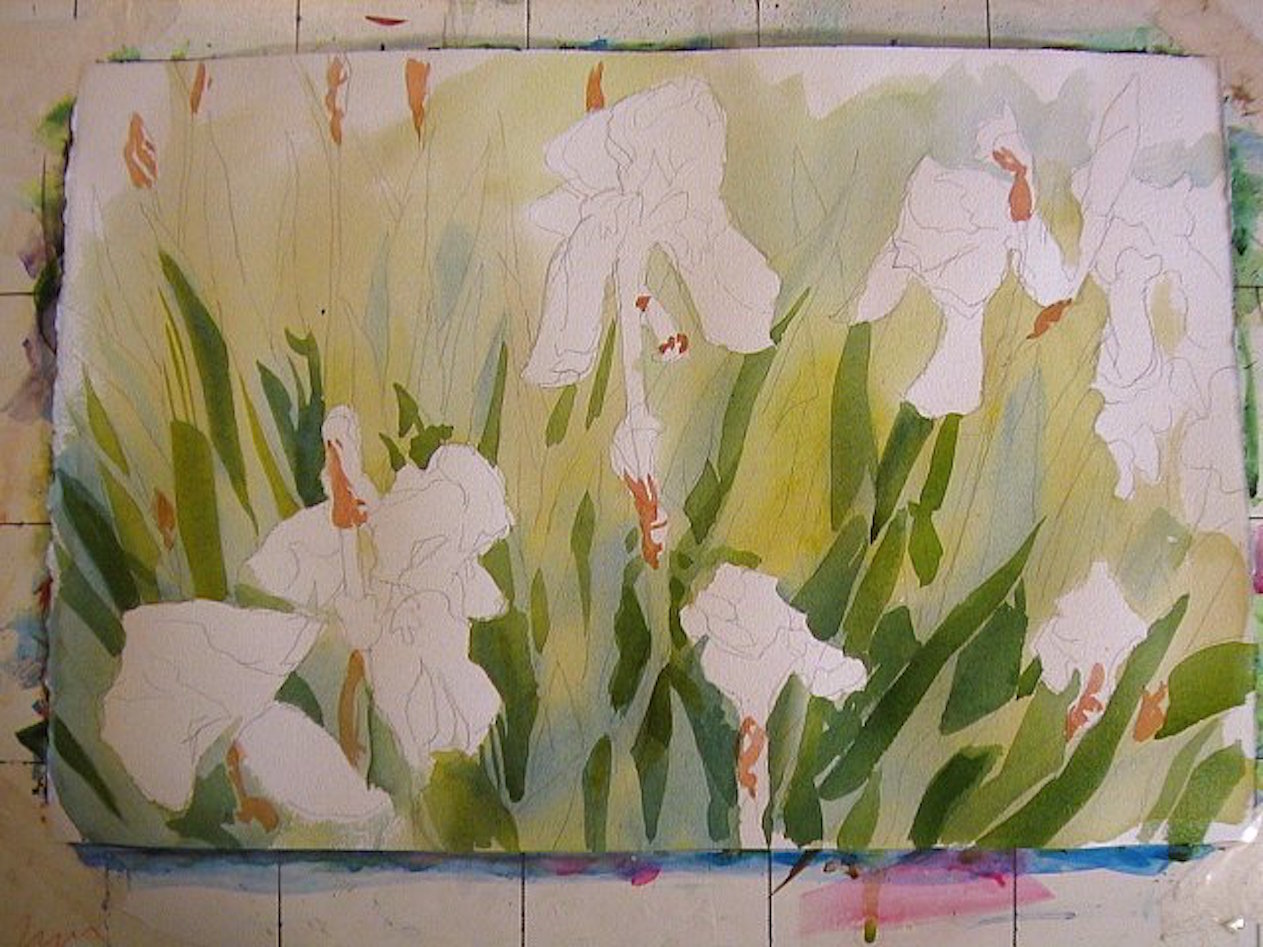
Step Five: Raw Color
Because the irises were so intense in color I decided to underpaint some of the petals in pure Permanent Rose. Be sure to use clear water and soften any edges that are not sharp before your wash dries. On the upper portions of the flowers I flooded the area with clear water and used a wet-in-wet technique of Permanent Rose to create the soft blushes of color in the white areas of the flowers. 
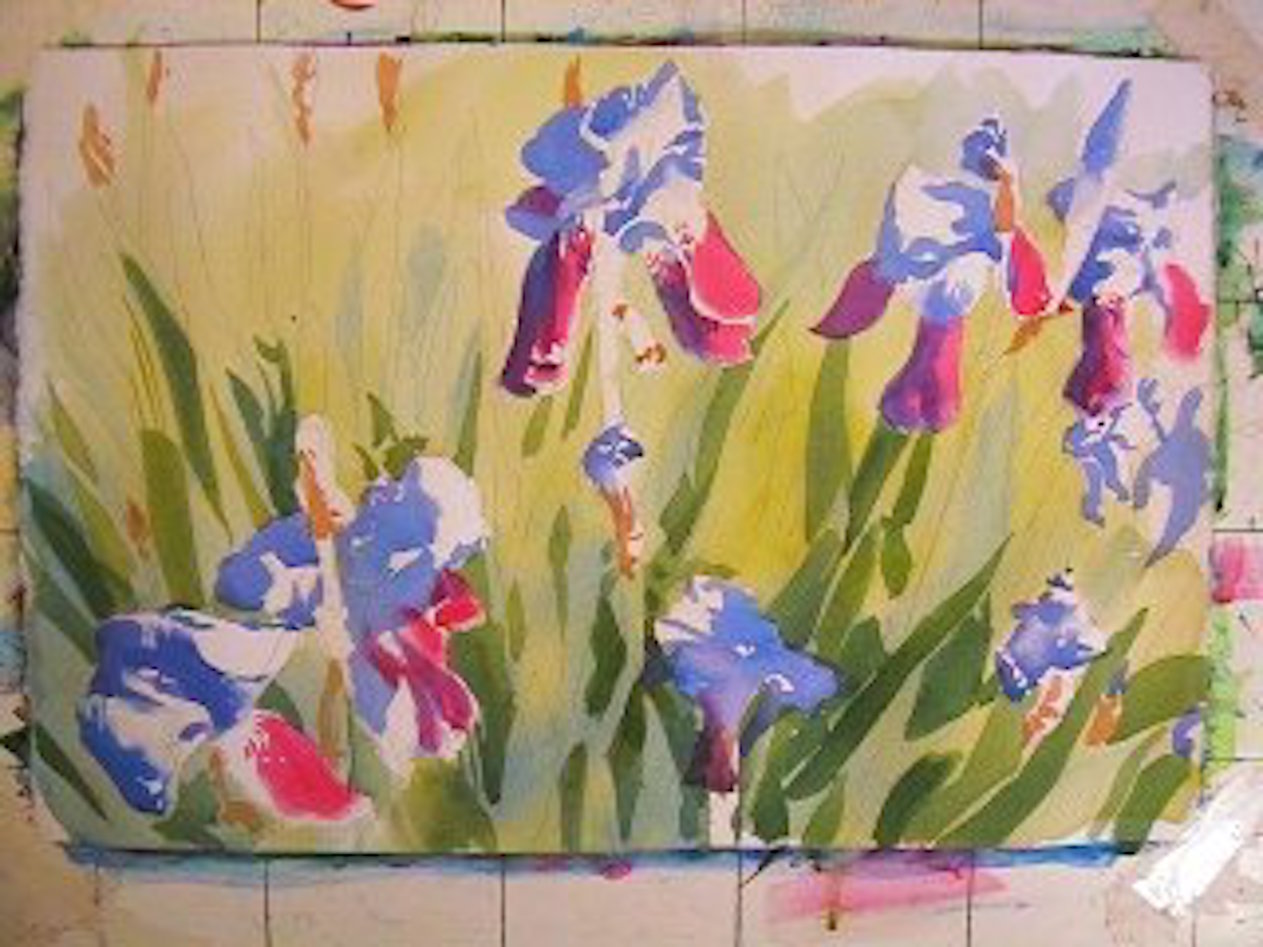
Step Six: Muted in shadow
Using Cobalt Blue with a touch of Dioxazine Purple I painted the basic shadows of each flower. I paid close attention to the original photo to get the correct shapes and combination of soft and hard edges. I then used Dioxazine Purple to start adding the shadows on the red petals.