As the saying goes, "April showers bring May flowers", so here's a fun floral-themed lesson for you to enjoy this month! Learn how to produce unique watercolor flowers (rose edition) with Dana as she walks us through some basic watercolor techniques. Thanks, Dana!
Materials used:
- Canson XL Series cold press watercolor pad (140lbs, 9" x 12")
- Palette for watercolor paints
- Container with clean water
- Old rag or paper towel
- Tissue
Reeves Watercolor Paint Tubes
- Crimson
- Violet
- Yellow Ochre
- Sap Green
- Viridian Hue
Brush
- Silver Brush 3000S-12 Black Velvet Series: Round brush (no. 12)
Step 1: A Foundation of Commas
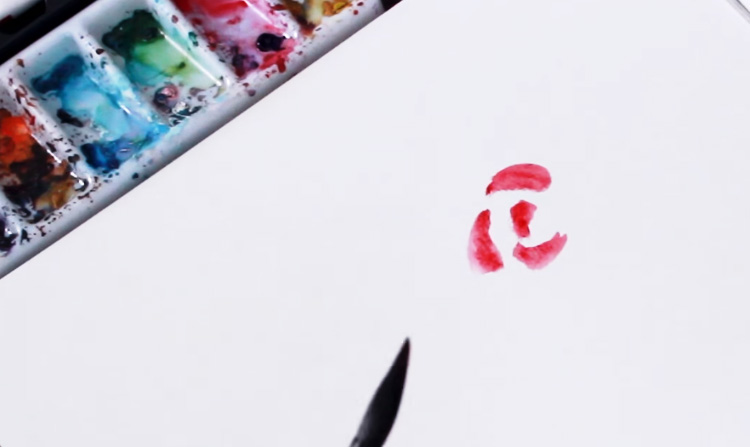 Before you get to the painting part, prepare your colors. Squeeze Crimson, Violet, and Yellow Ochre into separate wells of your mixing palette. Load a no. 12 round brush with clean water and dilute Crimson until the paint has achieved a milky consistency. If your brush has too much water, dab the bristles on a dry rag or paper towel to remove some of the moisture. Now lay down the foundation of the rose with the red paint and the tip of your brush. Start with a vibrant red center and surround it with three equally vibrant red comma-shaped curves. These marks will form the darkest petals of the rose; the rest of this flower painting is about building around them with different watercolor techniques.
Step 2: Using Water to Open Up a Rose
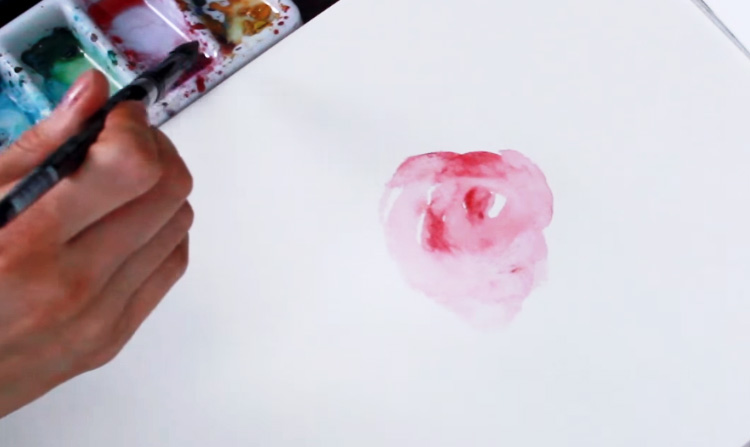 While your first layer is still wet, load your brush with clean water and blend those strokes together on the page. Now is the time to get creative with your brushstrokes! Paint loosely and experiment with applying different levels of pressure to vary the thickness of your lines. Keep the tint a subtle pink and paint around the edges of the vibrant red petals so that you have a variety of values in your rose painting.
Step 3: Adding Vibrant Colors to Watercolor Flowers
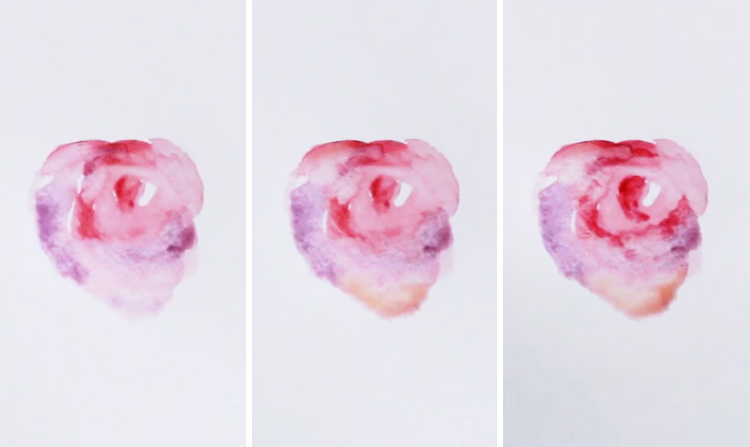 Use your round brush to dilute Violet into a subtle purple hue, then drop it into parts of your flower painting via the wet-in-wet technique. Since you're adding wet paint to an already wet surface, the colors blend together in a natural, organic way on the watercolor paper. Do the same with diluted Yellow Ochre, then pick up more diluted Crimson to strengthen the red details in the center of the flower.
Step 4: Lifting Off Paint To Create Highlights
 Pick up a tissue and wad it up into a thin curve in your fingers, as shown in the photo. Now dab the tissue into the wet paint to lift the color from the page. Focus on the lighter sections in between the red, violet, and yellow details to create a stronger contrast. Finally, finish it off by using the same round brush loaded with clean water to soften the edges. Watercolor techniques for lifting off paint are a great way to create highlights in your watercolor flowers, or any watercolor painting!
Step 5: Playing With Brushstrokes
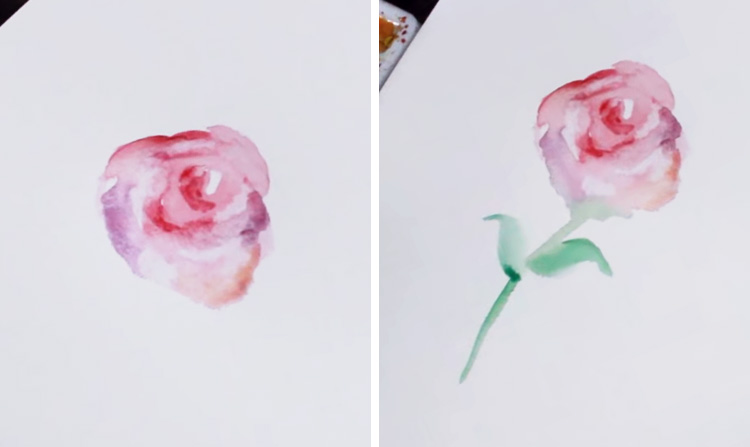 Combine Sap Green and Viridian Hue in your watercolor palette, then load your brush with the diluted green mixture. Now paint the rose stem and leaves by varying your brushstrokes. Start at the base of the rose, then use the tip of your brush to create the long, thin stem. Apply and release pressure to create leaves that are wide in the middle and taper off to a point.
Step 6: Using Watercolor Techniques to Finish Off a Rose
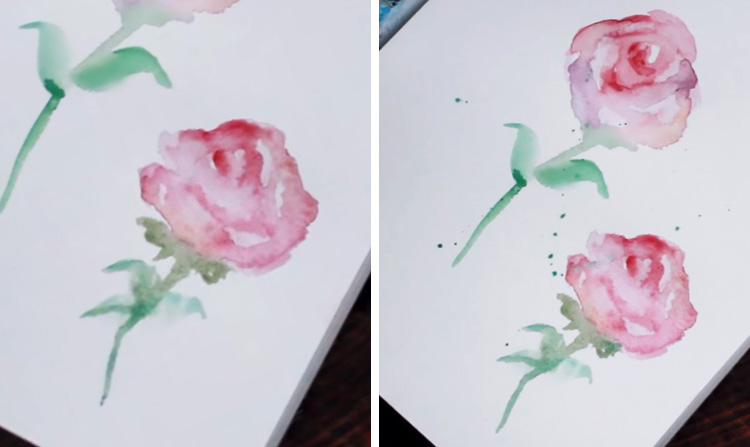 The best part about these watercolor techniques is that you never make the same rose twice! Painting wet-in-wet is an adventure because you never know what your paint will do. Try painting a second or third rose if you have space on your watercolor paper, and play with different color combinations too while you're at it! A nice way to embellish your paper is to use the splattering technique to add a fun effect to the finished product. To do this, load your round brush with diluted green. Hold it over the area you wish to splatter, then tap the handle against a finger to flick the paint off the brush. That's it; you're done! We hope you enjoyed painting along with this wonderful new lesson on how to make watercolor flowers. If you'd like to watch Dana in action, here's her video:


