This may be our cutest painting idea yet! Learn how to paint a Holland Lop bunny rabbit using watercolors by following Isabella Kung. You can watch the video version of this step-by-step animal portrait at our Beeblys WatercolorPainting.com too.
Materials used:
- Reference photo of your favorite Holland Lop bunny rabbit (or use the one provided in this tutorial)
- A book of Arches cold press watercolor paper (140lb, size 9" x 12")
- Masking tape (width 1")
- Wooden board (at least 9" x 12")
- HB pencil
- Painting palette for watercolor paints
- Two cups of water
- A towel or rag to dry off the brushes
- Tissue
- Fineline Artist: masking fluid pen
- Soft eraser
Winsor & Newton's Professional Watercolor Paints
- Cerulean Blue
- Winsor Violet (Dioxazine Purple)
- Raw Sienna
- Burnt Umber
- Burnt Sienna
- Ivory Black
- French Ultramarine Blue
- Indigo
- Brown Madder
- Rose Doré
Brushes
- Mop brush (½" round)
- Rosemary and Co.: Pure squirrel hair mop brush (1" cat's tongue/oval wash)
- Rosemary and Co.: Pure squirrel hair mop brush (½" cat's tongue/oval wash)
- Escoda: Angular brush (size 10)
- Escoda: Reserva Kolinsky Tajmyr 1212 brush (size 6, round)
- Raphael: Synthetic flat brush (½", size 12)
- Stanislaus Imports Inc.: Dagger brush (½")
Step 1: Outlining And Using Masking Fluid
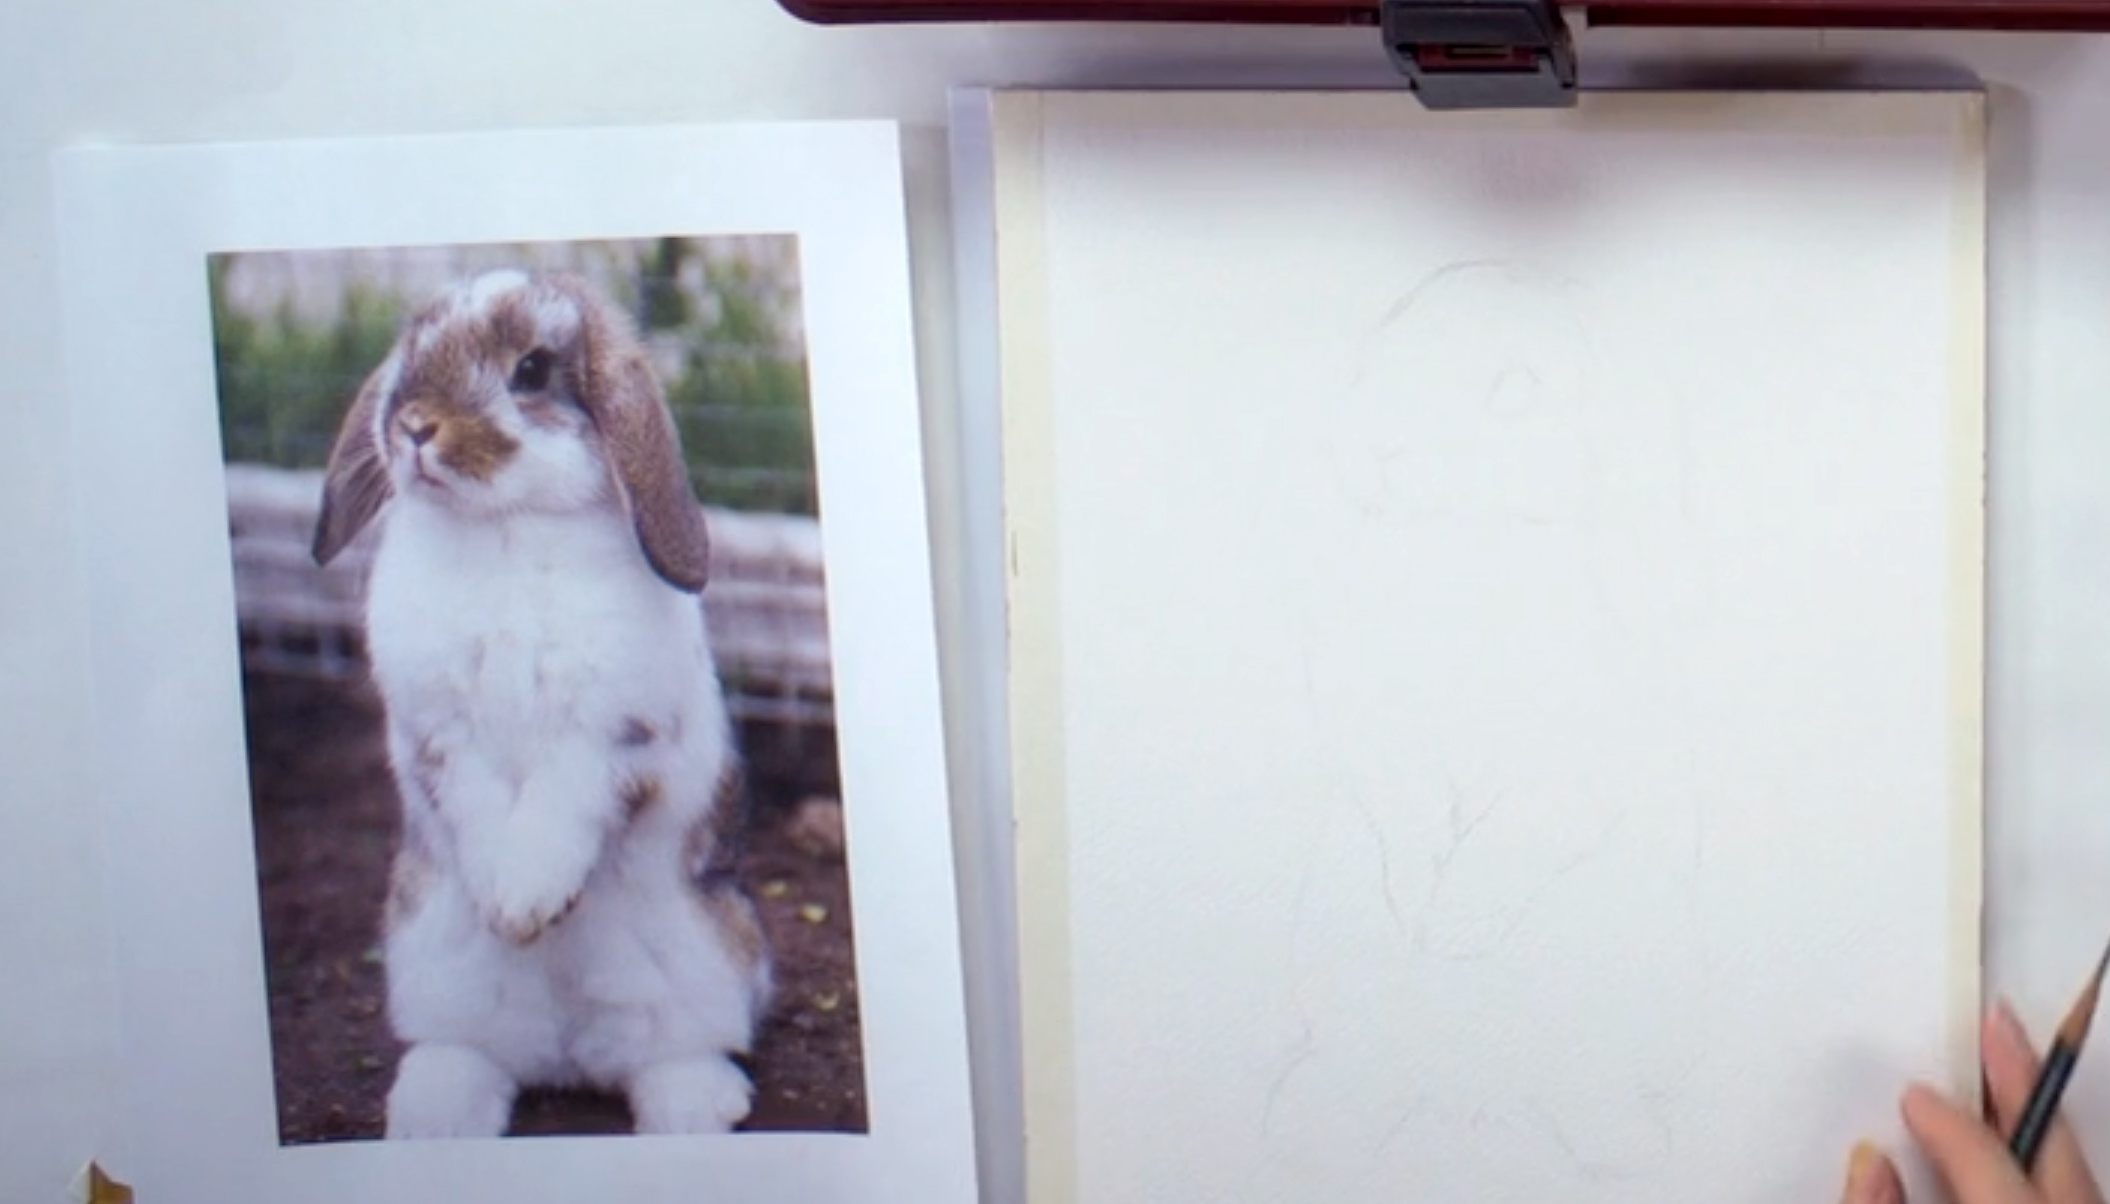 With the masking tape, tape all four sides of your paper to the wooden board, leaving about a ½" border of tape that overlaps your paper. Then, using your picture as a reference, make a preliminary sketch of your subject: in this case, a floppy-eared bunny sitting on its hind legs. Focus on the overall shapes you see in your reference image, and make sure to draw lightly. When you're done, dot the highlight in the eyes with the masking fluid pen to preserve the white of the paper, and allow the masking fluid to dry. Below is a close-up of Isabella's sketch:
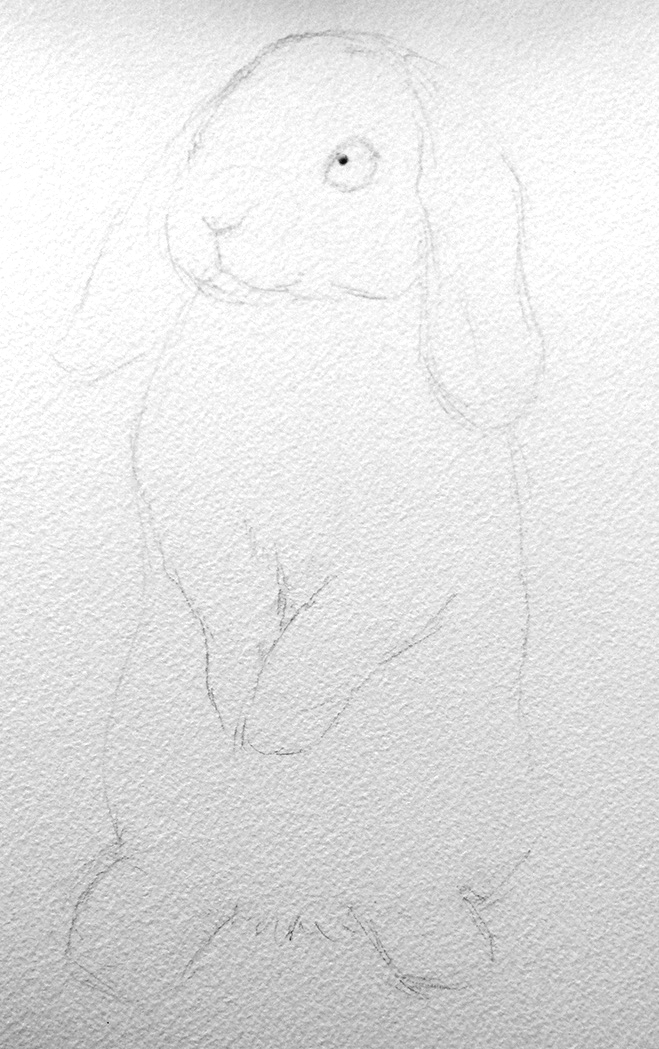
Step 2: Blocking In Main Colors And Furry Textures
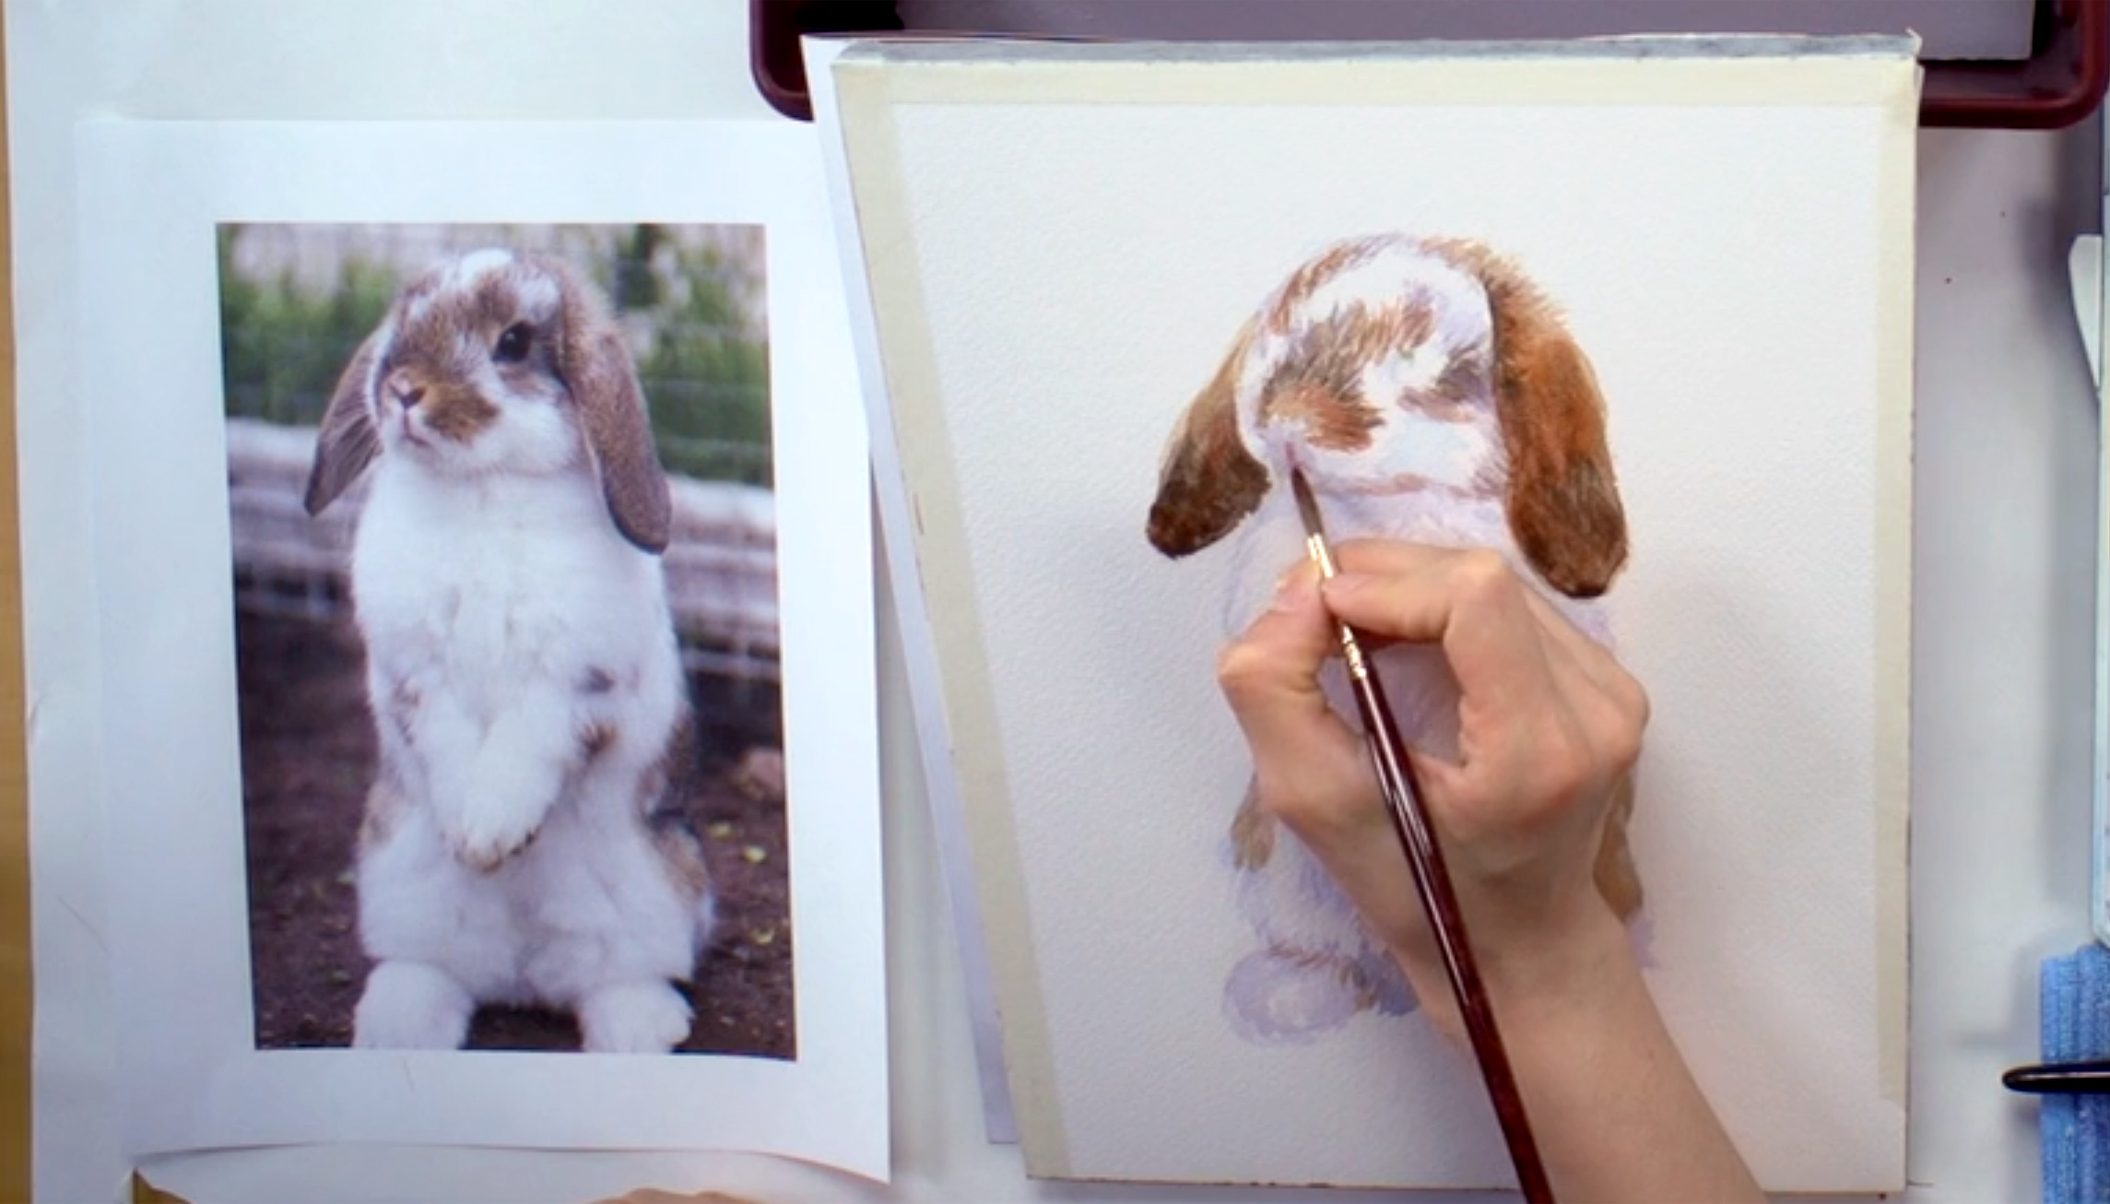
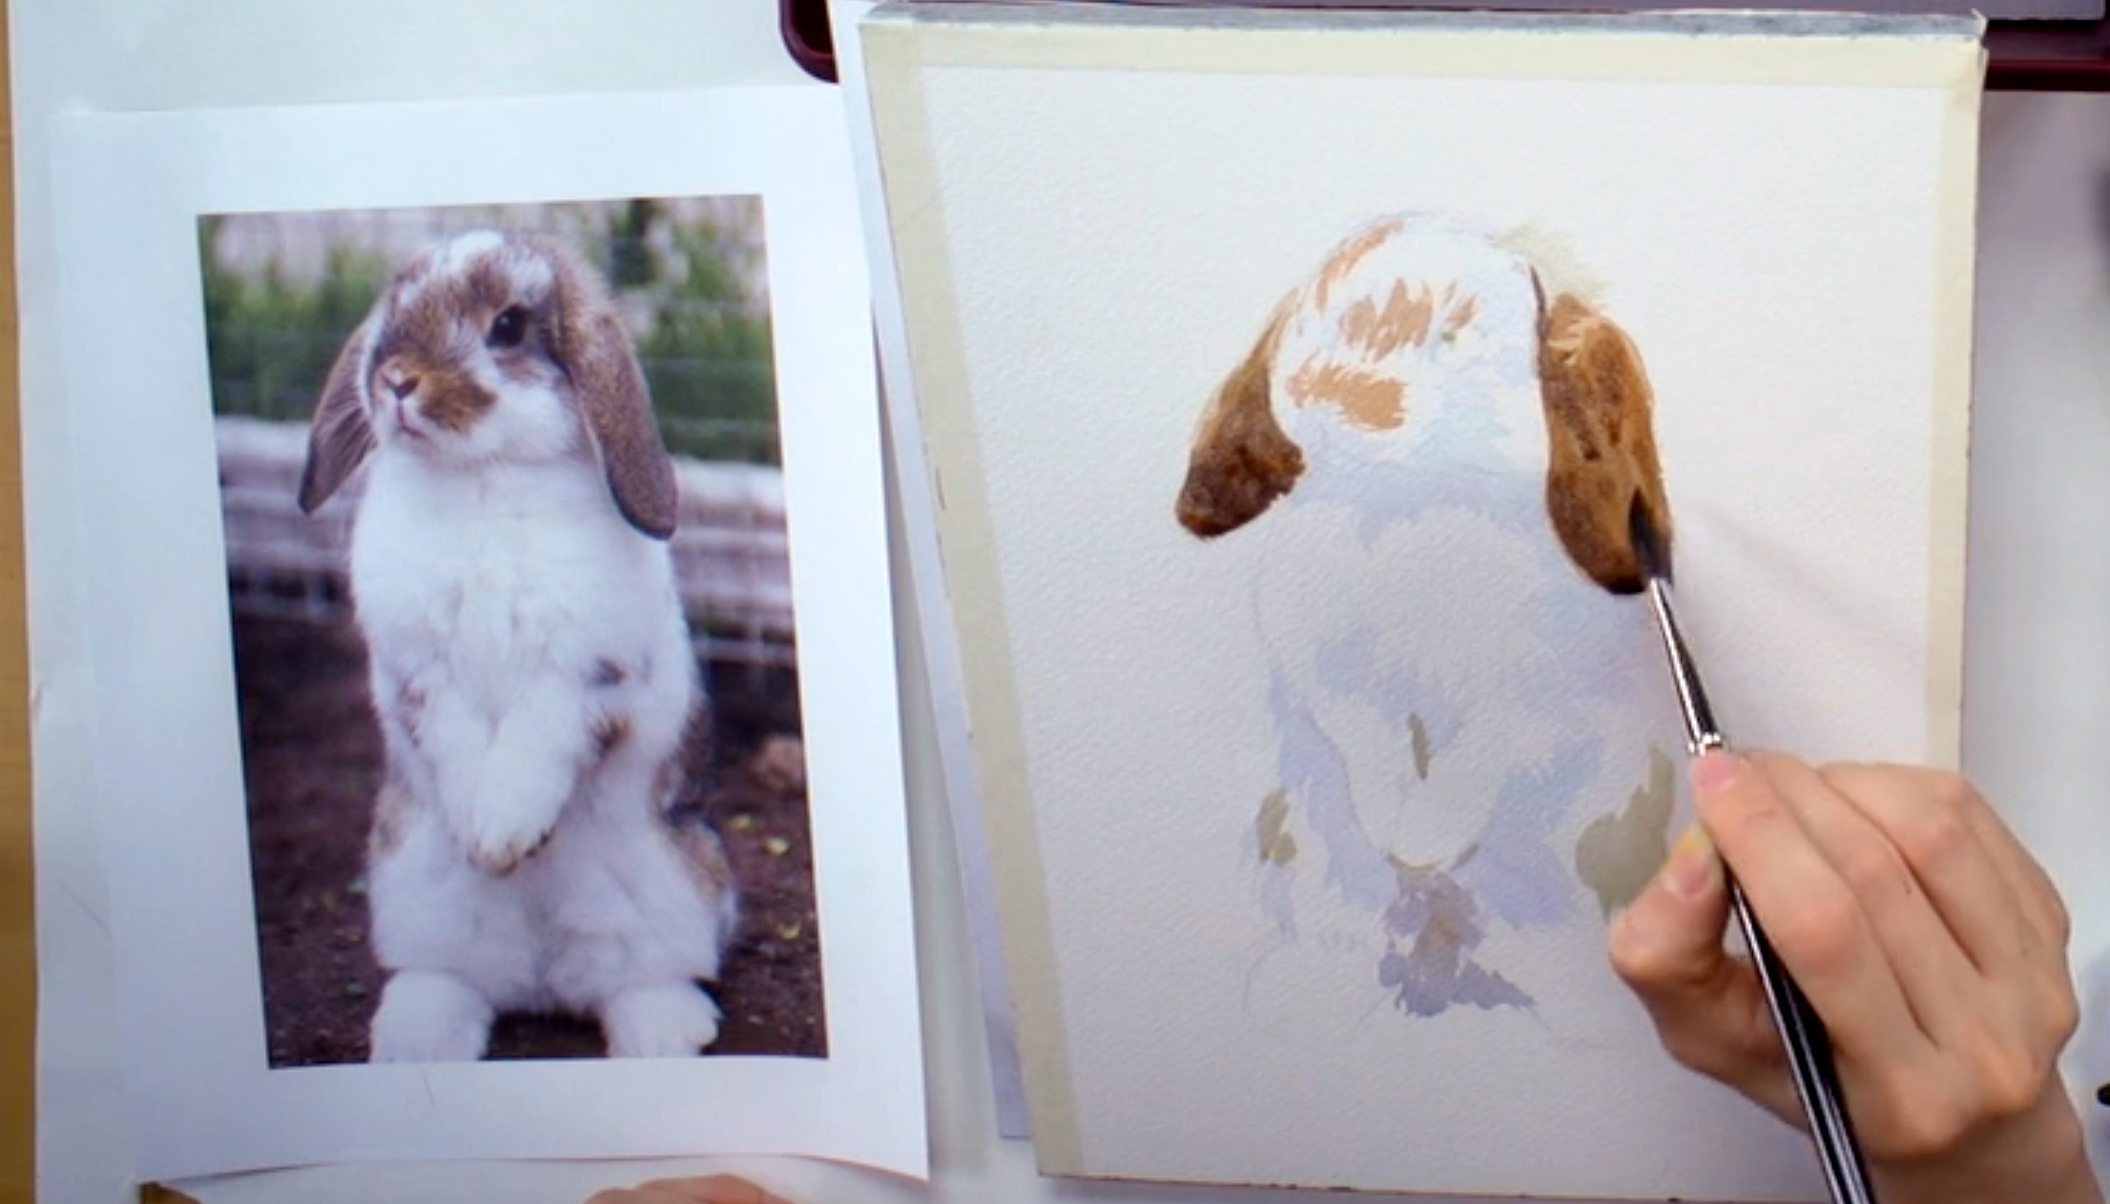 While the masking fluid dries, prep your palette with the colors you will need for the painting. With the mop brush, wet then fray the tip, and dab some watered-down Cerulean Blue, Dioxazine Purple, and Ivory Black to the shadowed areas in the fur on the bunny’s face, neck, legs, tummy, and ears. With the same brush, add some very light Raw and Burnt Sienna as the foundation for darker brown patches of color in the bunny’s fur. With the ½" cat's tongue brush, mix some Burnt Umber, Dioxazine Purple, and Ultramarine Blue together to create a warm gray, then add it to the tips and spots on the bunny’s ears.
Step 3: Fluffy Shadows
 After mixing some Dioxazine Purple, Indigo, and Ultramarine Blue together, use this color to add some light shadow colors and give shape to the paws and legs. Splay the bristles of the mop brush to create fur texture. Add more Dioxazine Purple and Cerulean Blue to areas of the face and other areas of the bunny to establish the initial shadowing and texture of your painting. You can flick your brush to create tapered brushstrokes for individual hairs. Allow this first layer to dry.
Step 4: Facial Patches And Details
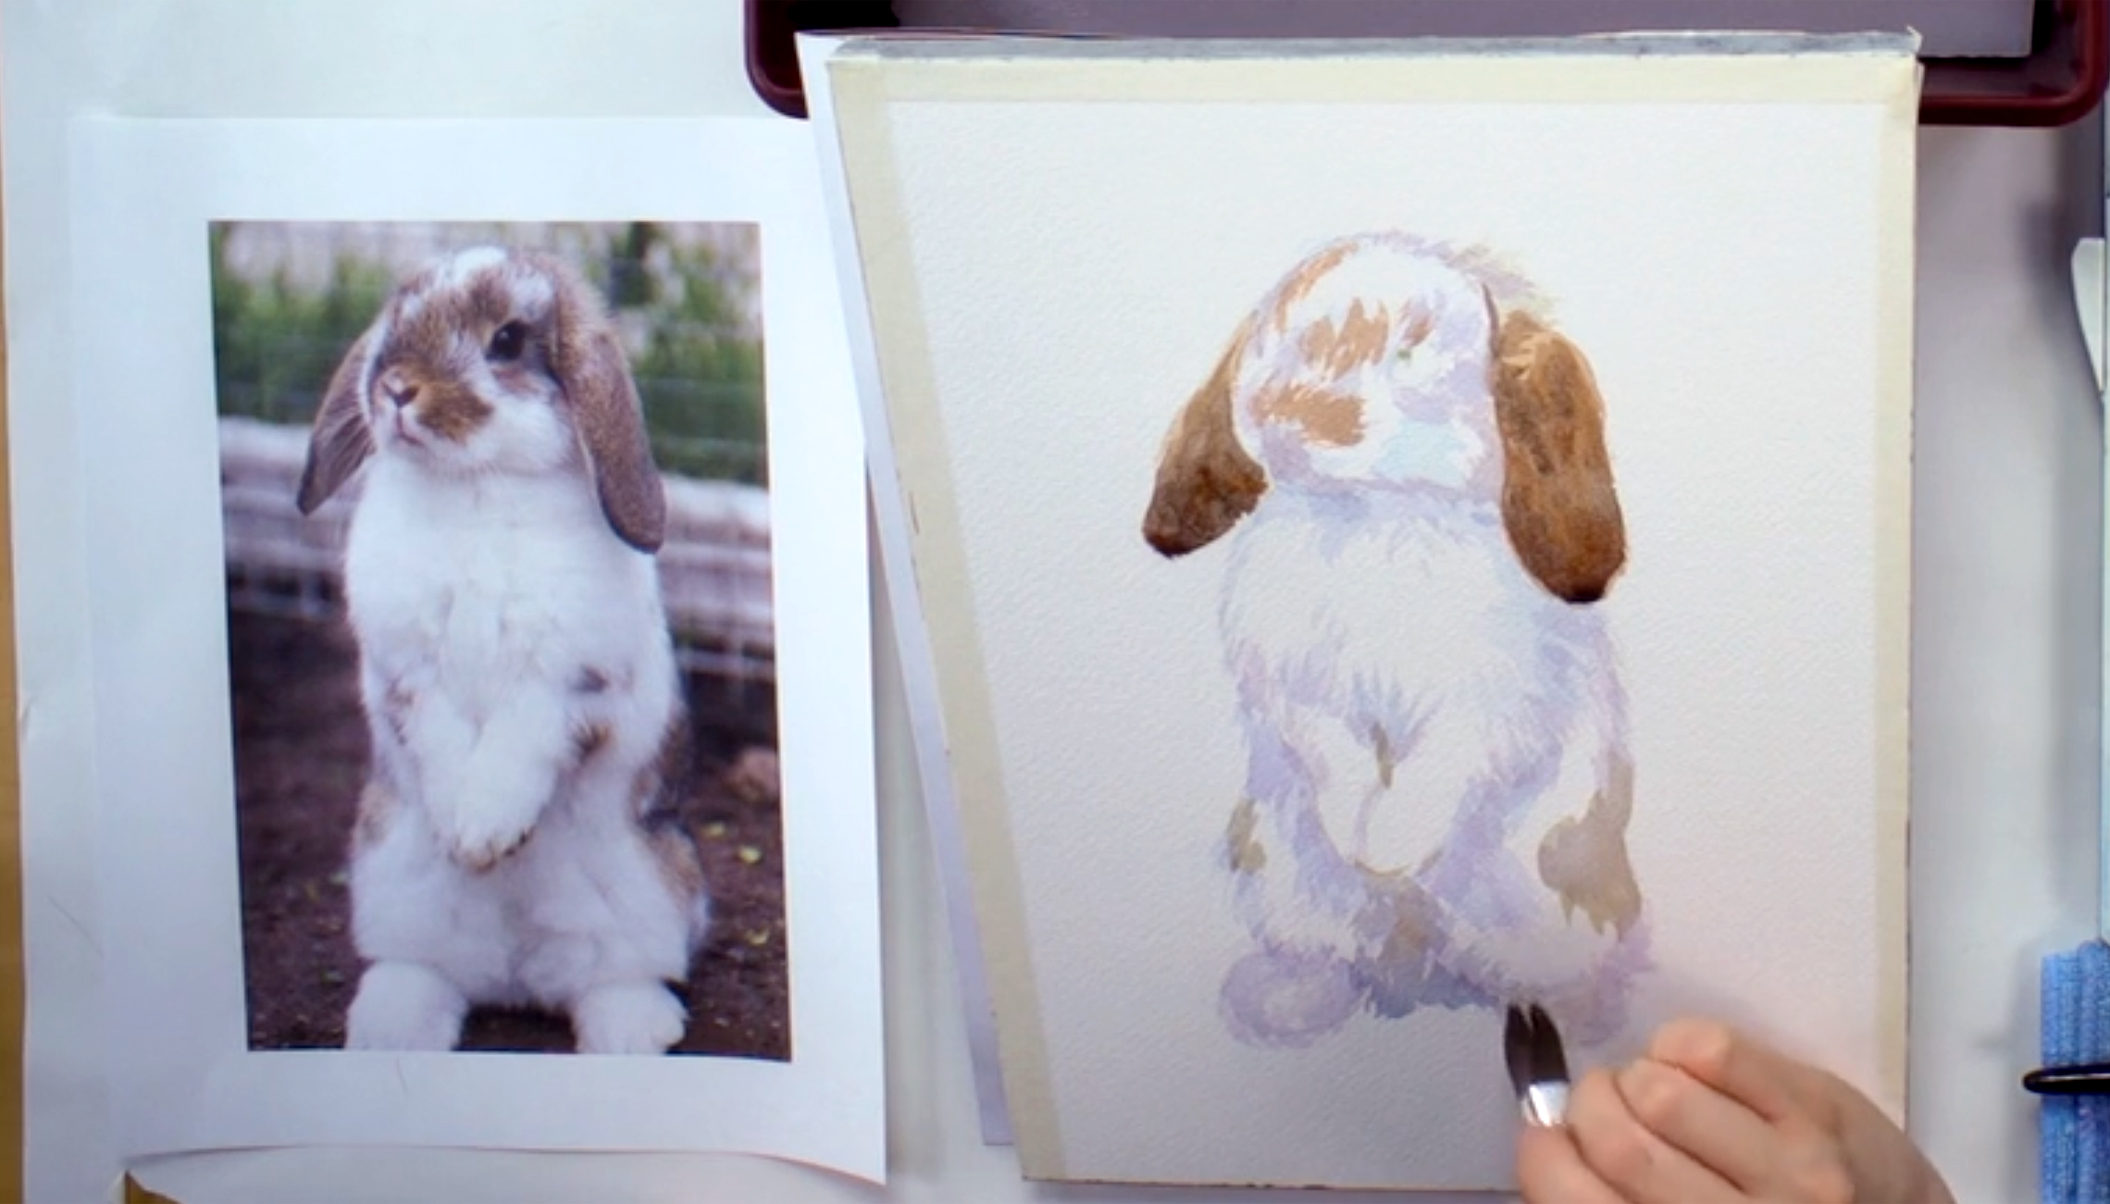
 With the ½" cat's tongue brush, mix some Burnt Sienna, Brown Madder, and Raw Sienna, and then paint some patches of color on the bunny’s face, top of the head, and ears. Lighten the mixture with some water and add to the sides and paws. Pay close attention to the direction and dimension of the fur and its texture. Switch to the dagger brush (½") and add some Ivory Black and Dioxazine Purple to the tips and edges of the ears and on the face to deepen the darker areas. To finish up the face, add some Rose Doré mixed with Burnt Sienna with the Escoda round brush (size 6) to color the nose. Allow this area to dry.
Step 5: Painting A Lifelike Eye
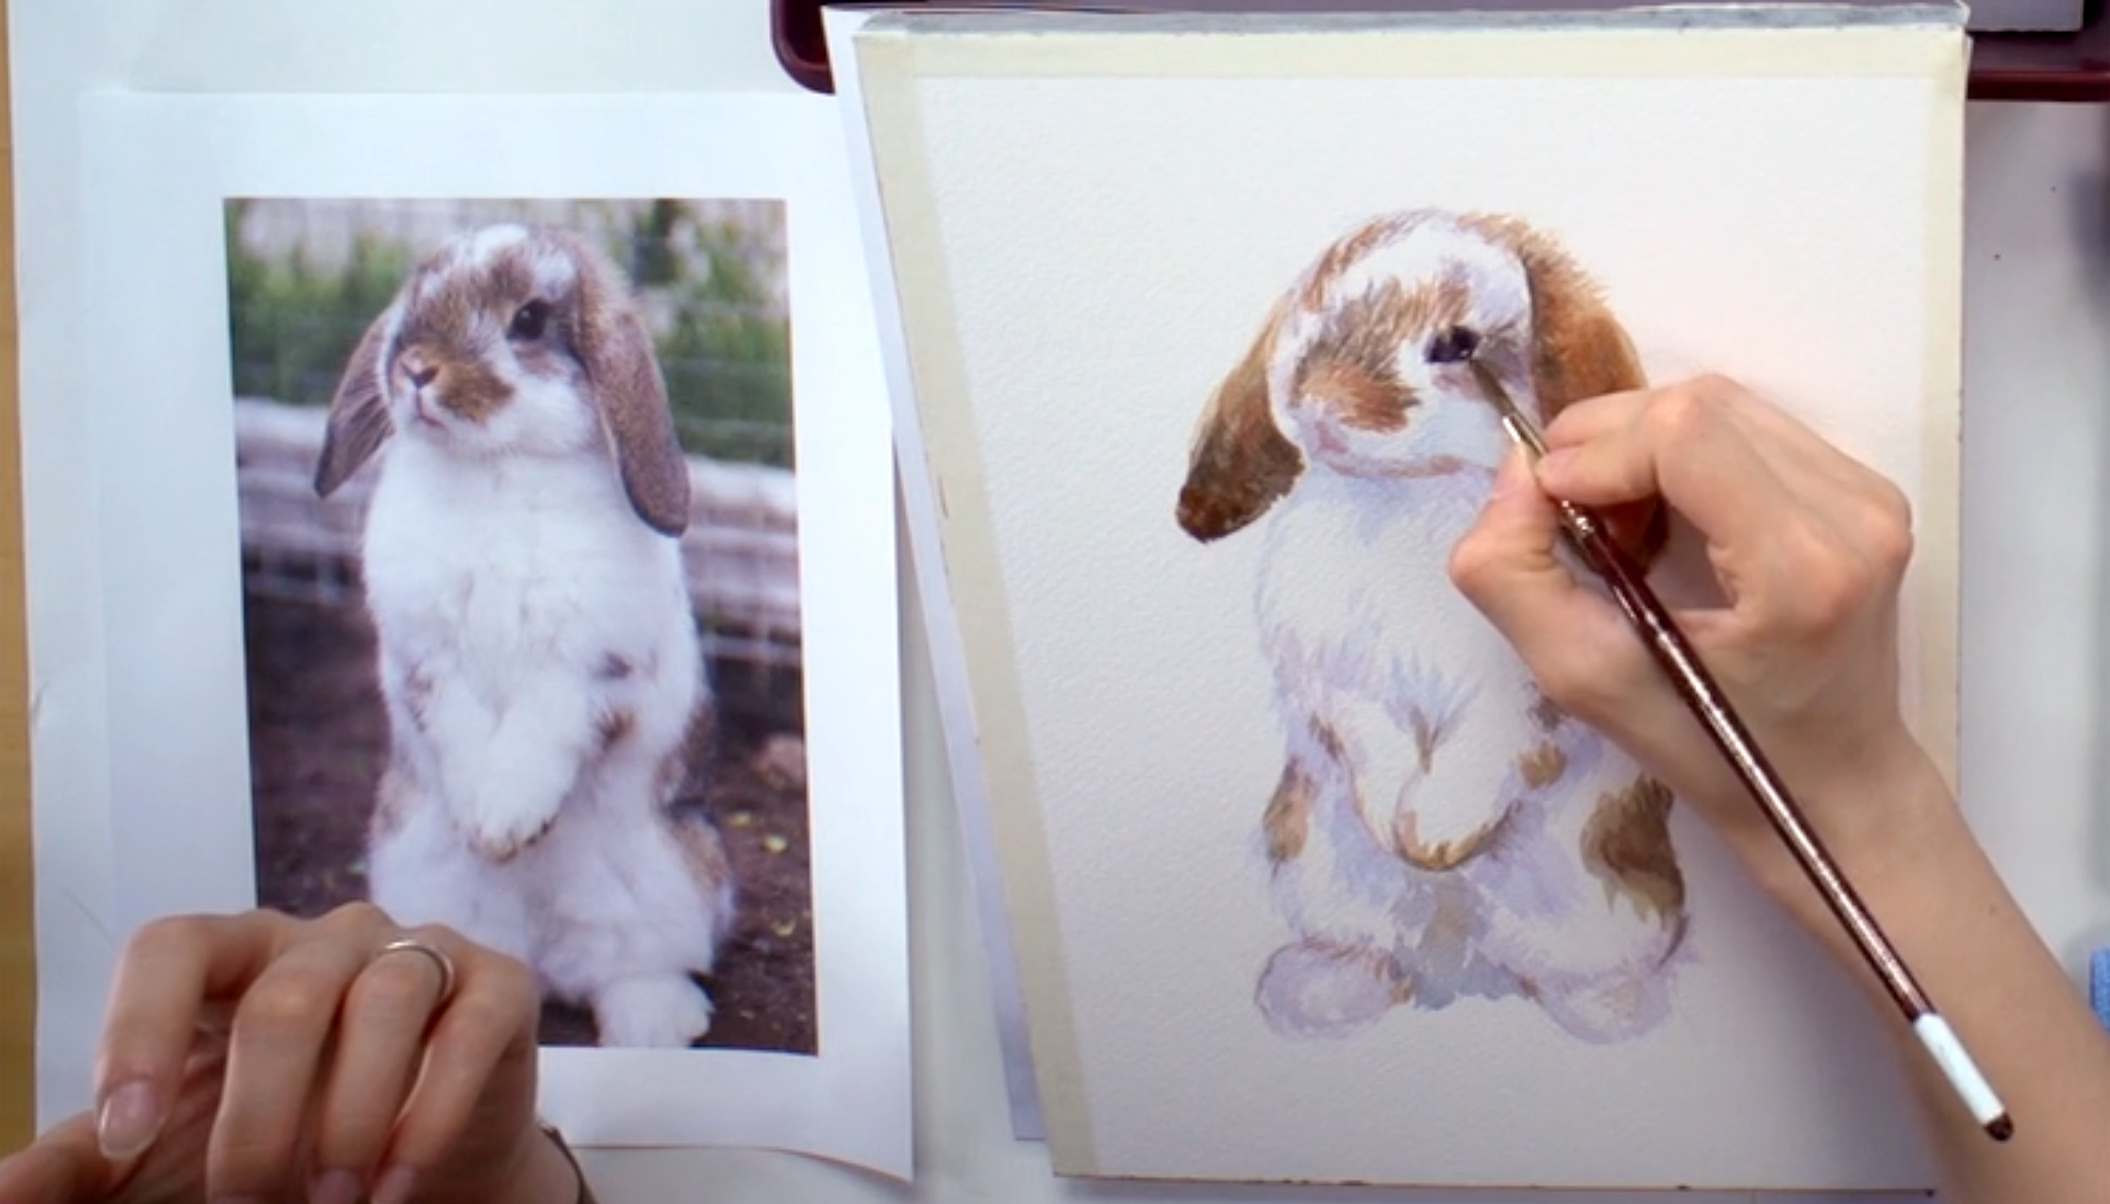 With the dagger brush, drop in more of the Burnt Sienna to add accents to the rest of the bunny. The aim of this open painting is simplicity, so there's no need to add too many details. Taking the Escoda round brush (size 6), carefully add some Ivory Black mixed with Dioxazine Purple to fill in the eye (you can paint over the masking fluid if it's dry). Clean the brush, and while it's wet with clean water, lightly spread out the paint around the eyes to create a soft and furry look. Squint at both your reference image and painting to see the areas that need darker details, then leave this layer to dry.
Step 6: Grounding A Rabbit
 Using the 1" cat’s tongue brush, wet it with clean water, and use it to soften some of the harder lines within the face. Add another layer of the Dioxazine Purple and Cerulean Blue combination to the ears, then mix this color with some of the brown mixture already on the palette. For background colors, adding in colors that have already been used helps bring harmony within the painting. Mix the different browns with Dioxazine Purple to create a dirt ground for the bunny to stand on. Paint this color loosely around the bunny, creating a variegated (i.e. "wet-on-wet") wash. Pay close attention when painting around the edges of the bunny. Paint the negative shape of the fur to create its texture.
Step 7: Removing Masking Fluid And Finishing Up
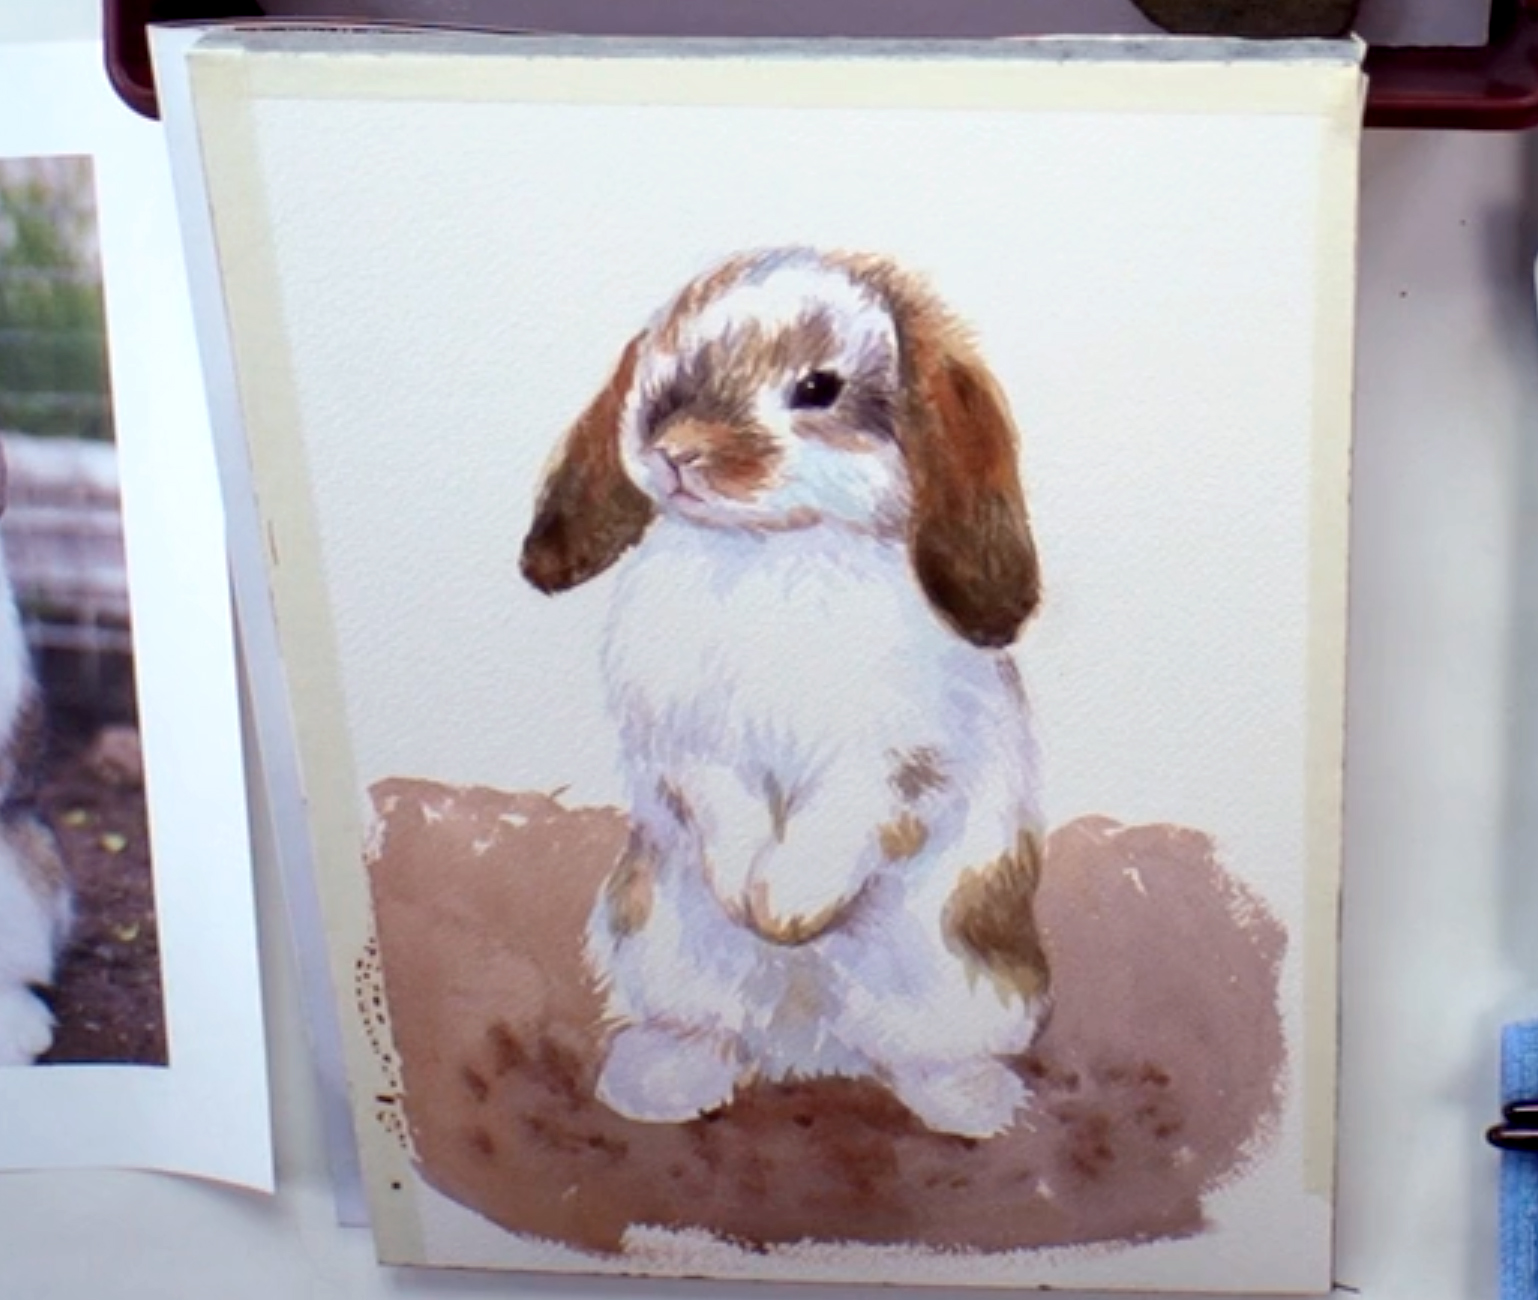 With your eraser, remove the dried masking fluid from the eyes. Touch up the eyes with the Escoda round brush (size 6) using the Ivory Black/Dioxazine Purple mix, and carefully avoid the white highlights. Make any final touches that you see and allow the whole painting to dry before removing the masking tape around the paper.


