
Gridding to the rescue! Your tools for practicing watercolor painting.
Gridding to the rescue! Gridding will help you get everything straight. Your output won't look like Naive Art unless that's what you want. Gridding will make sure that you get the proportions right. And it will enable you to put everything in the right places. Without squelching your creativity.
Categories: Preparing for Painting , Beginner Techniques
February 29th, 2024
"April showers bring May flowers", so here's a fun floral-themed lesson for you to enjoy! Let's paint unique watercolor flowers - rose edition - with Dana as she walks us through some basic watercolor techniques.
Categories: Step-By-Step Painting Ideas
February 29th, 2024
Gridding to the rescue! Your tools for practicing watercolor painting.
Gridding to the rescue! Gridding will help you get everything straight. Your output won't look like Naive Art unless that's what you want. Gridding will make sure that you get the proportions right. And it will enable you to put everything in the right places. Without squelching your creativity.
Categories: Preparing for Painting , Beginner Techniques
November 21st, 2023
Charting a Safe Course: Navigating Watercolor Painting Hazards
Discover essential safety tips for watercolor painting in this insightful article. Learn about selecting non-toxic materials, maintaining a safe workspace, and understanding potential hazards associated with certain pigments. Empower your artistic journey with practical guidance for a safe and mindful painting practice.
Categories: Watercolor Lessons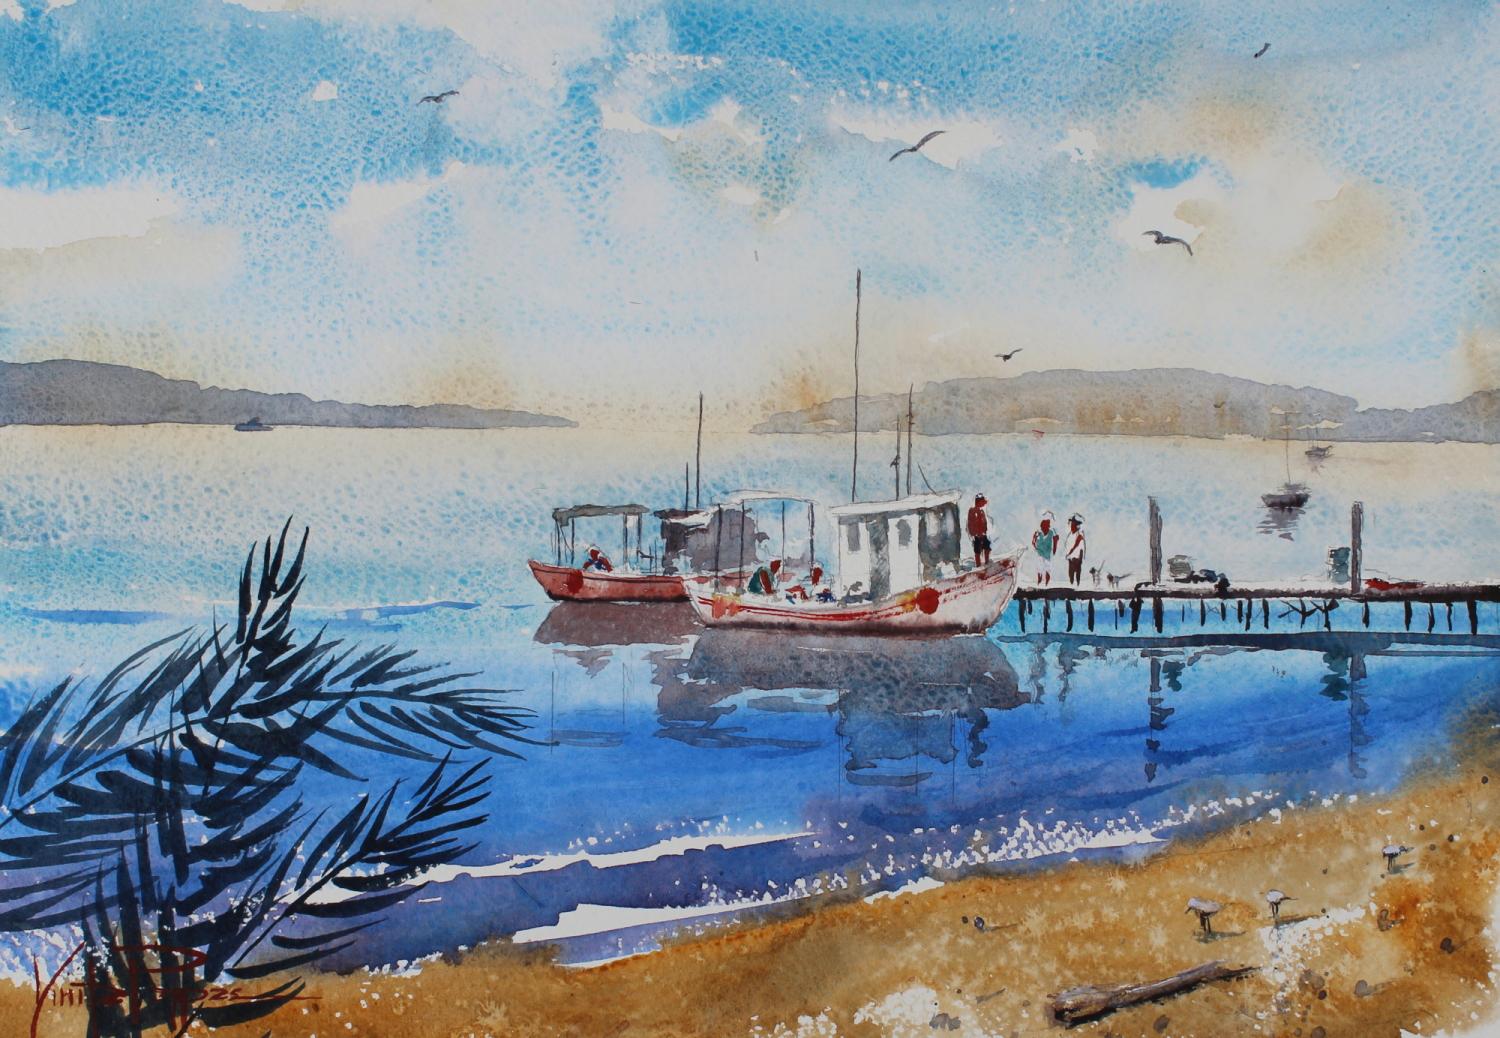
Learn how to paint beautiful watery landscapes with reflections and human figures with Vinita Pappas' beginner-friendly tutorial.
Categories: Step-By-Step Painting Ideas , Watercolor Lessons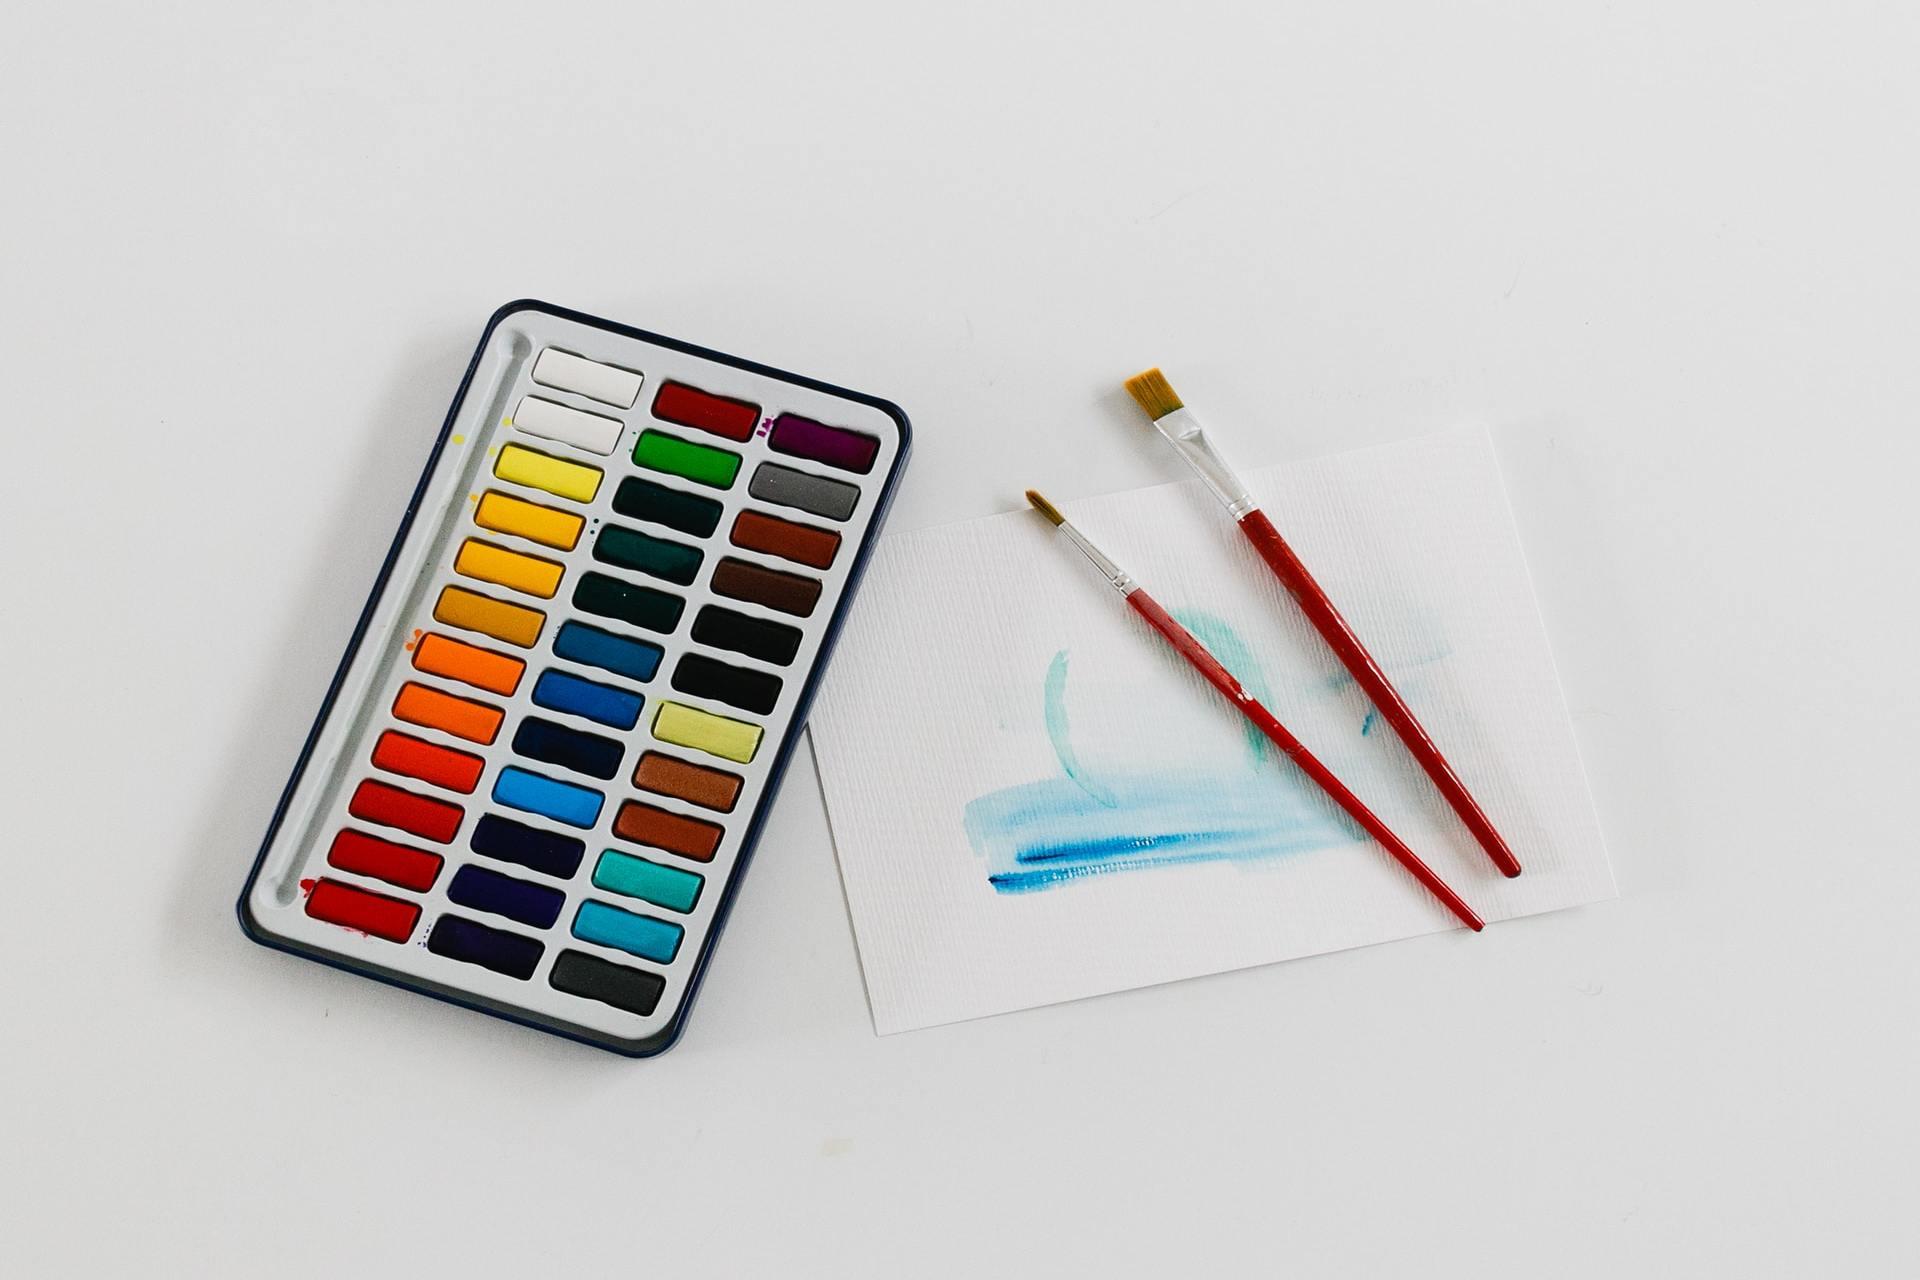
Watercolor paint is a versatile art medium. You can use watercolor paints to apply to everything from fabrics and wood to stone, canvas, and paper. However, most professional artists usually use watercolor paper to create paintings. For hundreds of years, watercolor painting has remained...
Categories: Watercolor Lessons
November 29th, 2022
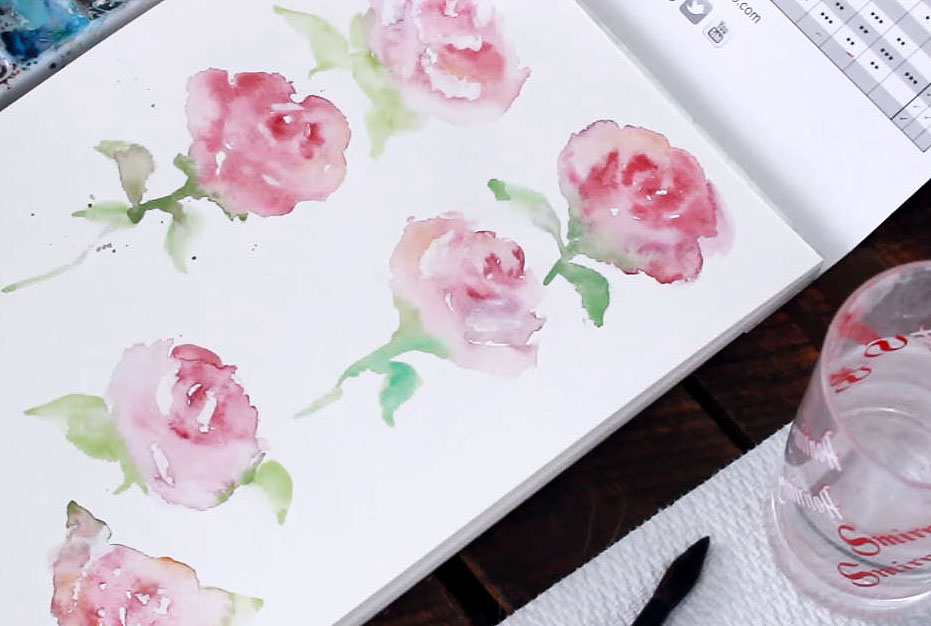
"April showers bring May flowers", so here's a fun floral-themed lesson for you to enjoy! Let's paint unique watercolor flowers - rose edition - with Dana as she walks us through some basic watercolor techniques.
Categories: Step-By-Step Painting Ideas
May 17th, 2015
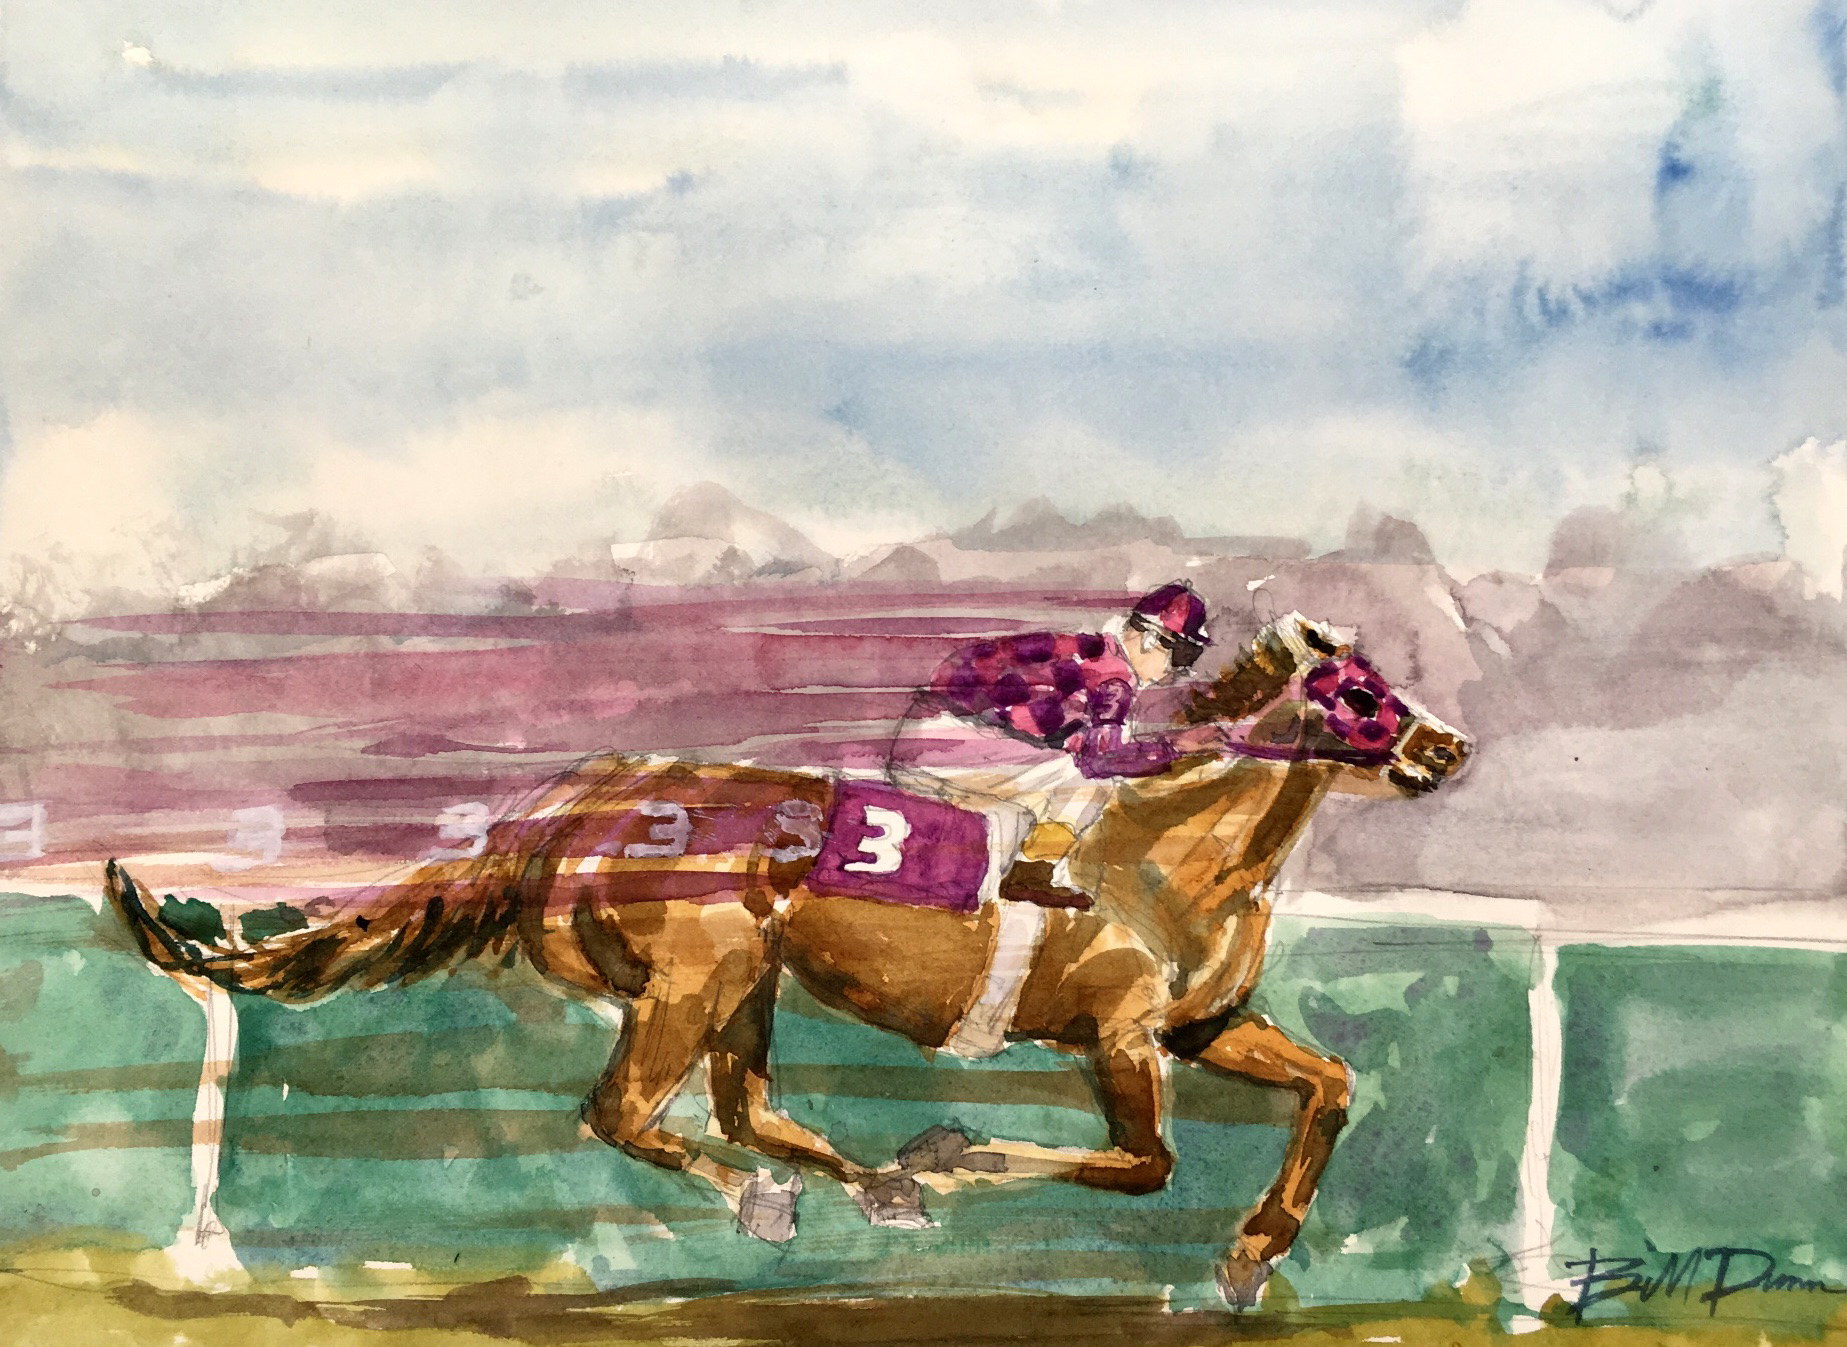
Race alongside artist William "Bill" Dunn in this easy watercolor tutorial featuring the famous racehorse, Secretariat. Alternatively: Learn how to paint a horse in motion like a pro!
Categories: Step-By-Step Painting Ideas , Watercolor Lessons , Intermediate Techniques , Step-By-Step Lessons
August 7th, 2017

Here's a close-up of pink lily flowers painted with wet-on-wet, wet-on-dry and splattering techniques. Video coming soon.
Categories: Step-By-Step Painting Ideas , Watercolor Lessons , Beginner Techniques
September 1st, 2015
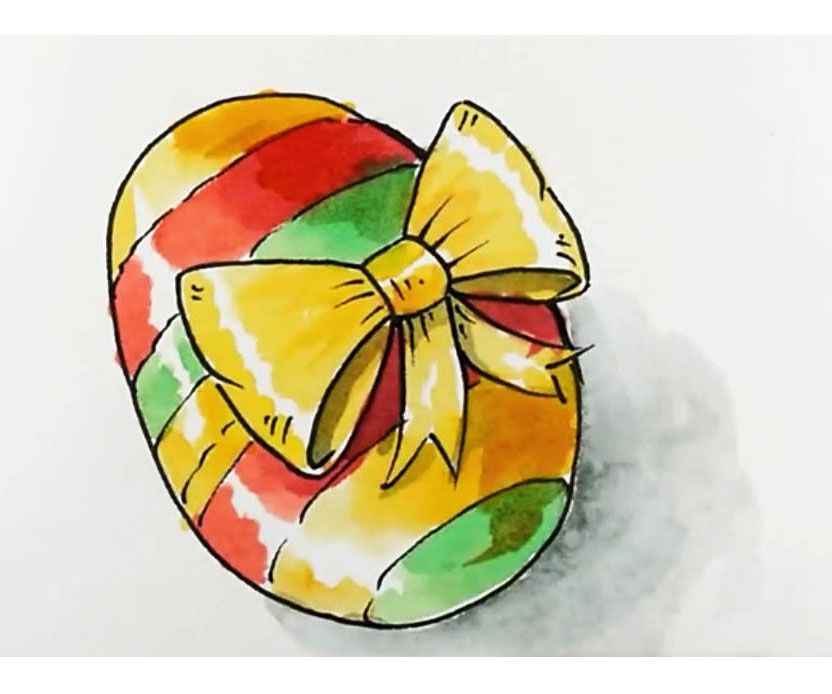
It's the Easter season, and you know what that means: Easter decorations! Join us as we paint watercolor Easter eggs in this easy step-by-step watercolor tutorial.
Categories: Step-By-Step Painting Ideas , Beginner Techniques
April 18th, 2019
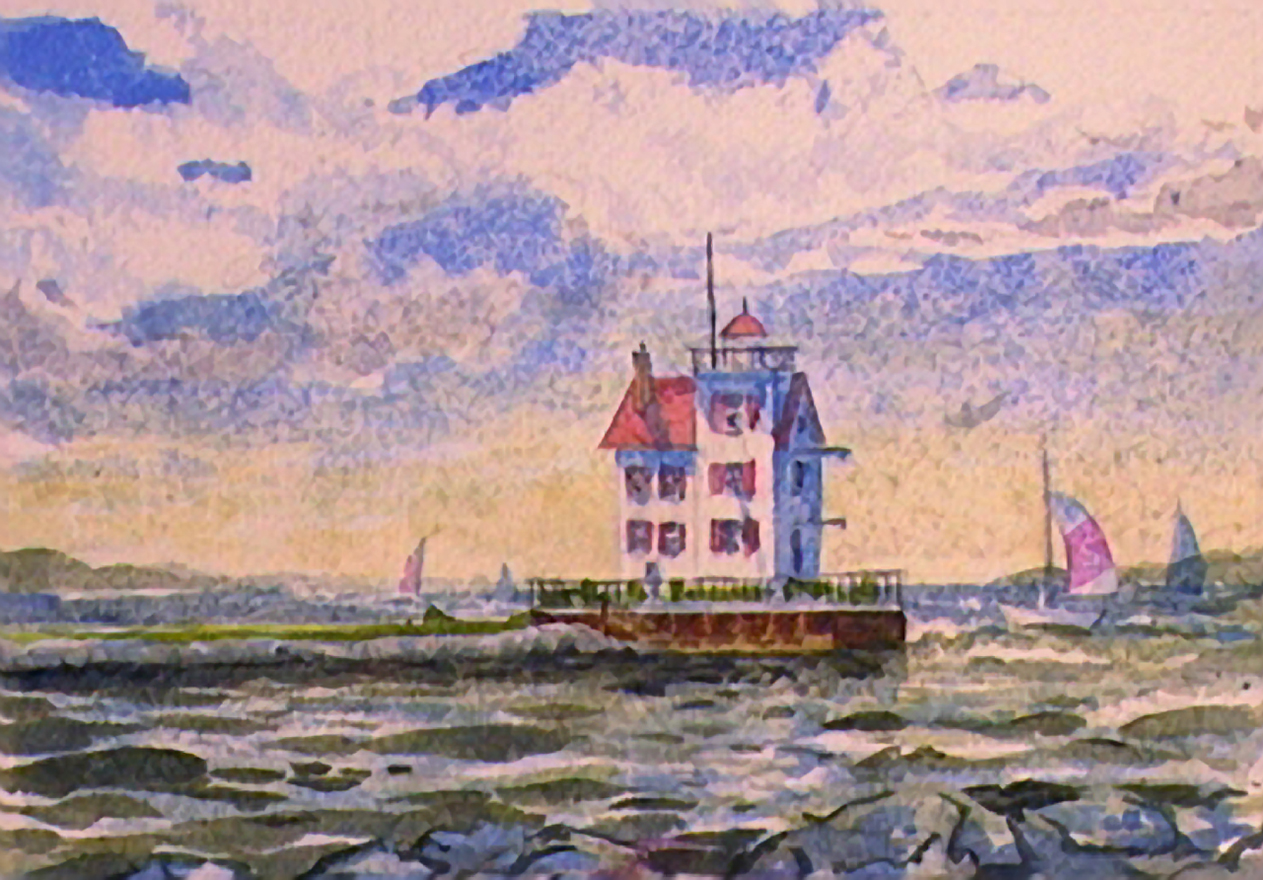
A walk-through in the creation of a small painting of the Lorain Lighthouse on Lake Erie. Materials used: Brushes #8 Kolonok Kolinsky Red Sable #5 Kolonok Kolinsky Red Sable #0 Winsor & Newton Series 7 Red Sable Paints Sap Green Hooker's Green Dark Ultramarine Blue Cerulean Blue Alizarin Crimson Permanent Rose Indian Yellow Raw Sienna Burnt Sienna Burnt Umber Paper Cut sheet (5.5" x 7.5") Whatman #200 cold pressed, rather badly stored. Miscellaneous #2 Pencil Kneaded Eraser Grafix Incredible White Mask Liquid Mask Palettes - Robert E. Wood & Eldajon. Water container (2) and water Hair dryer (optional) Step 1:...
Categories: Step-By-Step Painting Ideas , Watercolor Lessons , Intermediate Techniques
September 1st, 2015


